Color correction without another coat of paint
Use pigments as a filter you can control.
Pigments are useful for more than dust, rust, and grime. Applied gradually over a dead-flat finish, pale colors can lighten an overly dark model, soften contrasts, and add natural variation without another layer of paint.
Revisiting pigments
Last month we were winding up the Spring Show, publishing the results in record time. This month we are back to doing deeper dives into modeling technique – so let’s take another look at using pigments to elevate your projects, perhaps in a different way.
These days you can find colored pigments in a variety of forms. The kind I will be talking about include purpose-made modeling pigments produced by manufacturers such as Mig, AK Interactive, Vallejo, and Uschi, among others. I will also talk about using artists pastels, which can be carefully scraped to produce slightly oily powders – different from their younger cousins, mentioned above.
Many modelers have used pigments to add dust and rust to the surfaces of models, oily exhaust and grime to aircraft, and to detail wheels and track that have been rolling around on dirty surfaces. These are applications that you can find information on almost anywhere, including previous articles written by myself and/or other members of our club.
I want to talk about changing the color and hue of a finished model – much like using filters. I came across this technique out of necessity – I had a completed build that was simply too dark and I needed a way to lighten things up without adding yet another layer of paint (as in a filter).
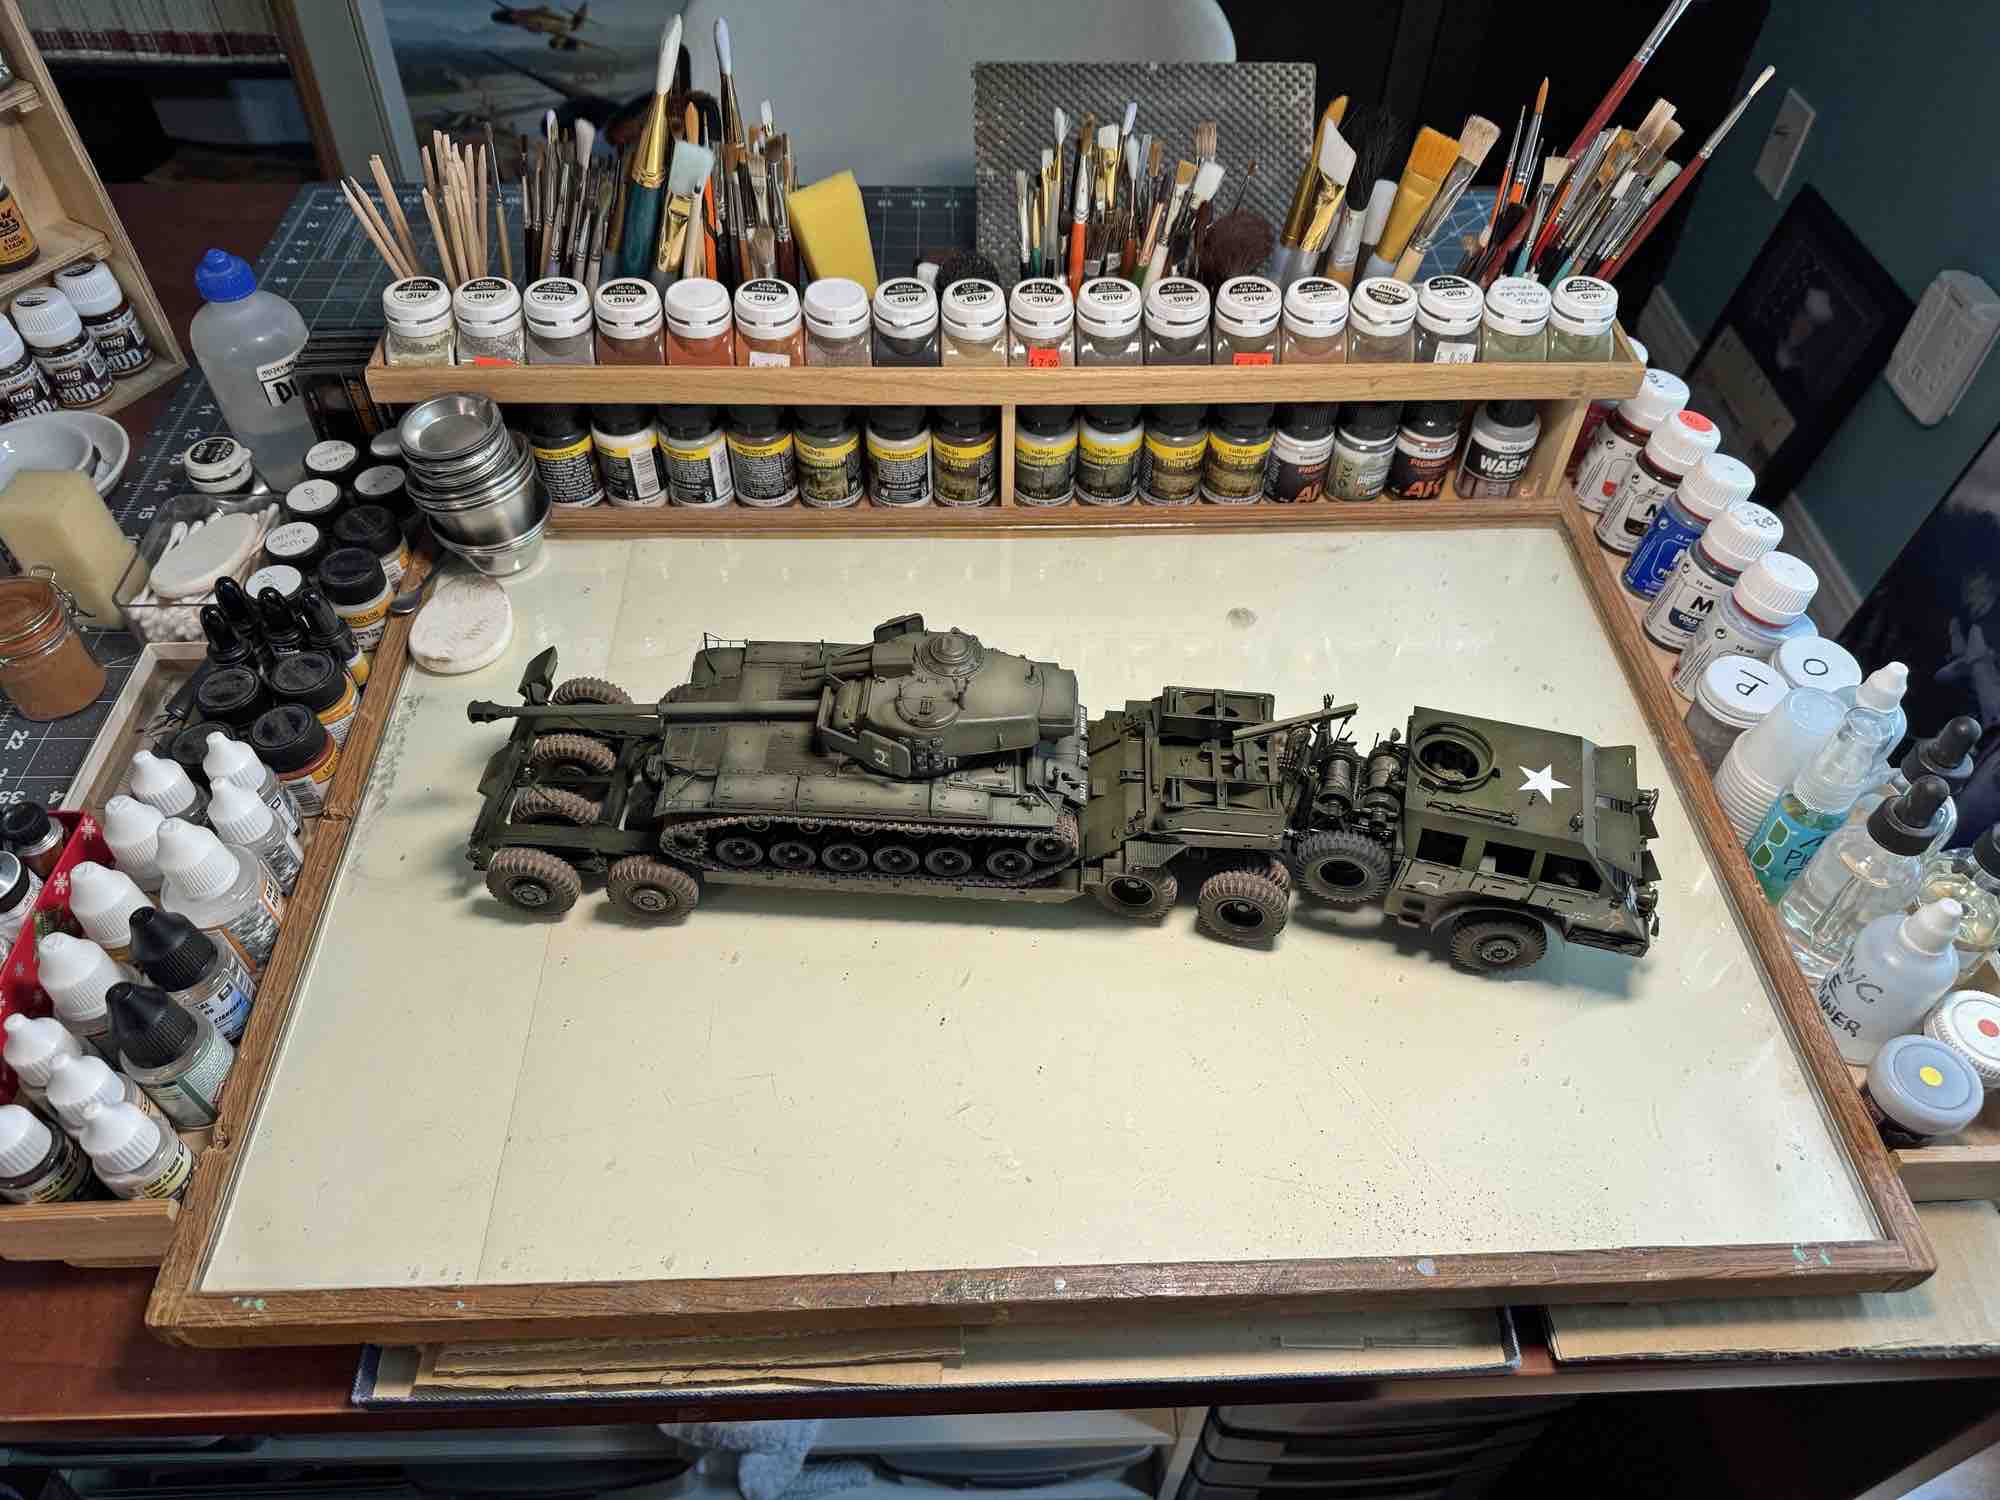
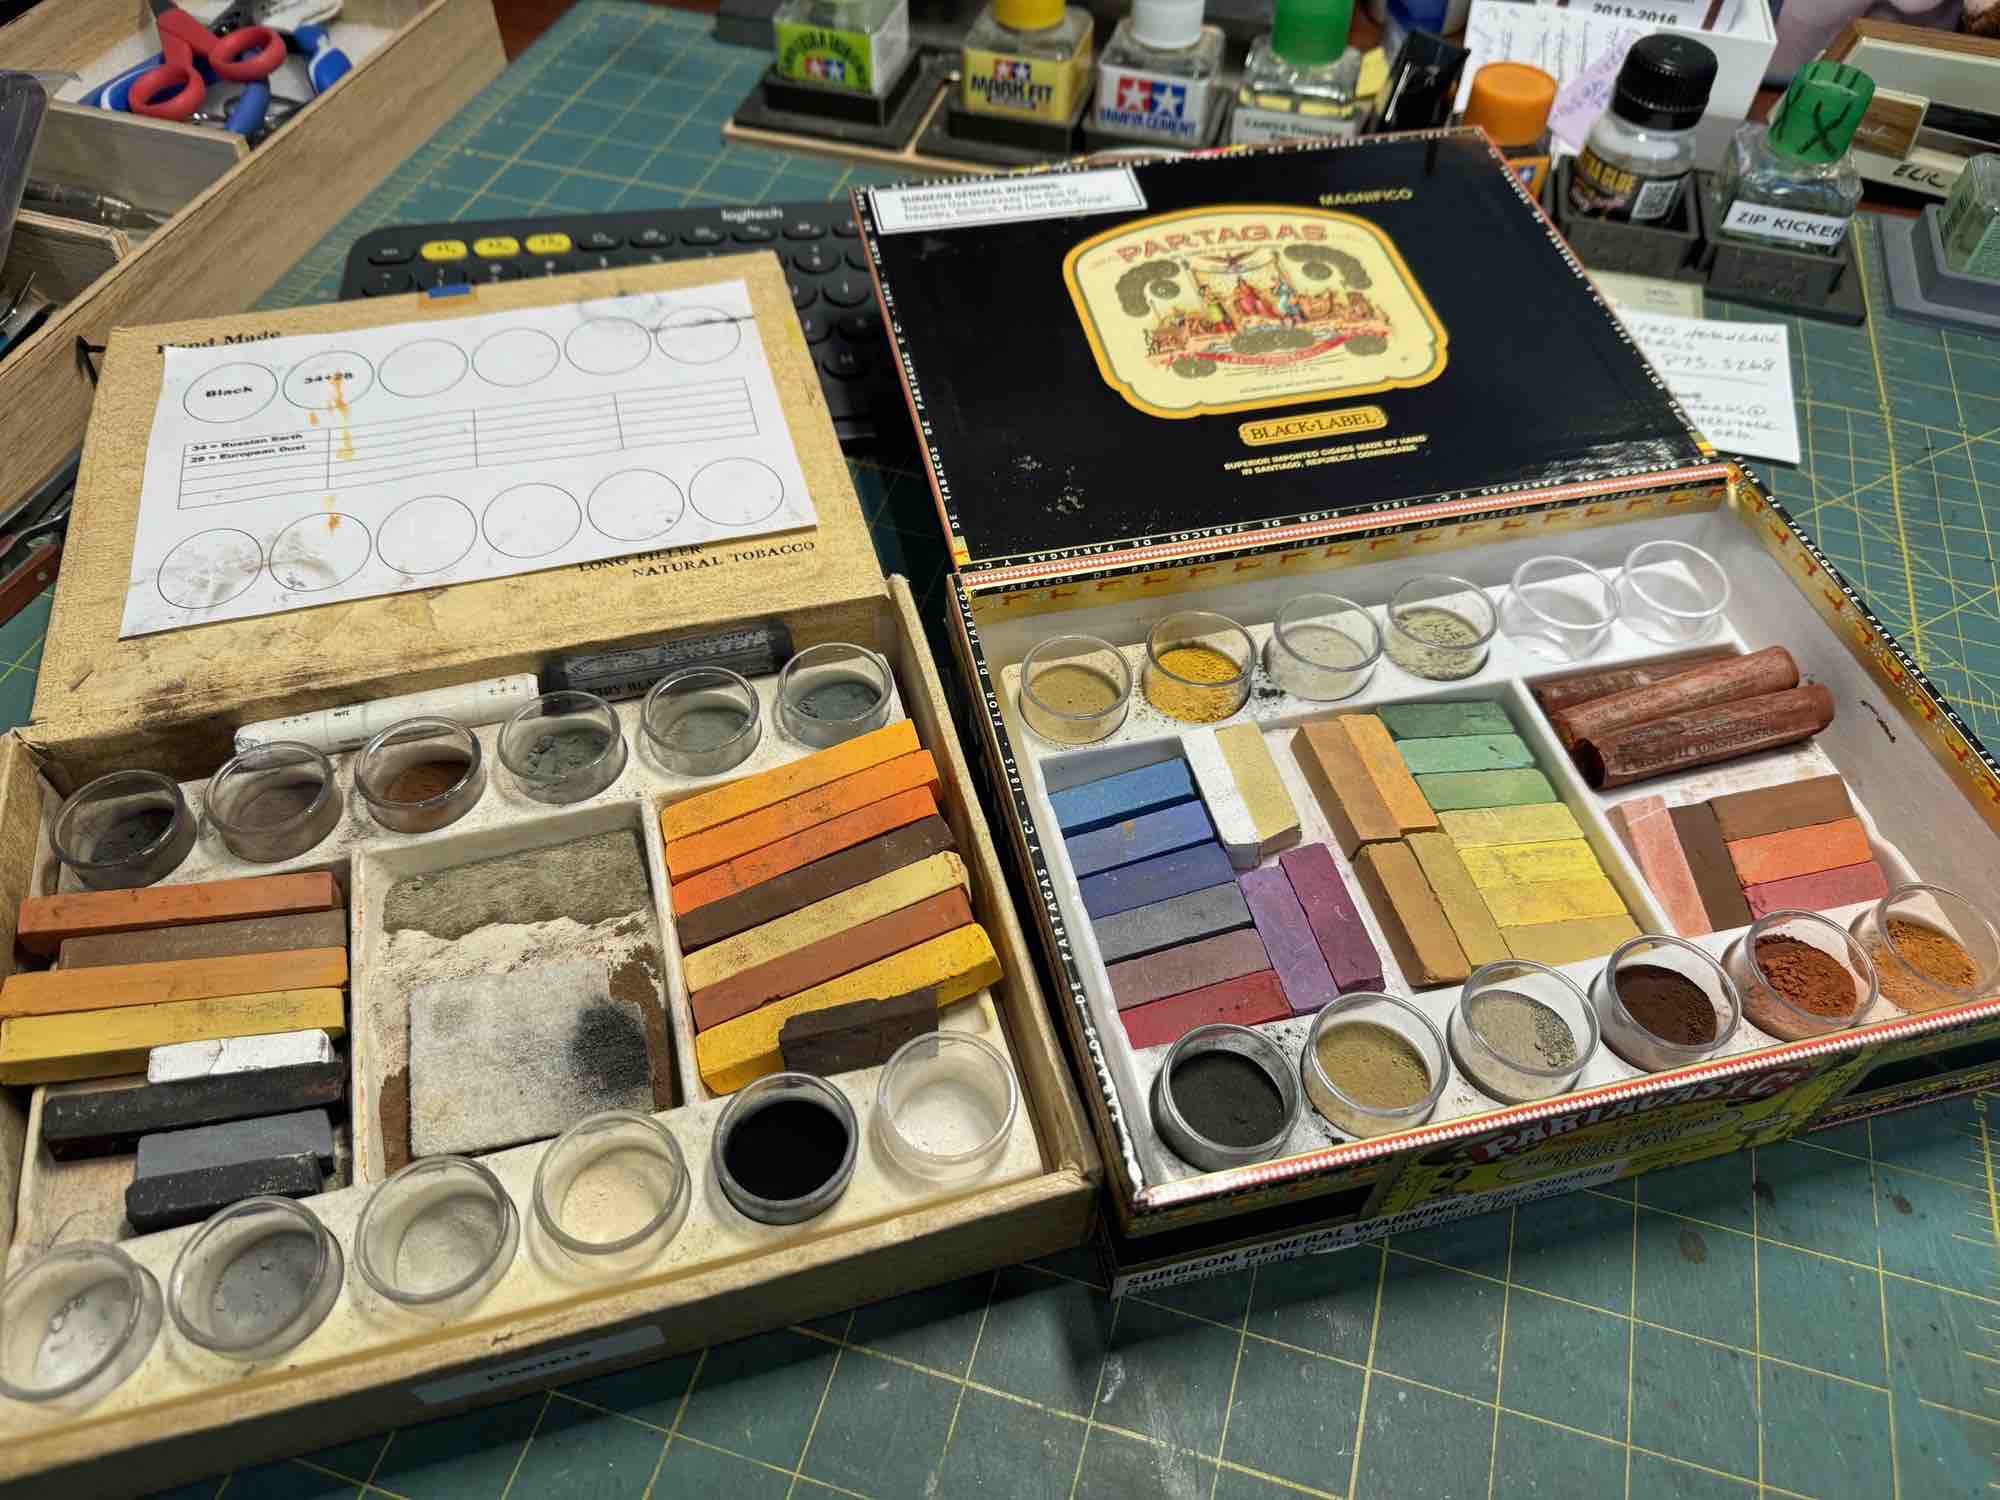
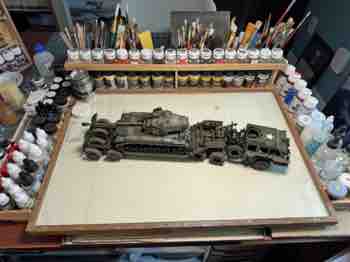
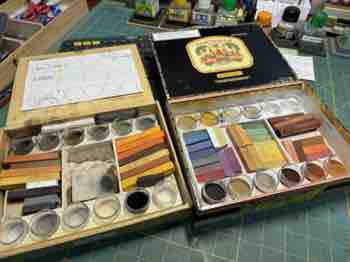
But before we get to that, let me show you what I use when I work with pigments – which can get very messy, very quickly! First – I went down to Ben Franklin’s and picked up a couple of cheap trays that have a dozen round tubs for holding powders, surrounding three separate flat spots that hold pastel sticks – perfect for my needs! Better yet, it turns out that these trays fit perfectly into old cigar boxes that I bought for a couple bucks at a smoke shop. Snap. (Image Here) I apply my pigments using several kinds of old brushes, and over a glass surface. The smooth glass can be easily cleaned afterwards – and this is important – pigments can make a mess, and depending on what they touch; even a permanent mess. Glass also helps in the recovery of the powder, if desired. I have a large, purpose-made, table-top glass surface that I can move into position when I need it, and away when I don’t.
OK – so we’re geared up and ready to go. I have three builds that were too dark when I was finished with them, and I used pigments to change their overall finish – lightening the surfaces up until I had what I wanted. Two of these three builds placed at the latest Spring Show so I thought maybe I was on to something!
The technique is nothing earth shattering – it’s just using ‘fluffy’ brushes to add pigment very slowly, in layers, using light colors, on a dead flat surface. Concretes, desert yellows, light muds, whites – anything that is not dark, and of course ‘belongs’ on your model. For armor this excludes pinks, purples, turquoise, etc. But then again…? You can be the judge.
I build up the layers slowly, letting the excess pigment fall off. Since the surfaces are flat, each pass with the brush will leave behind just a little of the color, building up as I go. The soft brush allows me to ‘feather’ the application so it looks more natural.
If I make a mistake there are several ways to fix things. The first is by using a pigment removing product such as Lifecolor’s ‘Liquid Pigment Remover’ (Green Top), or in extreme cases, I simply lightly airbrush the area and start over. Finally, I do not use any kind of pigment-fixer product – I find that all of these end up changing the color and/or consistency of the finish – boo. Instead, I find a way to handle my models carefully so I don’t leave any fingerprints caused by body oils lifting the delicate pigment from the model’s surfaces.
Three examples
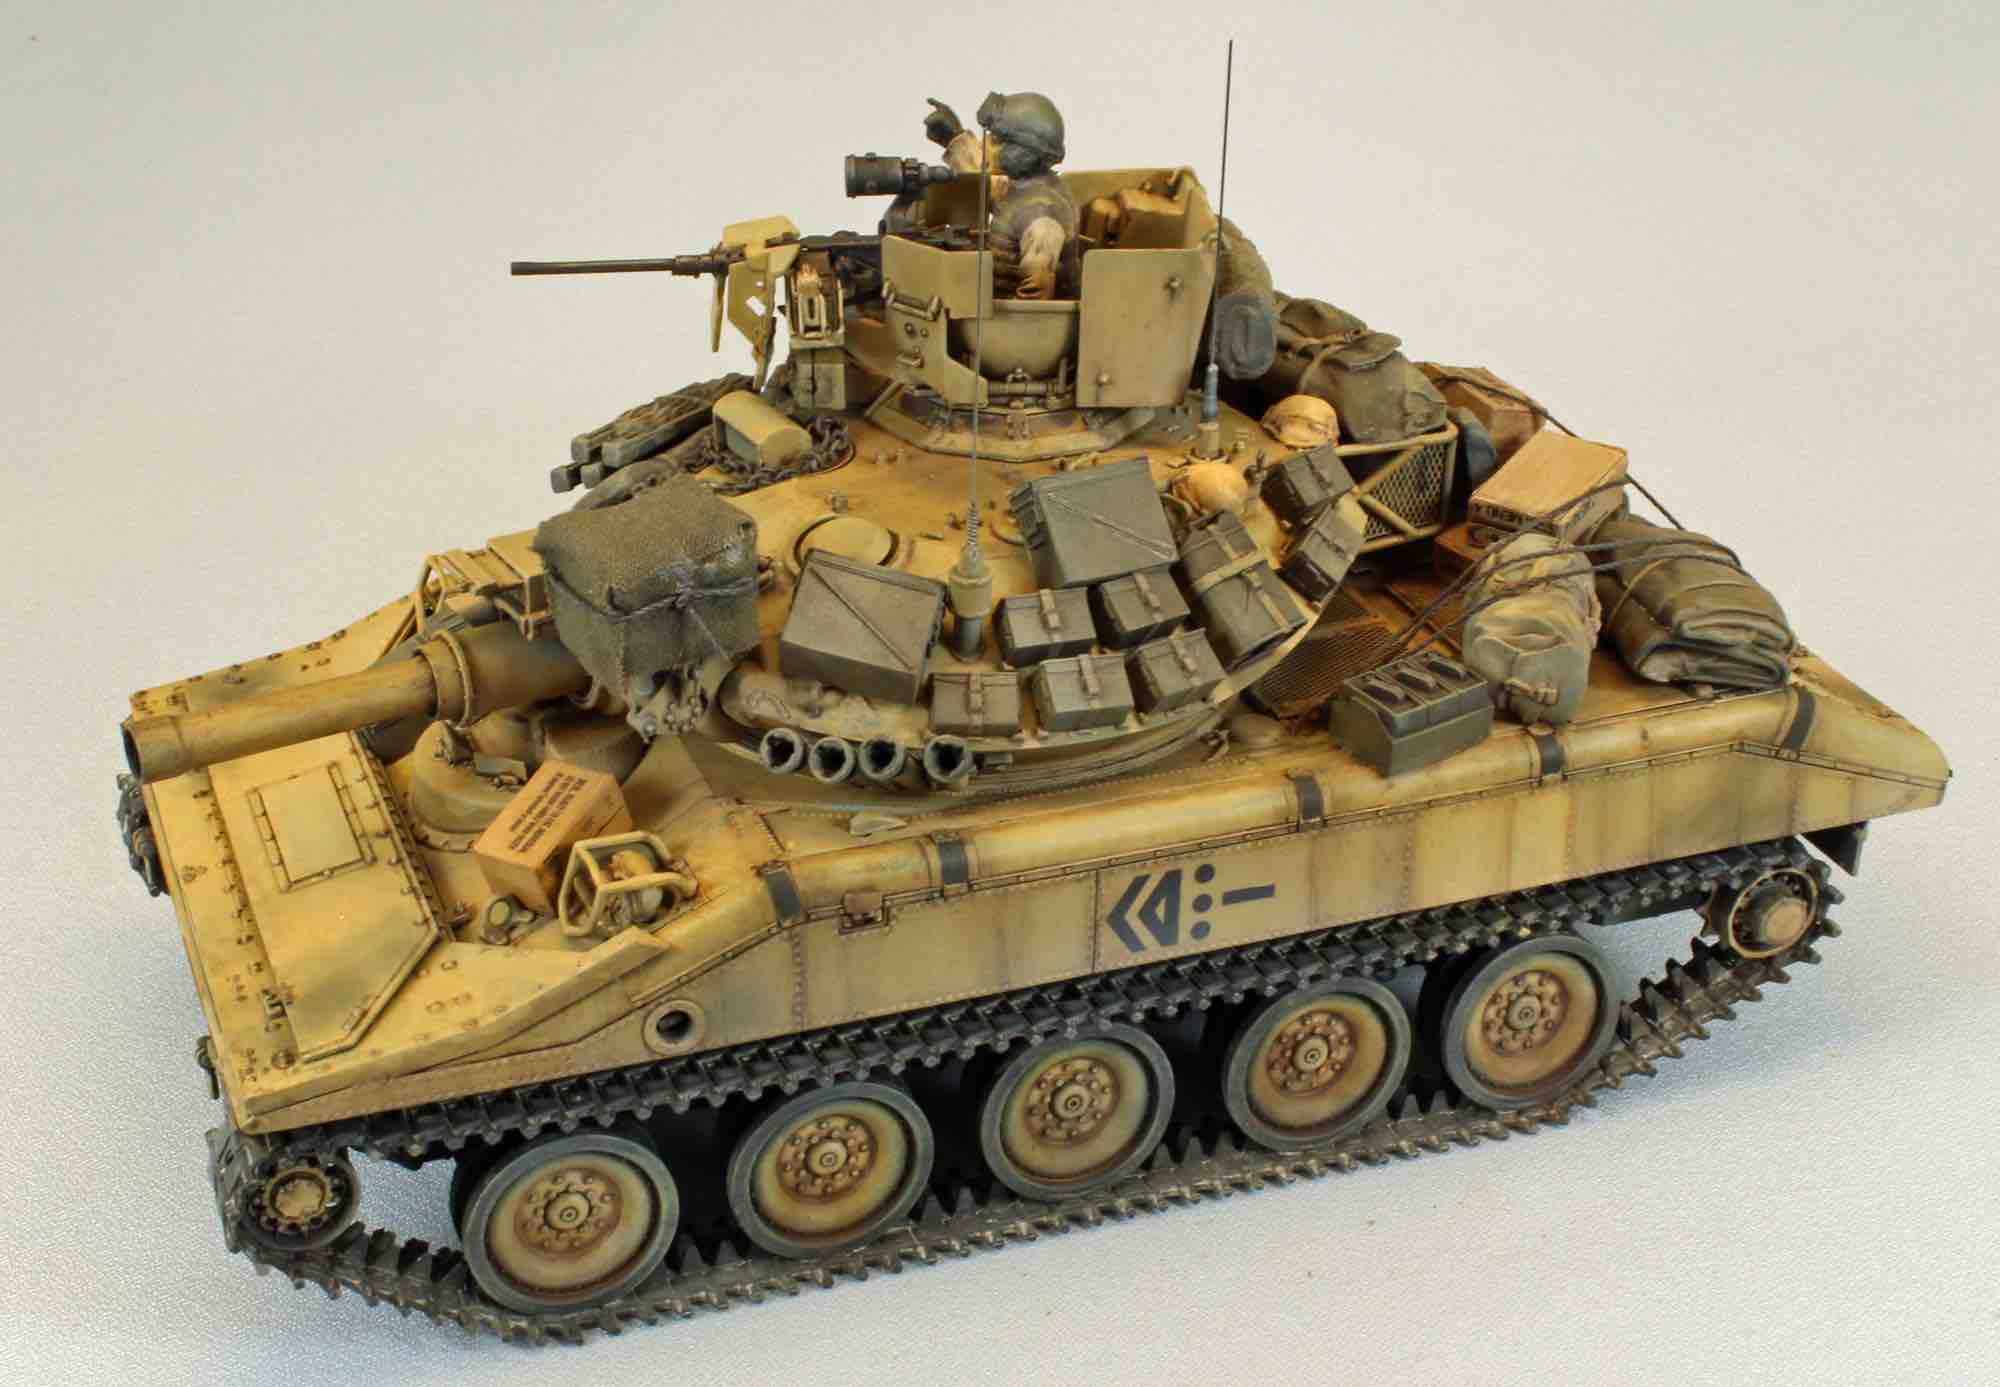
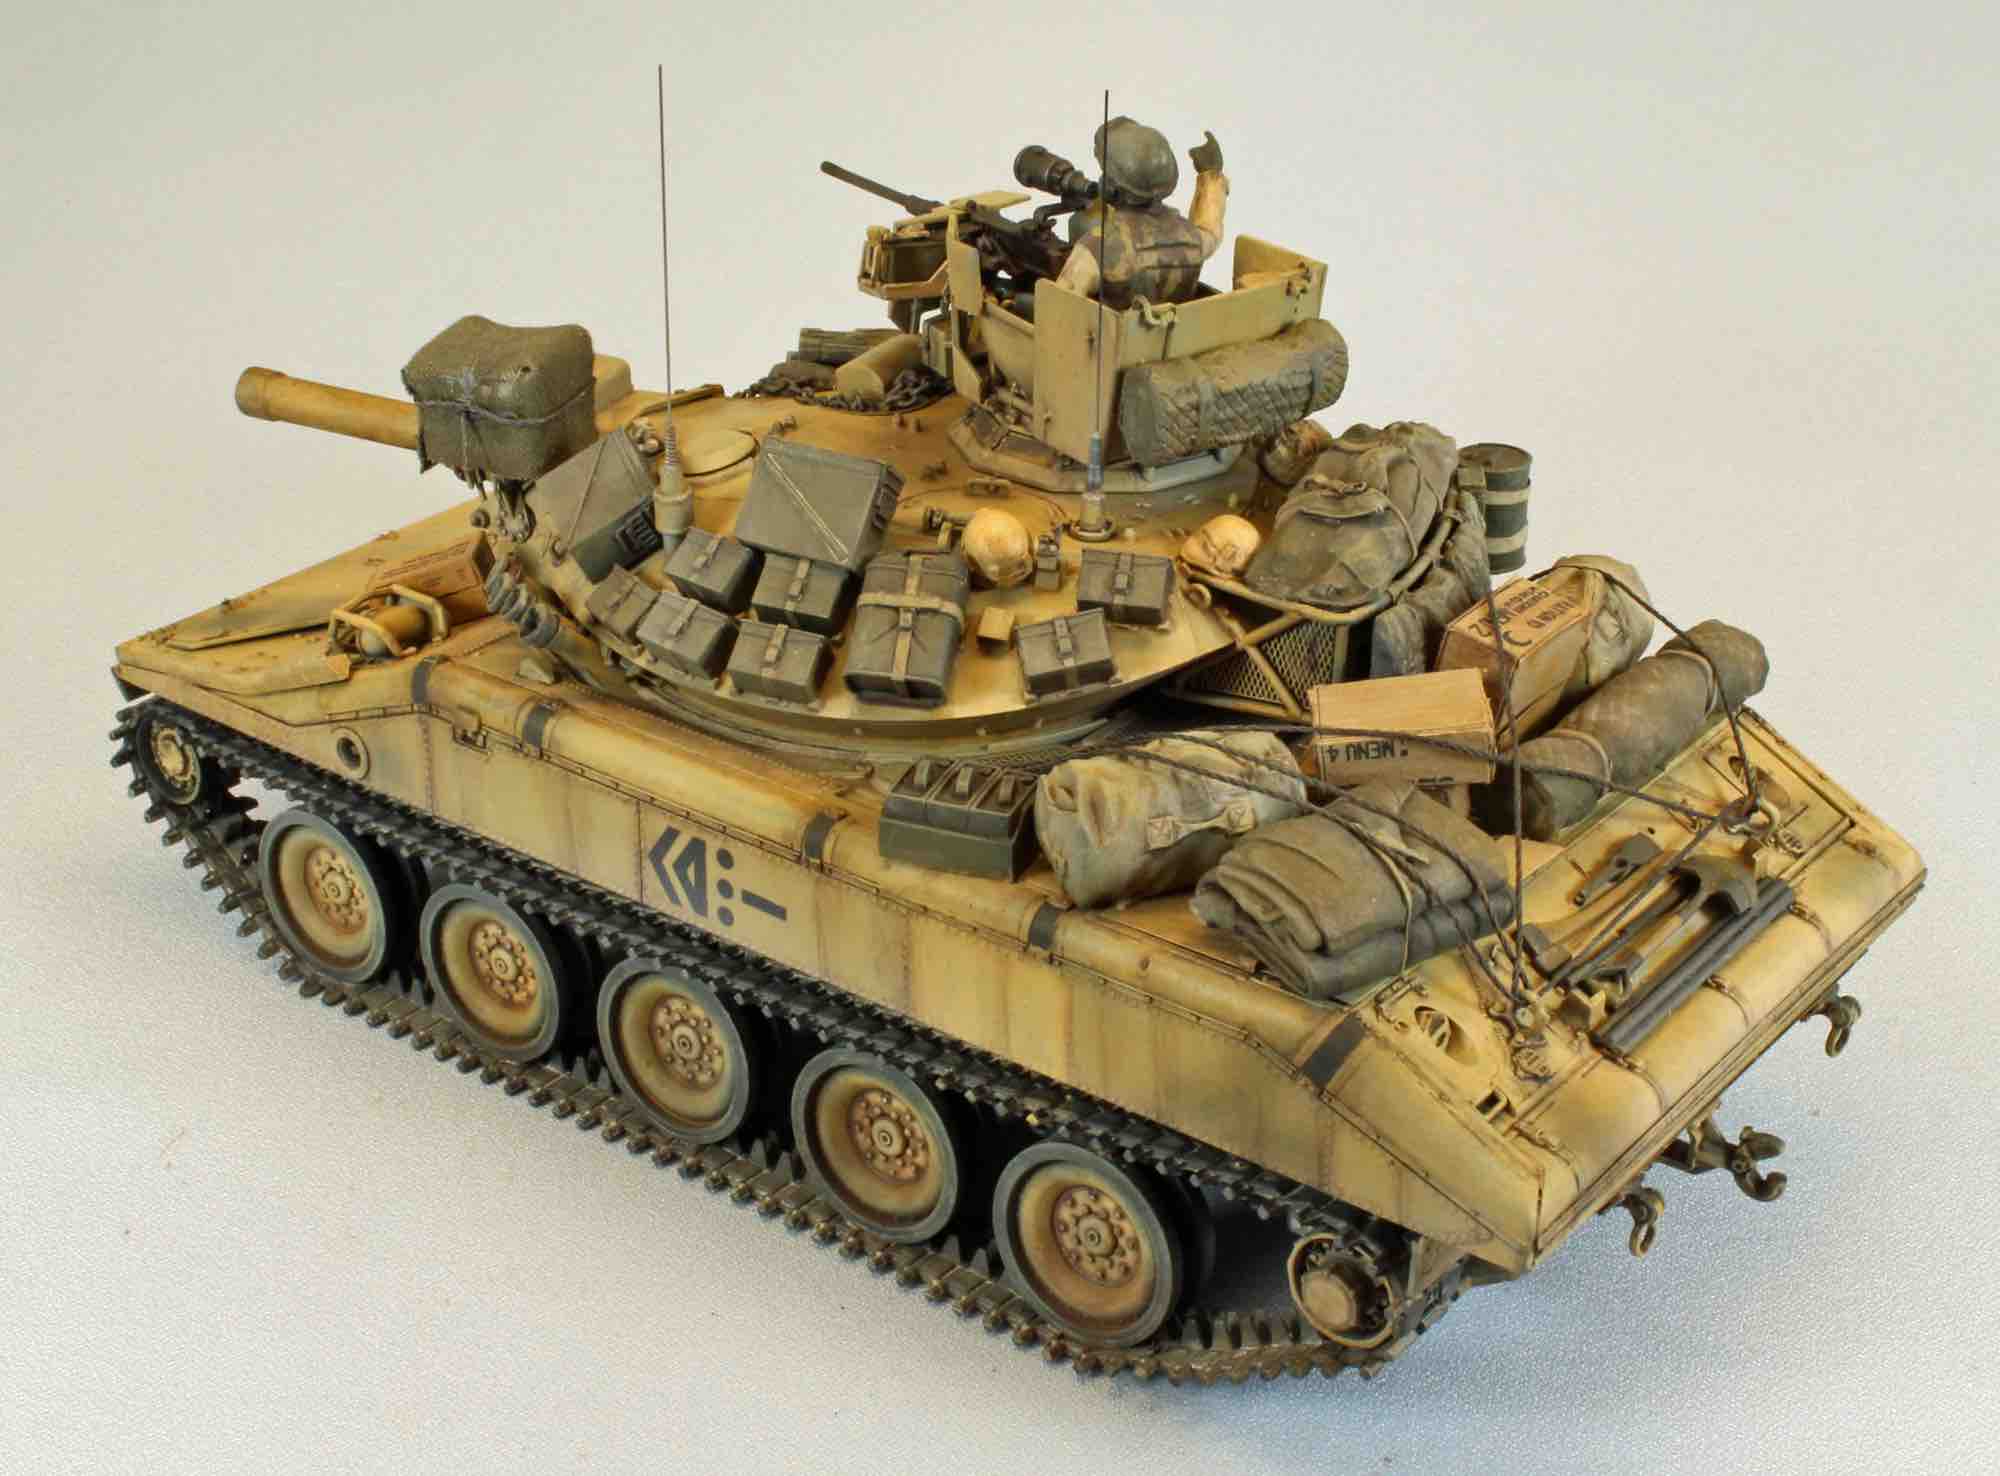
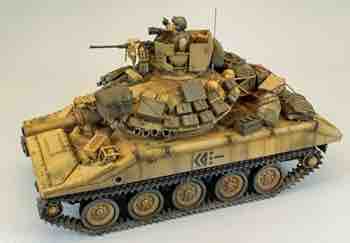
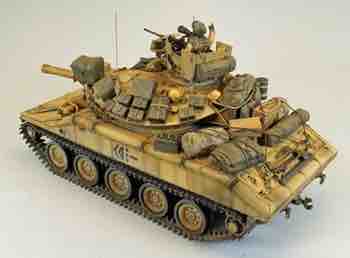
M551 Sheridan — Rye Field Model
If you look at the barrel you will see the original color of the build, which I felt was too dark. Also, the various deck equipment was too dark. I used several shades of dust, light yellows, and concrete to lighten up the main surfaces, and concrete on the olive drab ammo boxes and deck equipment. Doing so allowed me to add dark ‘smudges’ using thin charcoal black, here and there without worrying too much about adding ‘dark’ all over again.
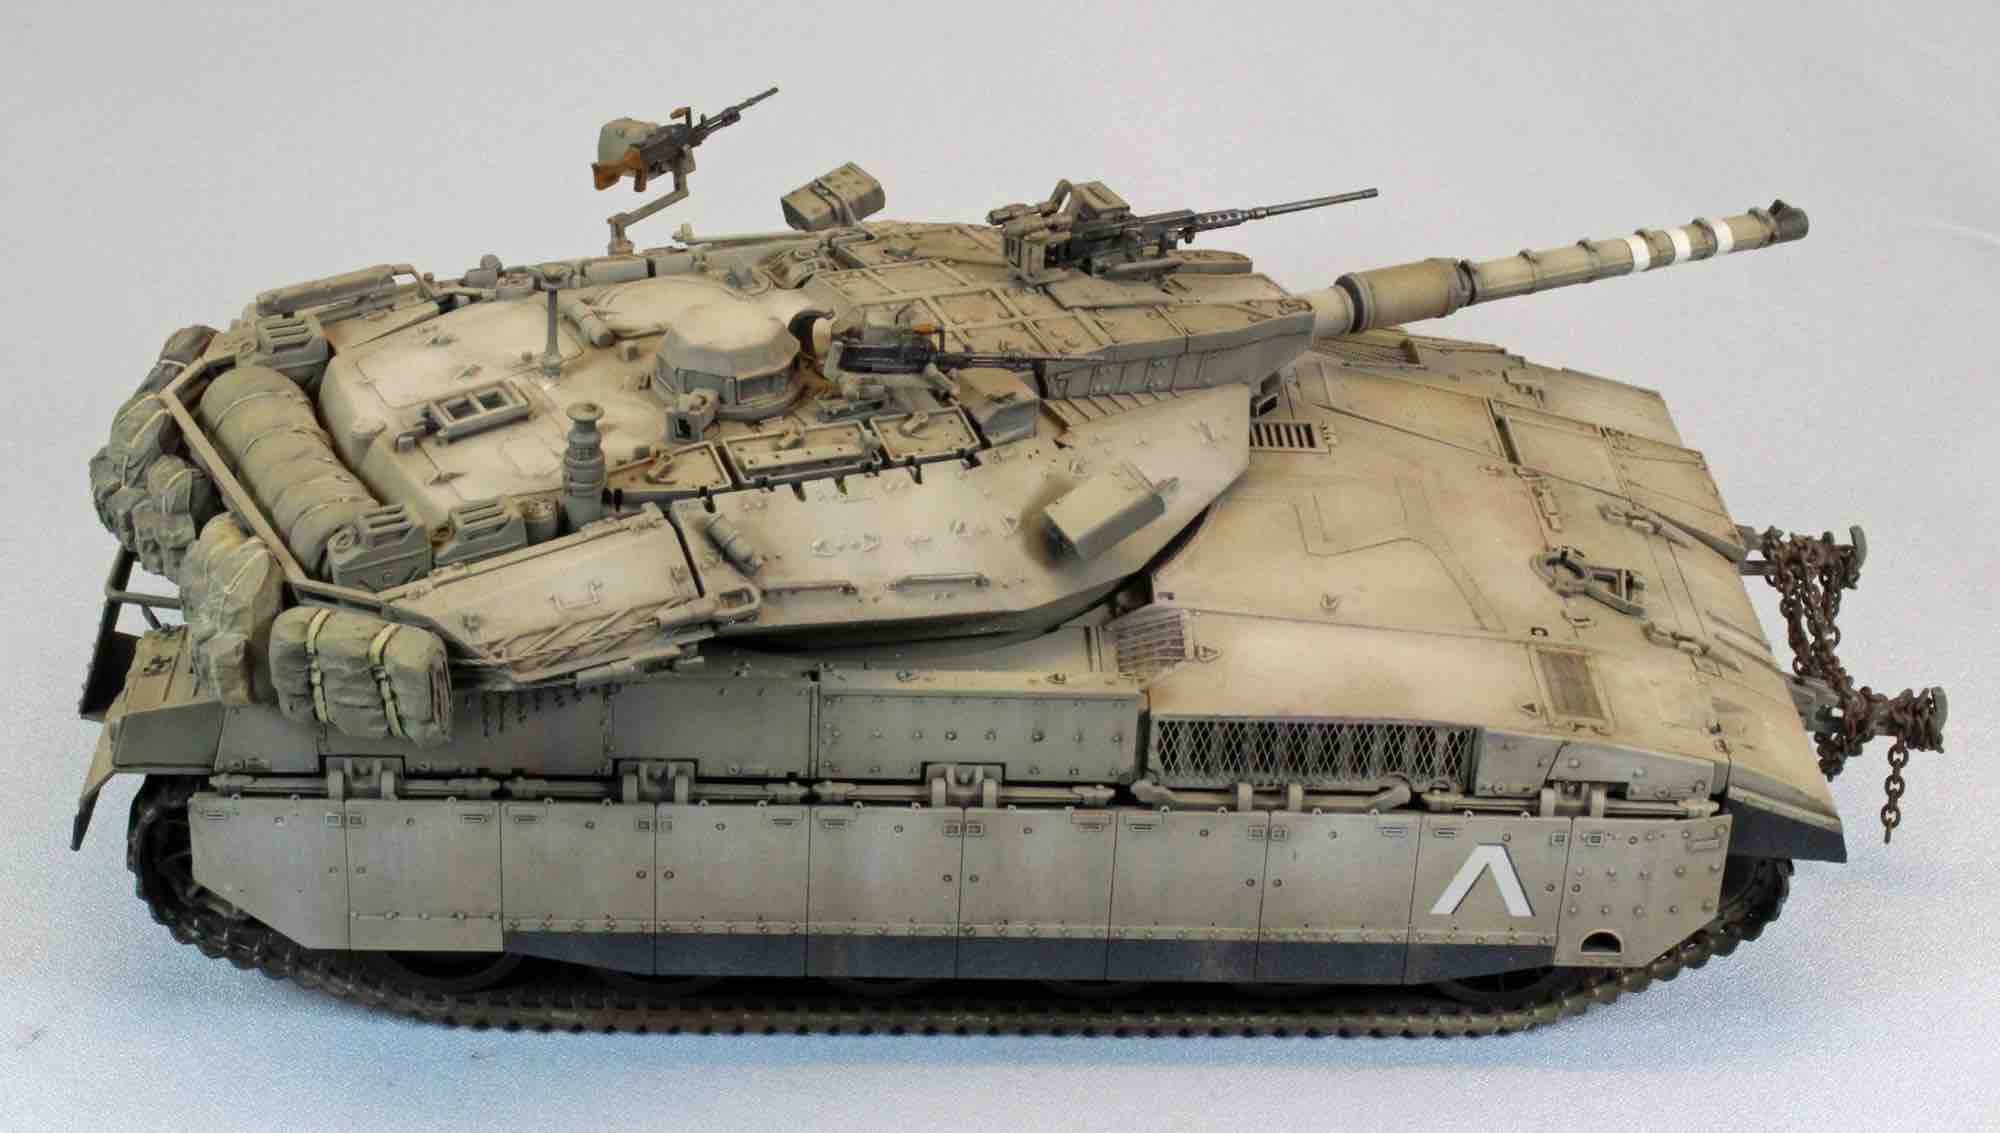
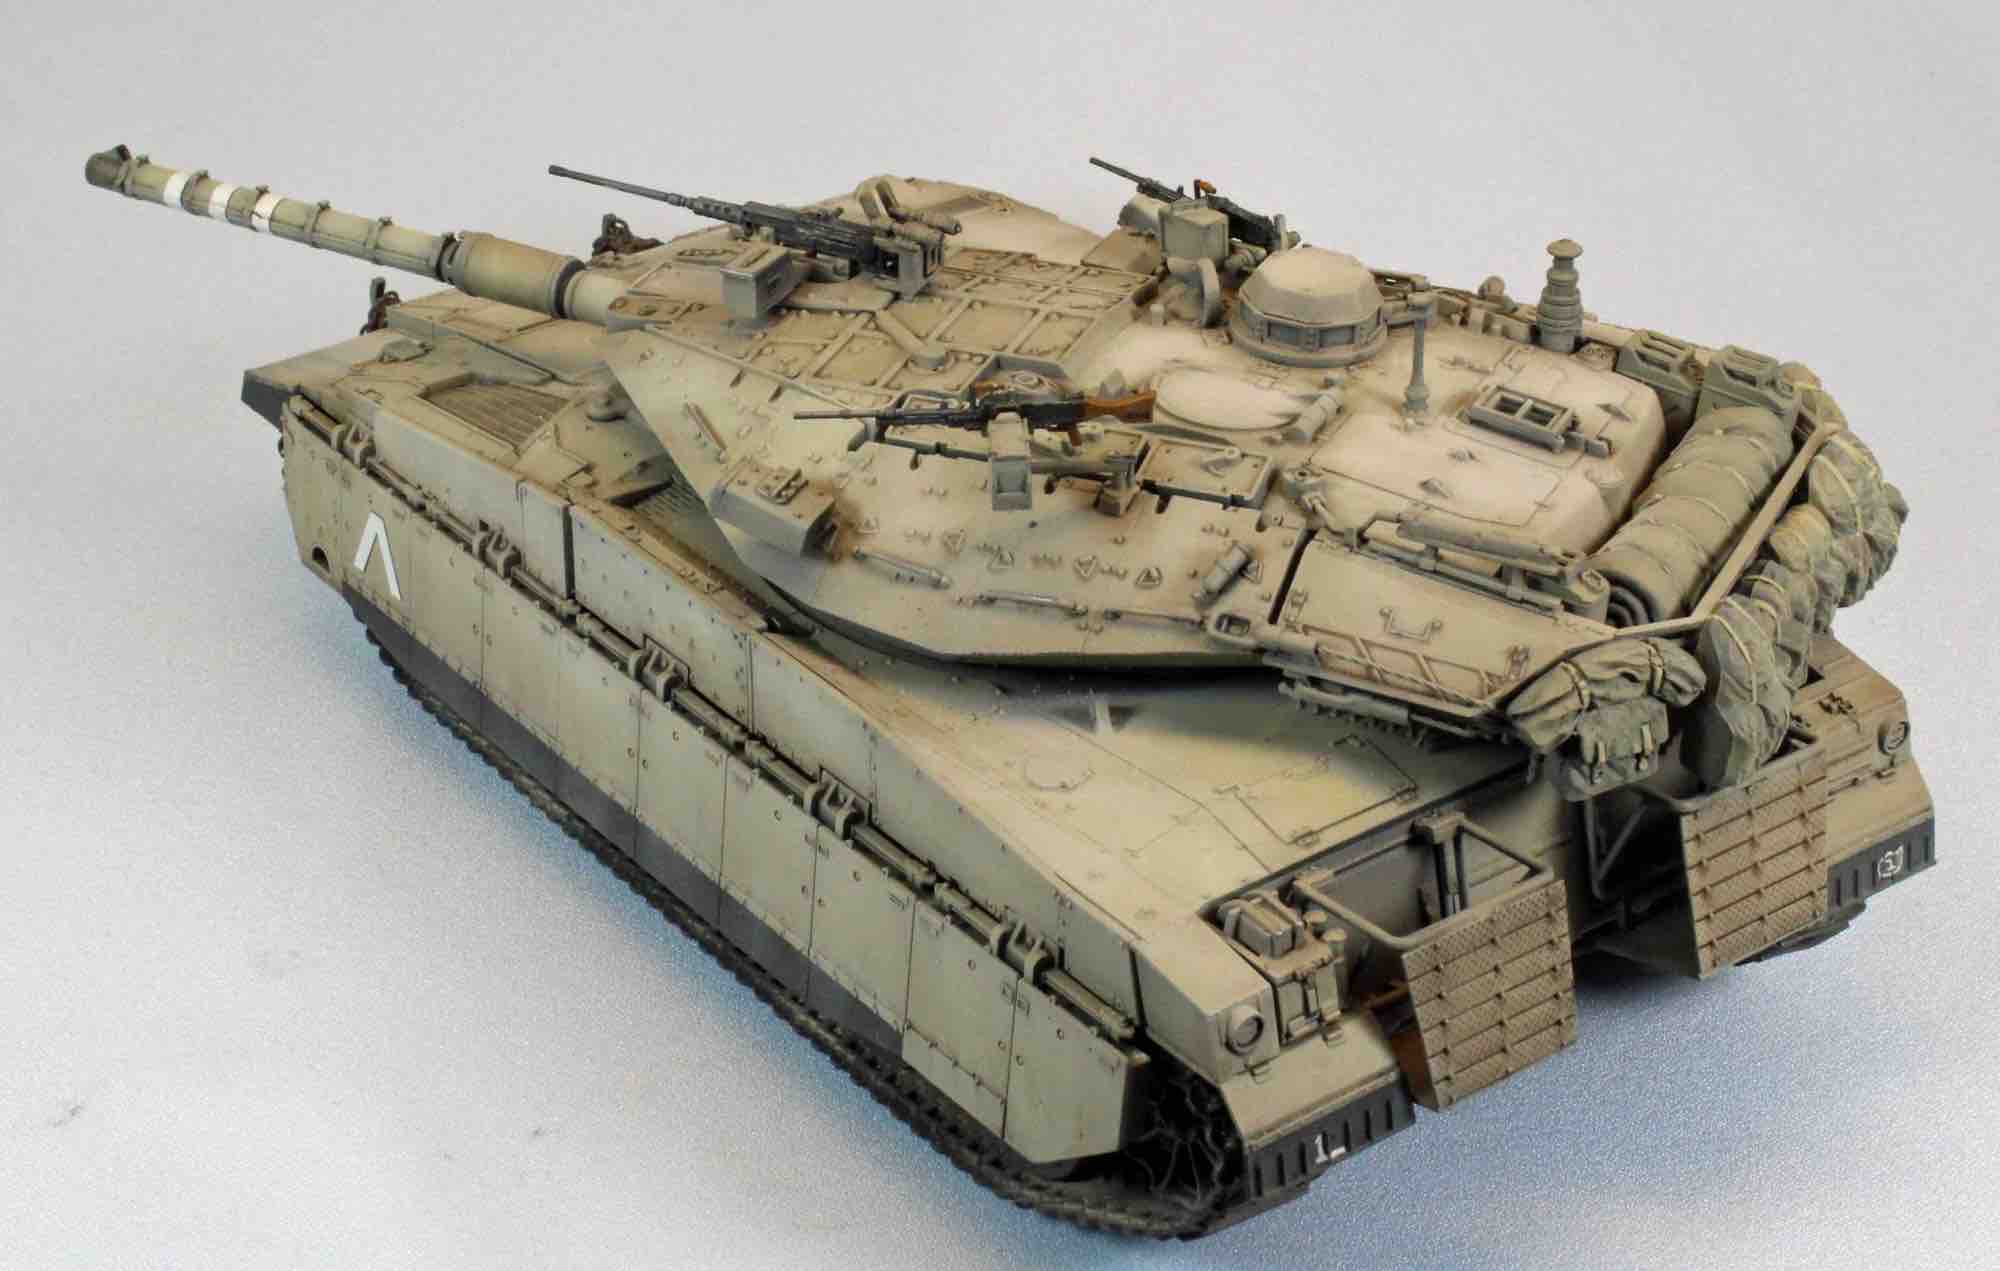
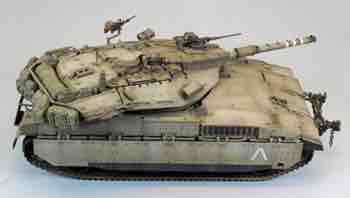
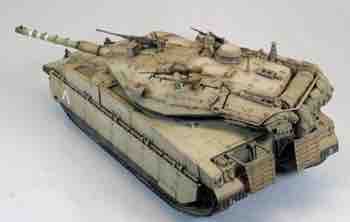
IDF Merkava Mk. IID — Academy
Again, look at the bore evacuator midway along the barrel – that is the original (too-dark) color. Concrete and white were used extensively to lighten up the surfaces. This is probably the best example of the technique.
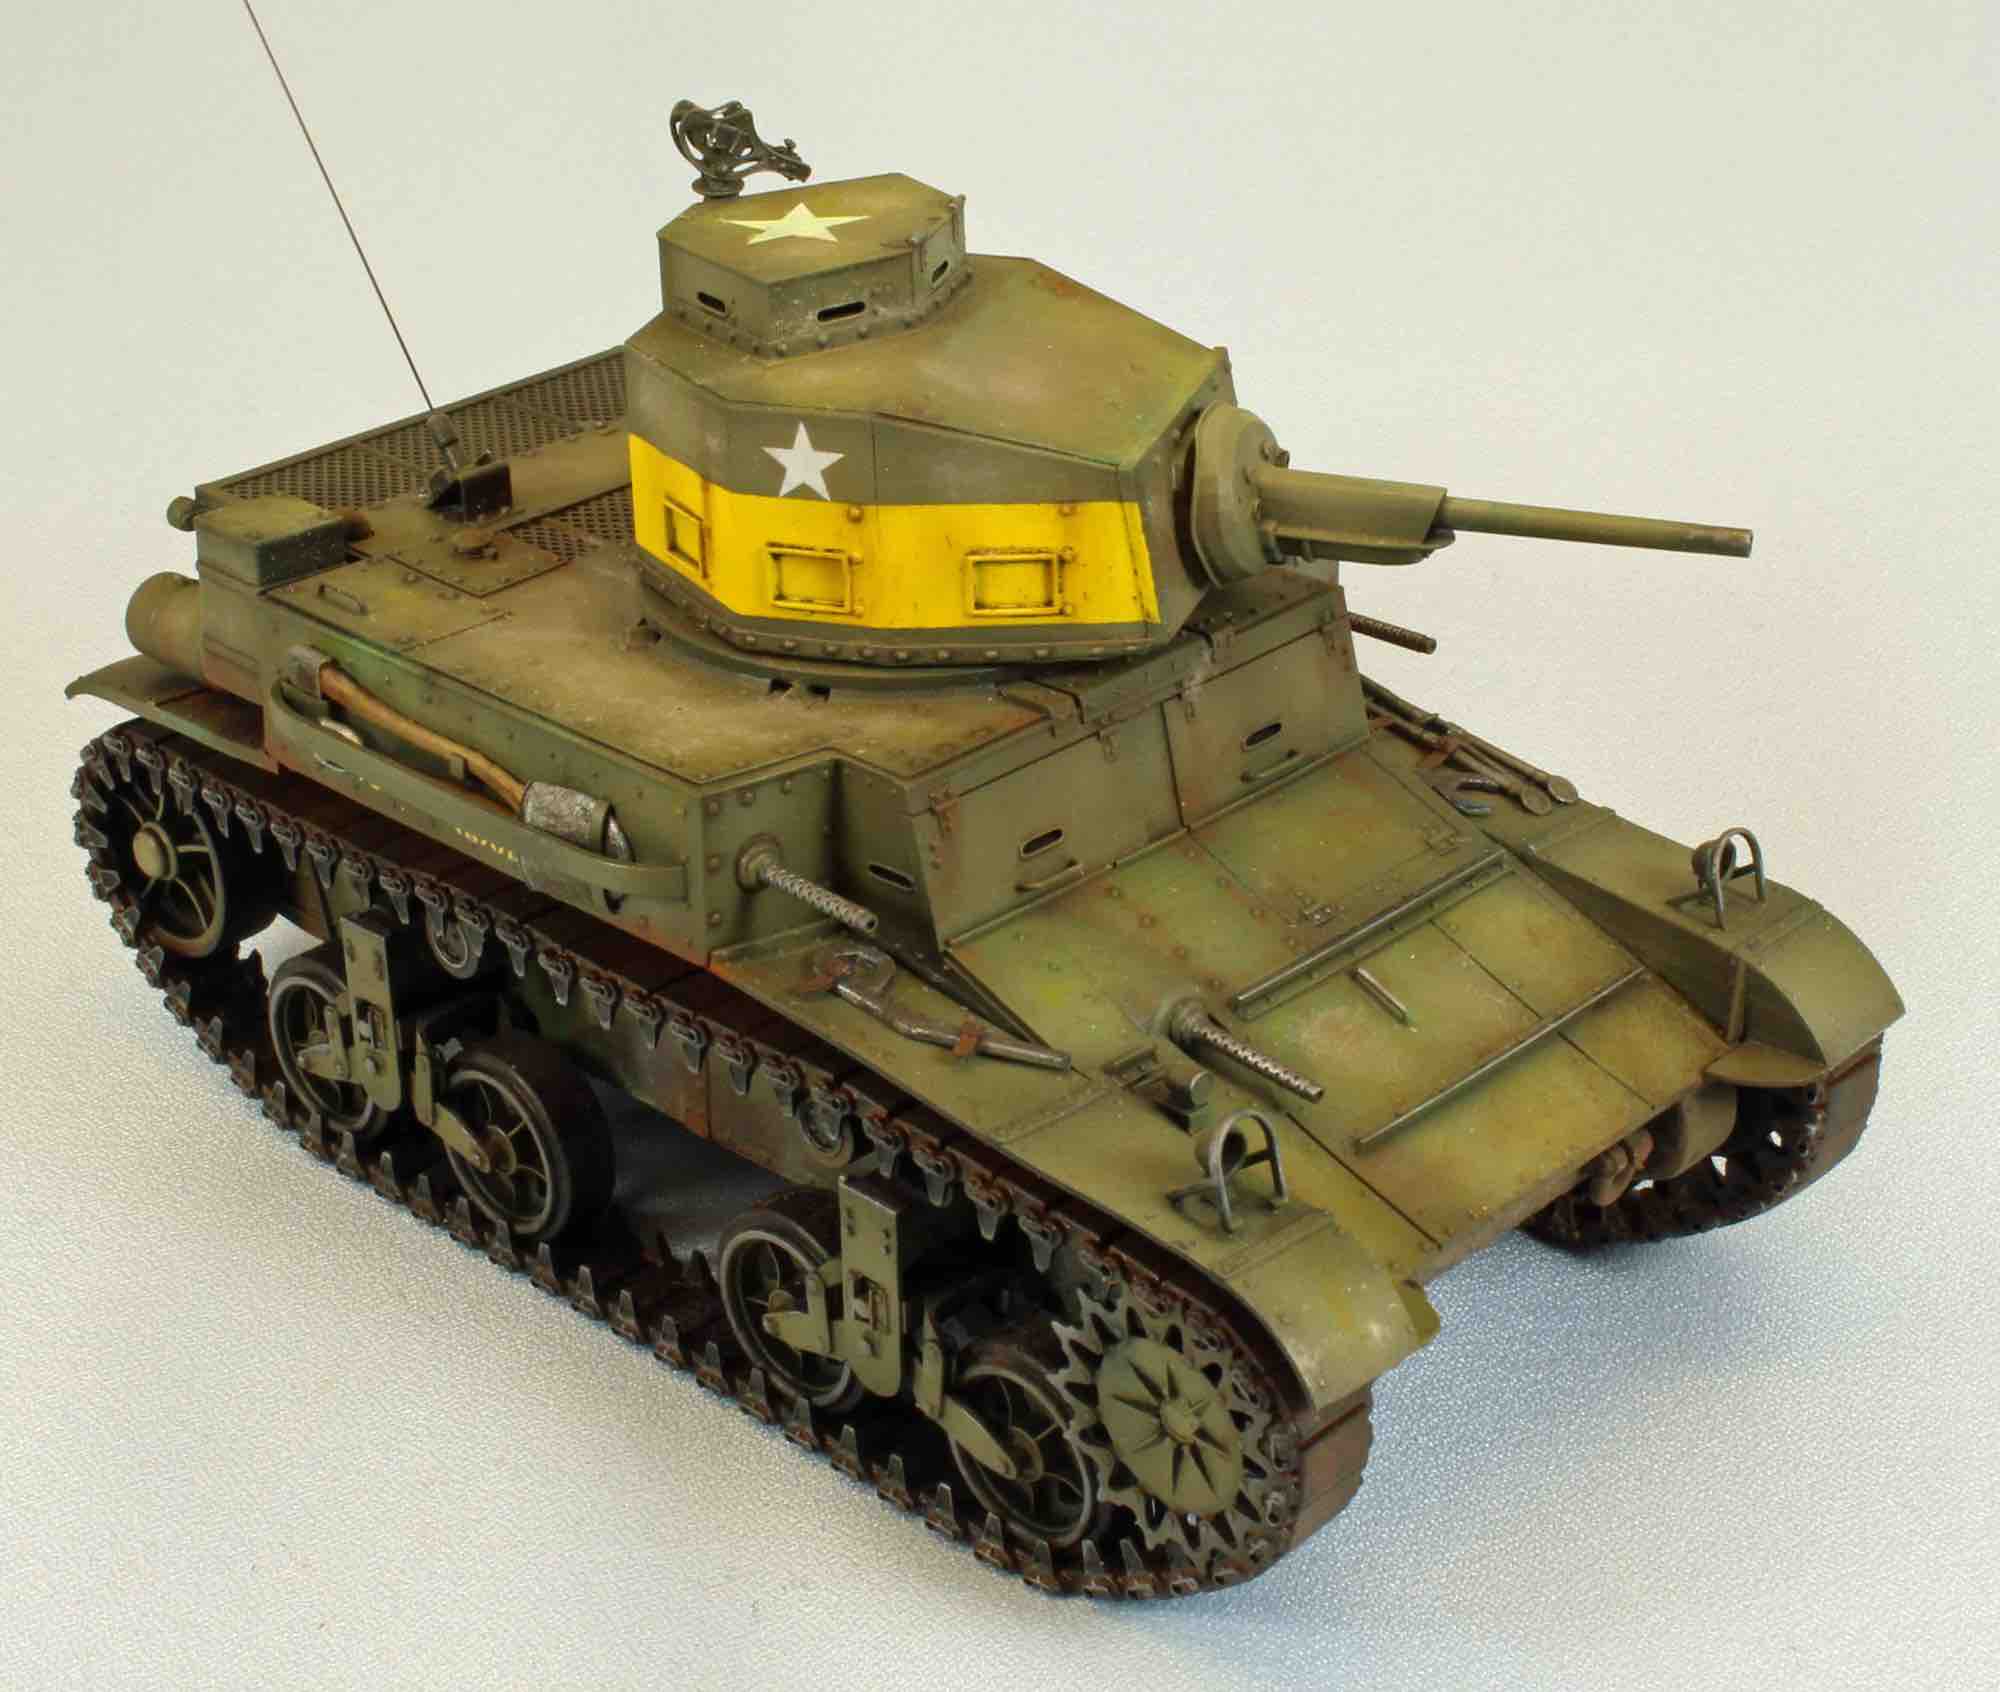
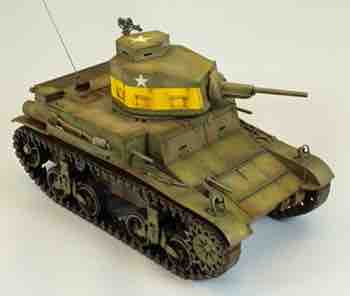
M2A4 Light Tank — Vargas
The olive drab green was too one-dimensional in my opinion, so I used pale yellows to lighten up the green, and concrete where the crew would be walking around on the deck. Not much here, but just enough to change things.
I hope I have given you food for thought about using pigments differently in your work. These techniques can easily be transferred to combat aircraft, submarines, ships and even Gundam figures, limited only by your imagination. Have fun!
Thanks, and Model On! - Eric