



A steadier way to rig
Build a reliable third hand for your biplane.
Biplane assembly asks you to control alignment, spacing, and fragile struts all at once. Jack Matthews’ adjustable jig supports the model while you work, making the delicate jobs of setting the upper wing and adding rigging far more manageable.
By Jack Matthews
How the fixture works
This Einstein quote is appropriate for this biplane assembly fixture; it’s simple, but it has a subtle feature that cannot be ignored.
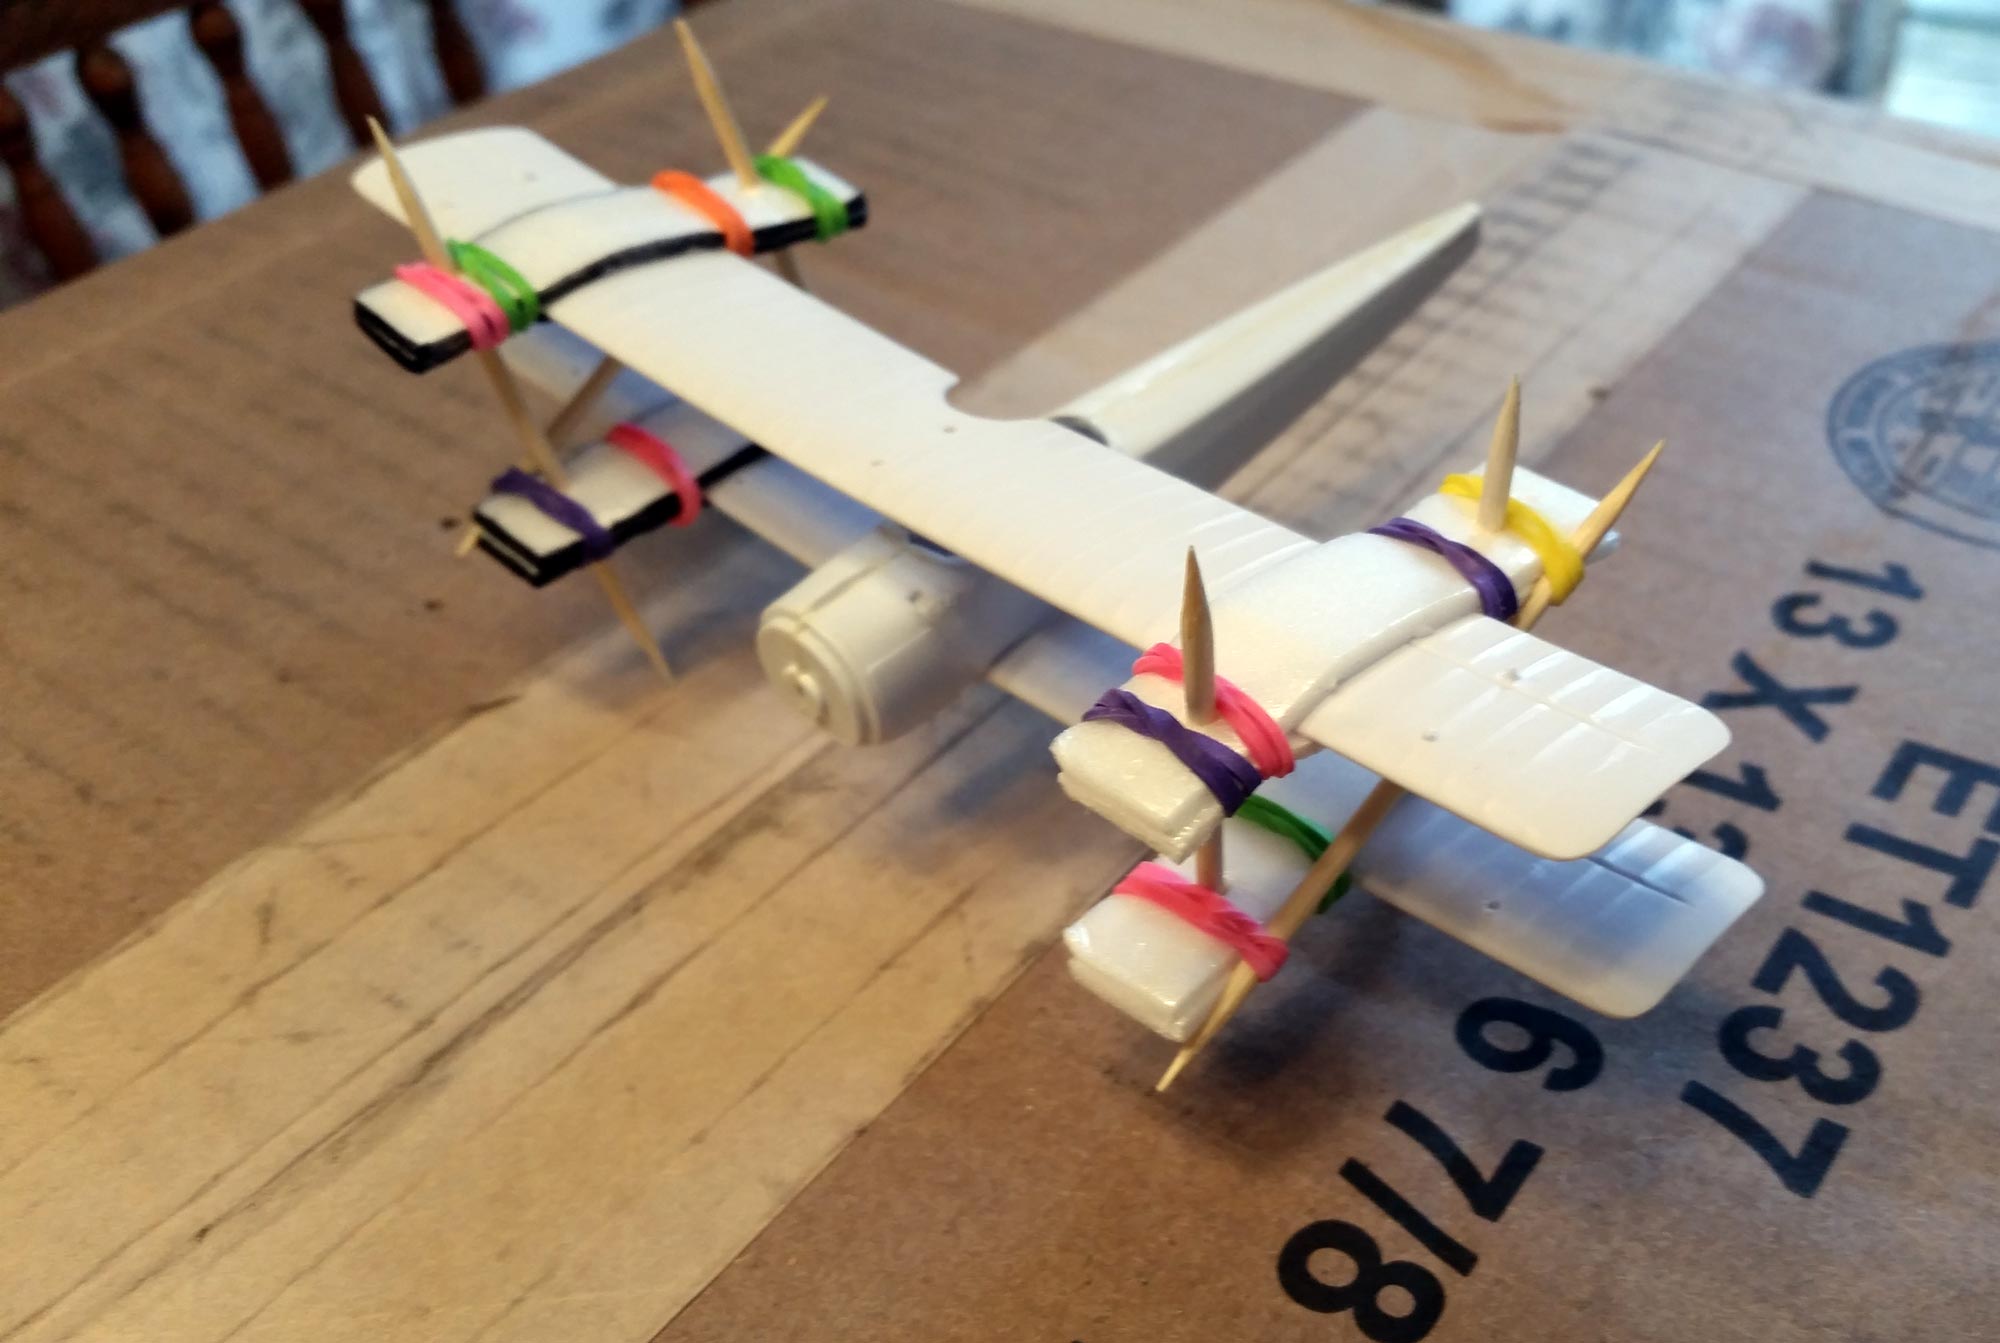
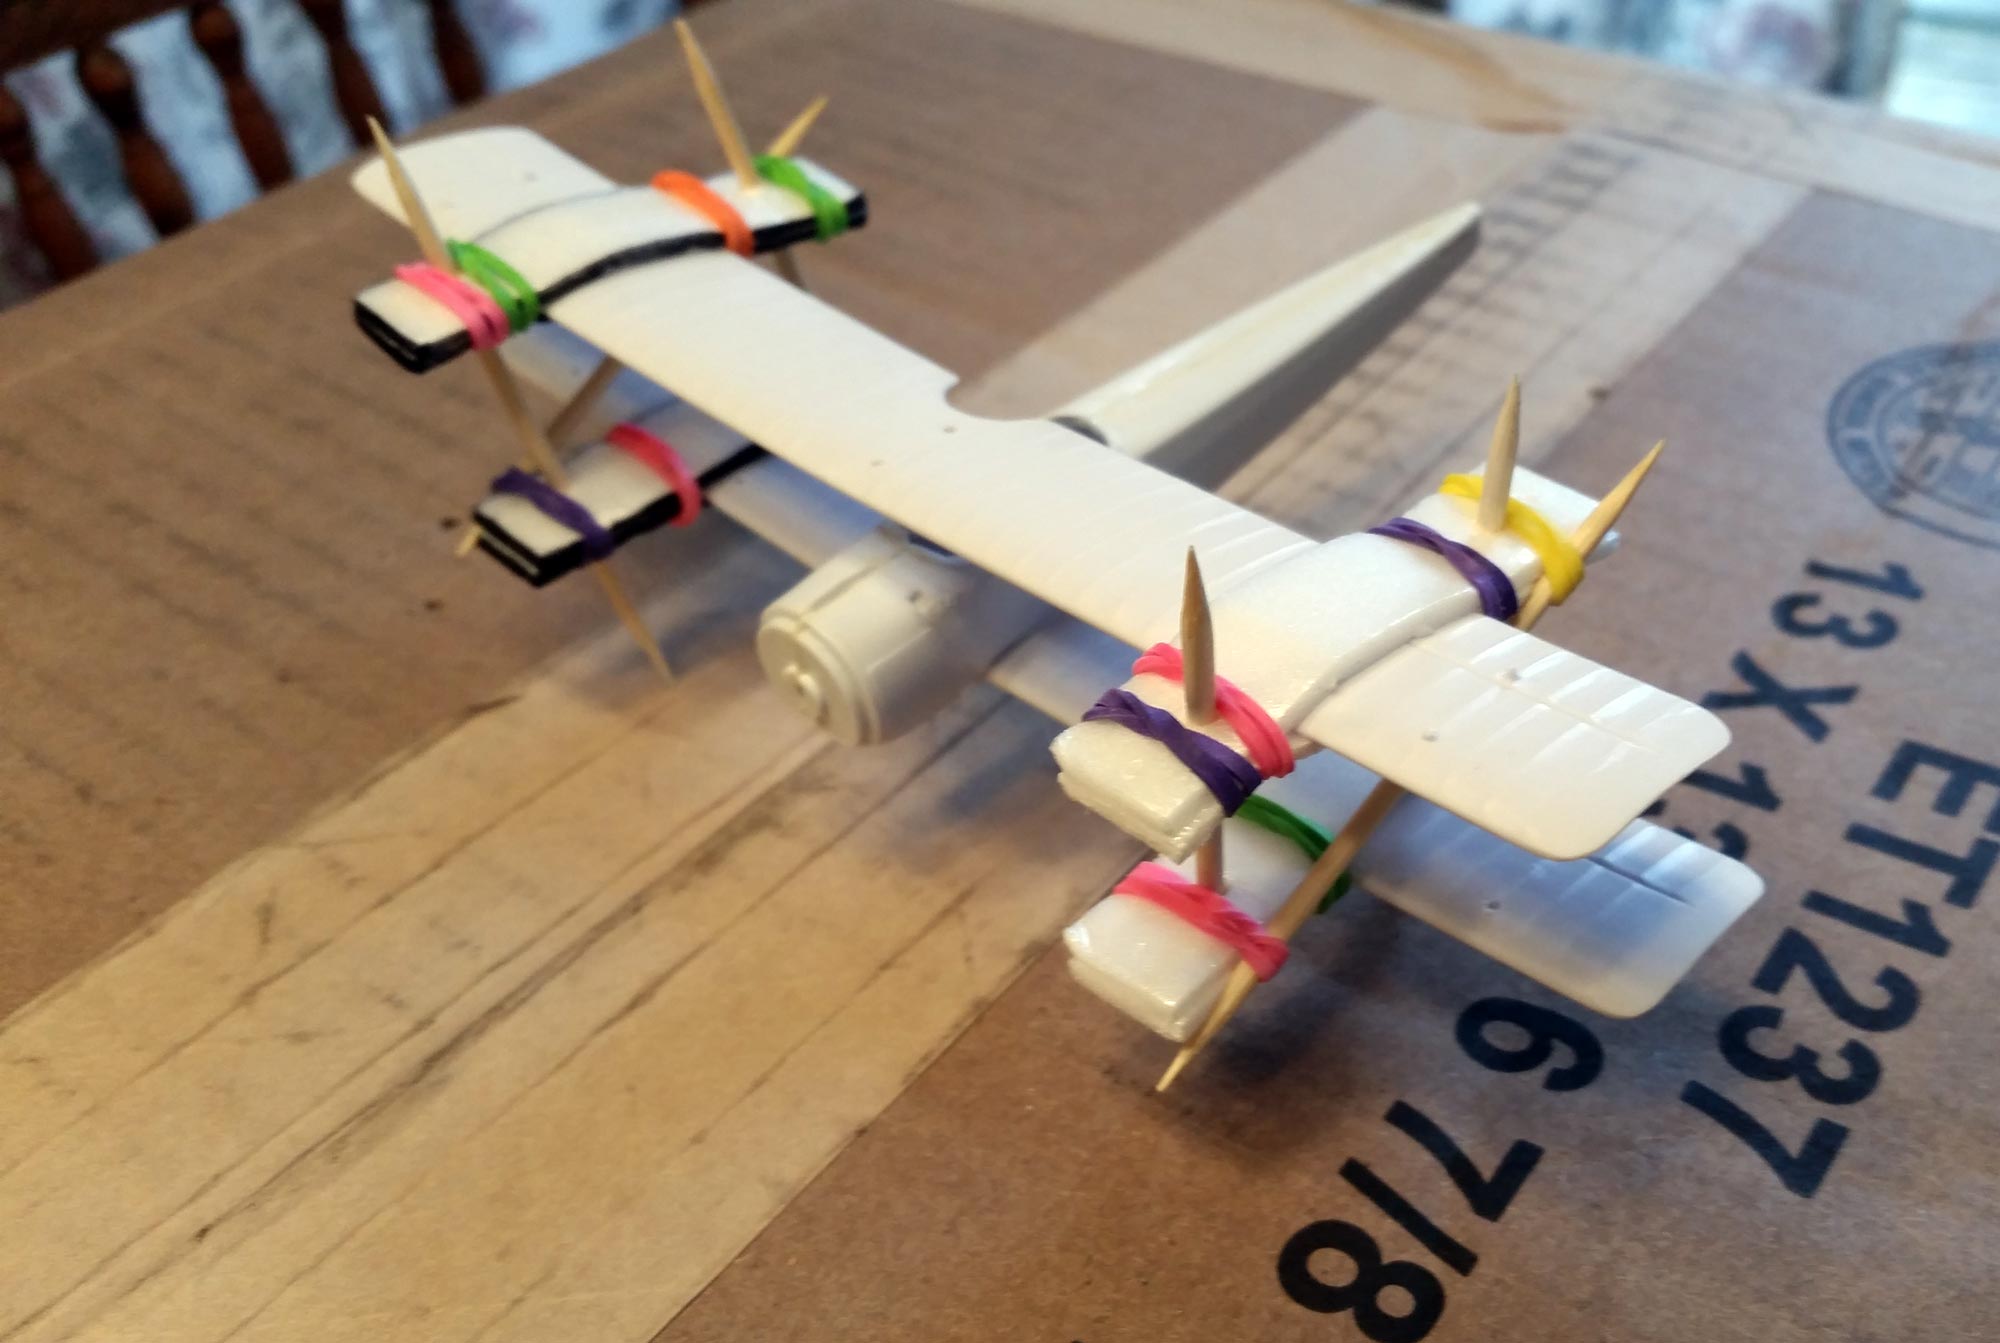
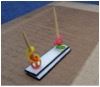
The fixture holds the top wing relative to the bottom wing and allows adjustment for accurate positioning of the wings, dry fitting the struts, holding the struts in position as they are glued, and rigging.
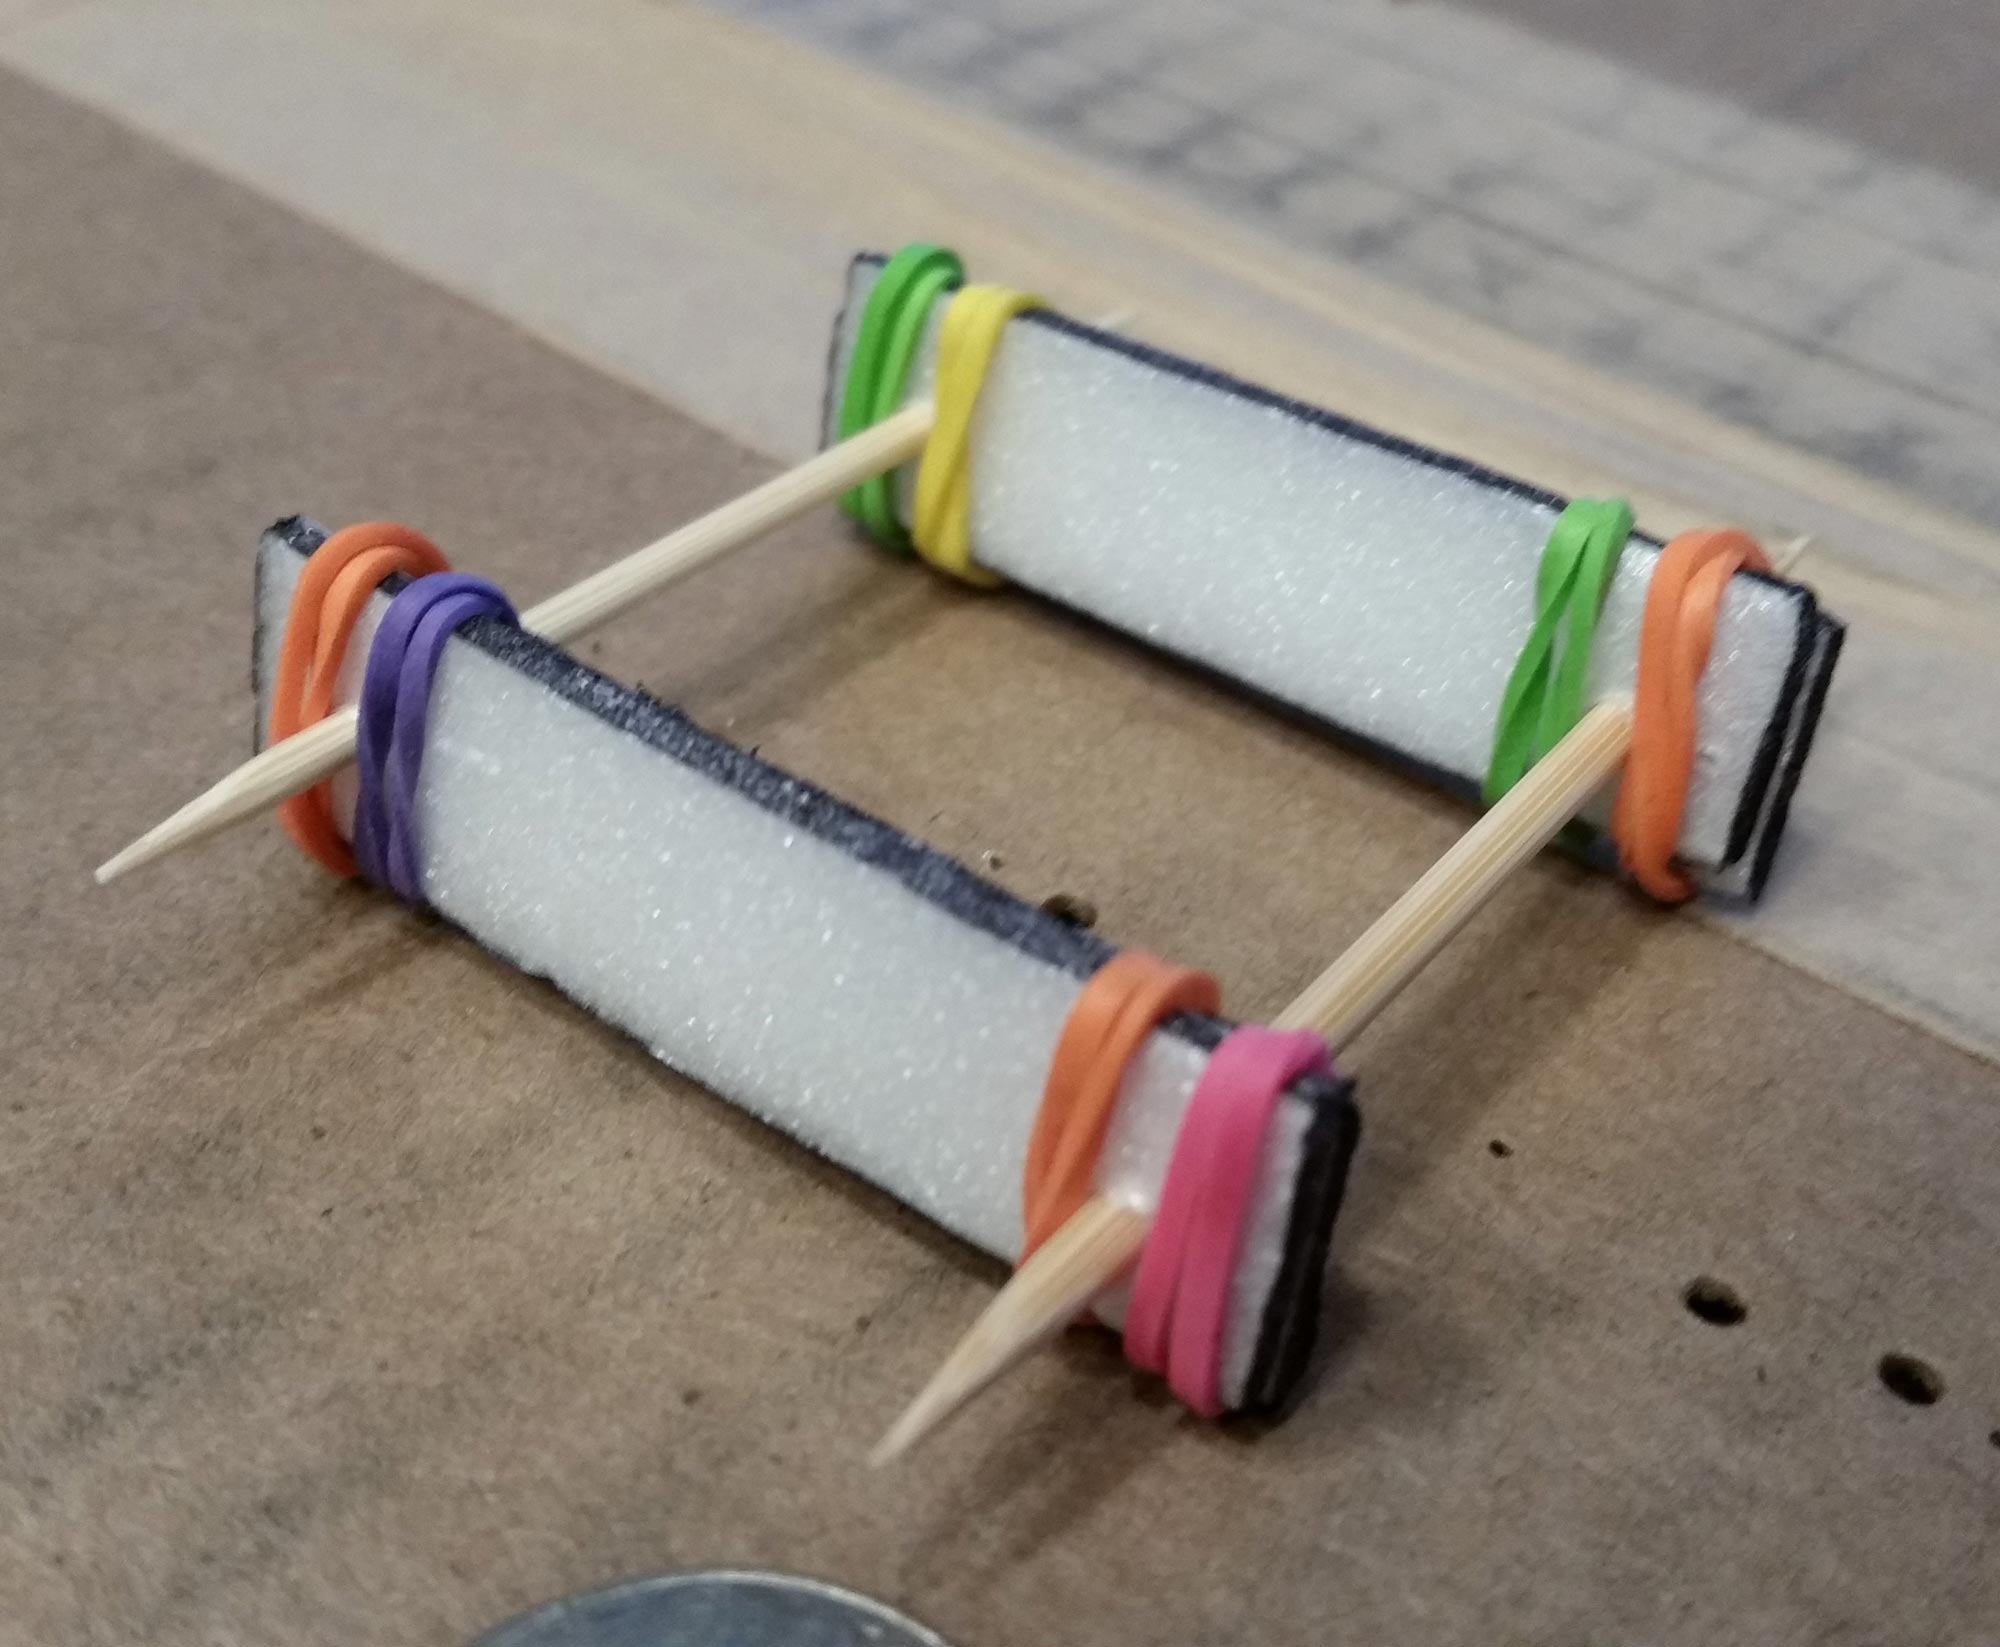
The position of the wings in the fixture is adjustable. Once it is correct, the rubber bands can be closed in on the edges of the wings to hold them in place. The toothpicks are parallel so that the position of the wings, up and down, is adjustable.
Materials and tools
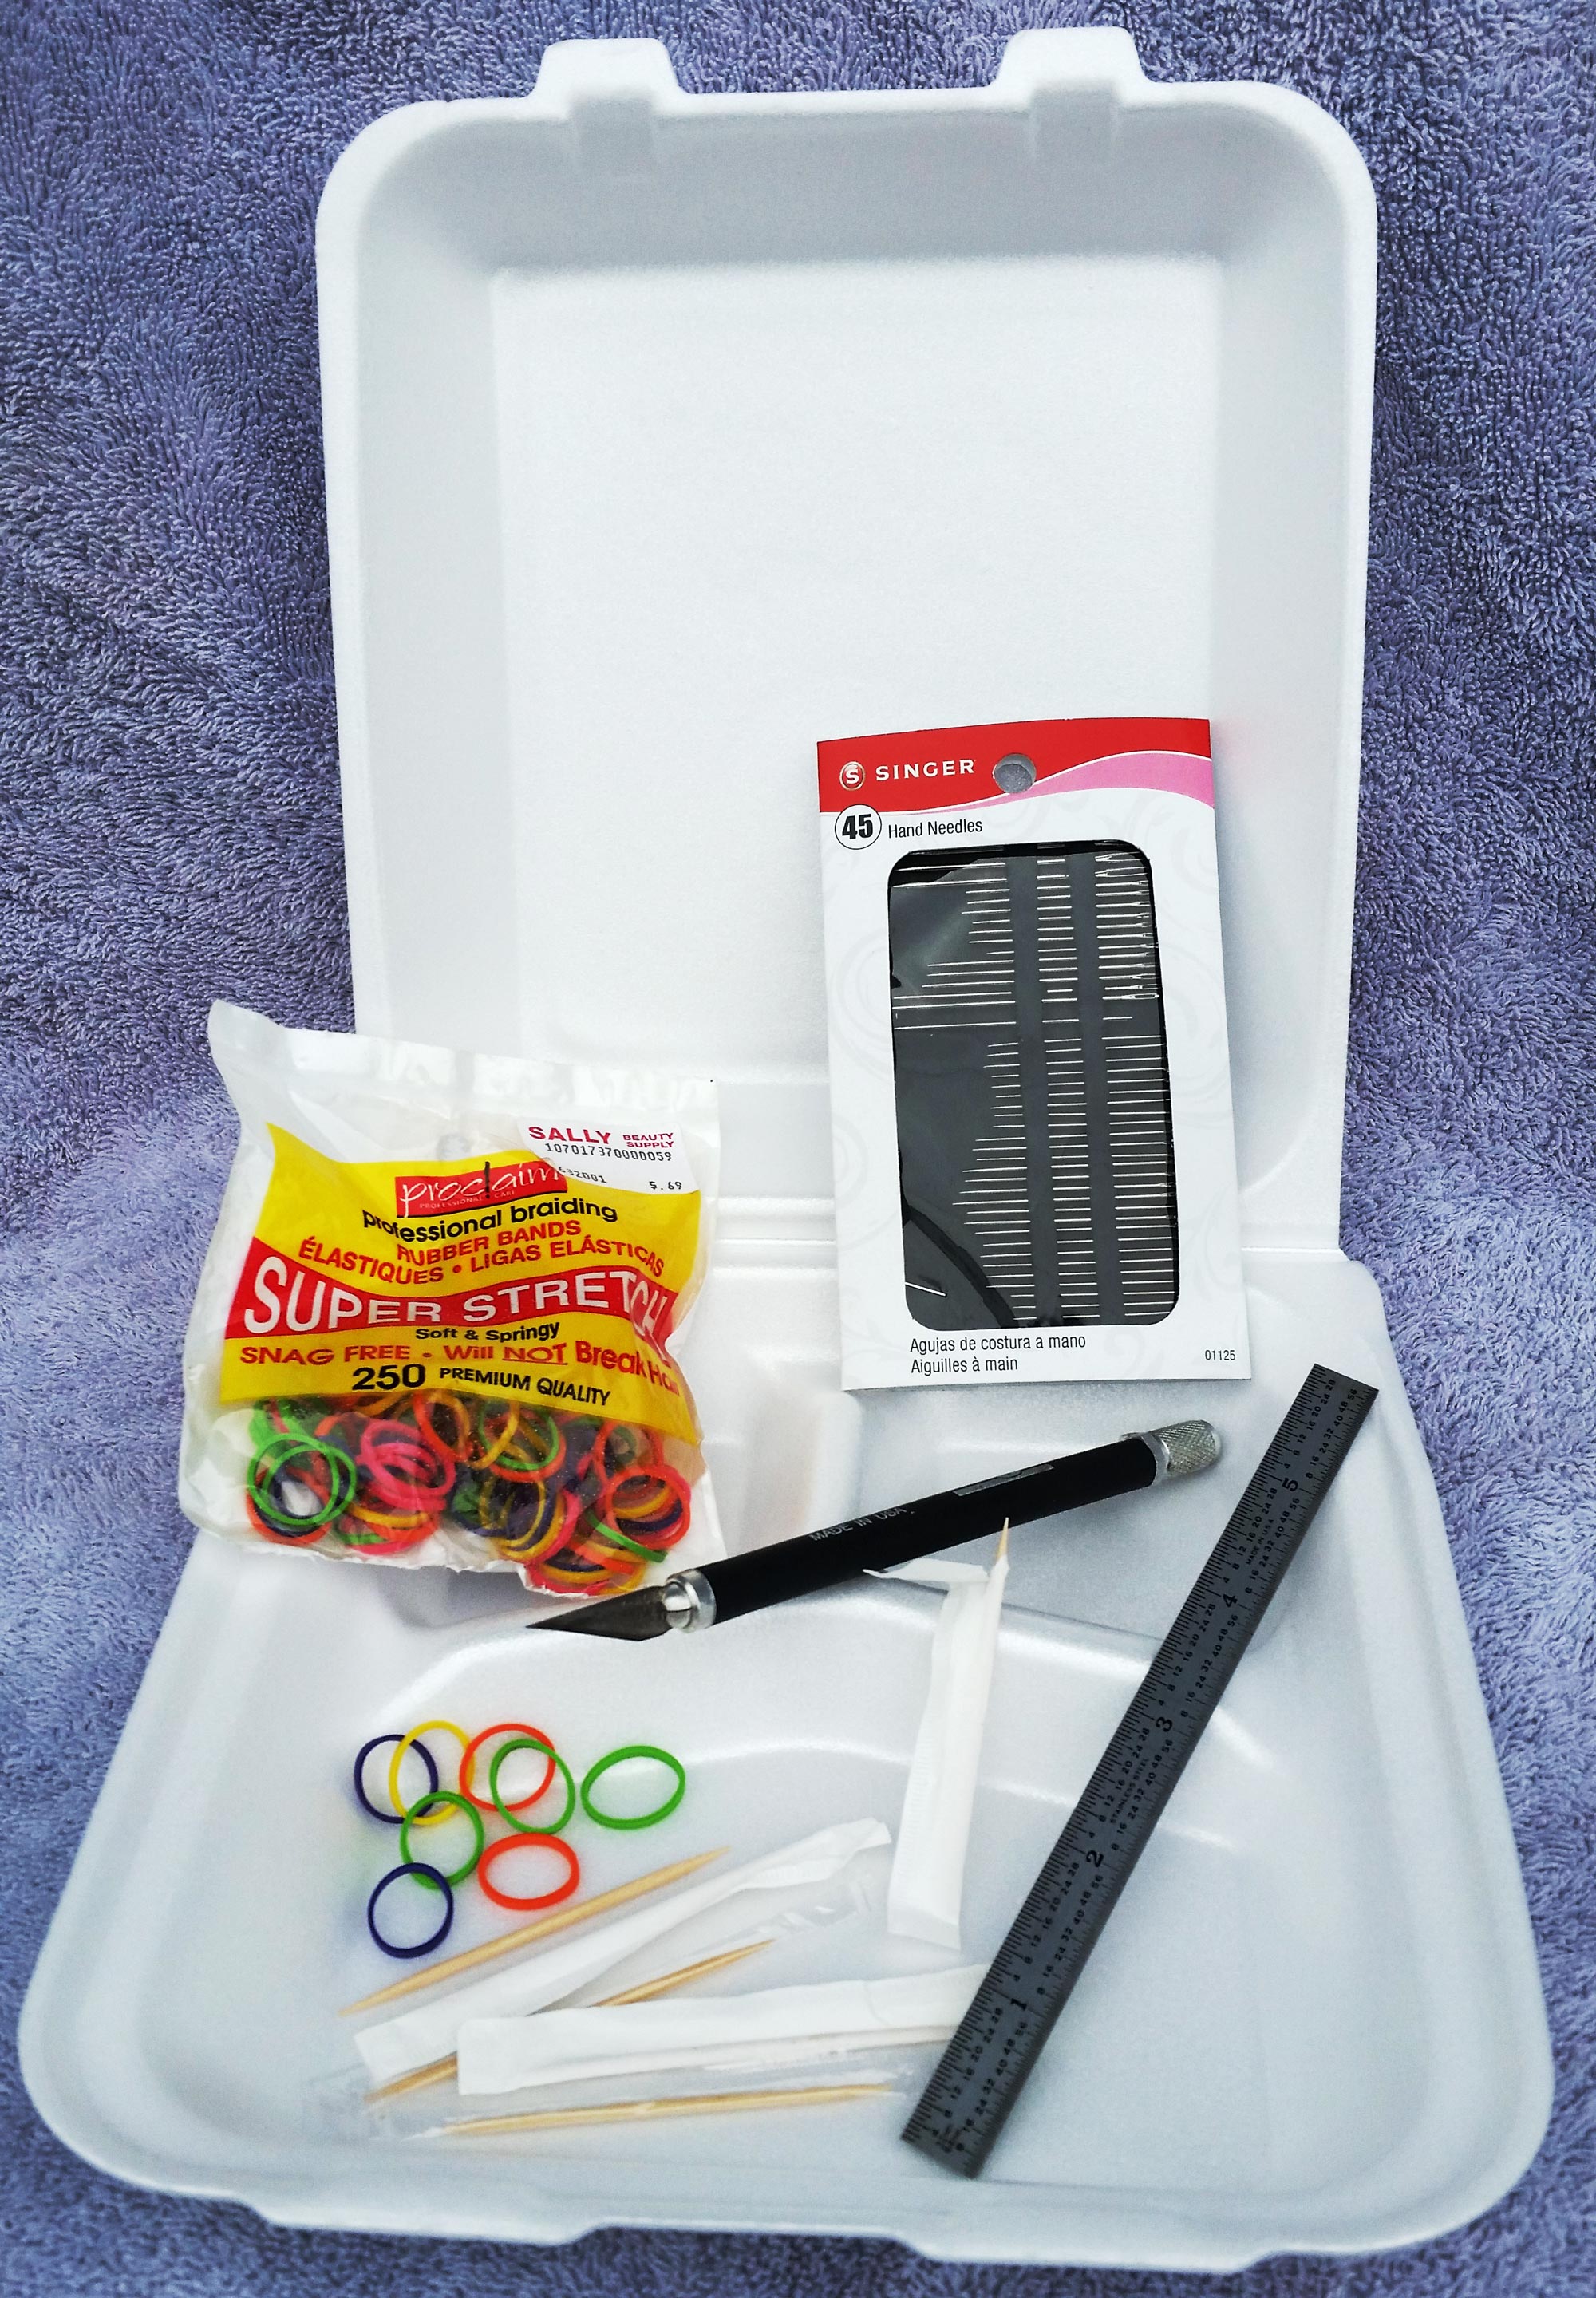
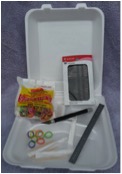
The materials are as available as the nearest strip mall: thin Styrofoam, such as that from a take-out clamshell container; rubber bands, like those used to hold the end of a braid together; and toothpicks.
The required tool is equally simple: a blade. A metal scale is useful as a template for making strips that suit the rubber bands. Pins or needles help hold the strips still while piercing them with toothpicks, but they are not absolutely necessary.
Build the fixture
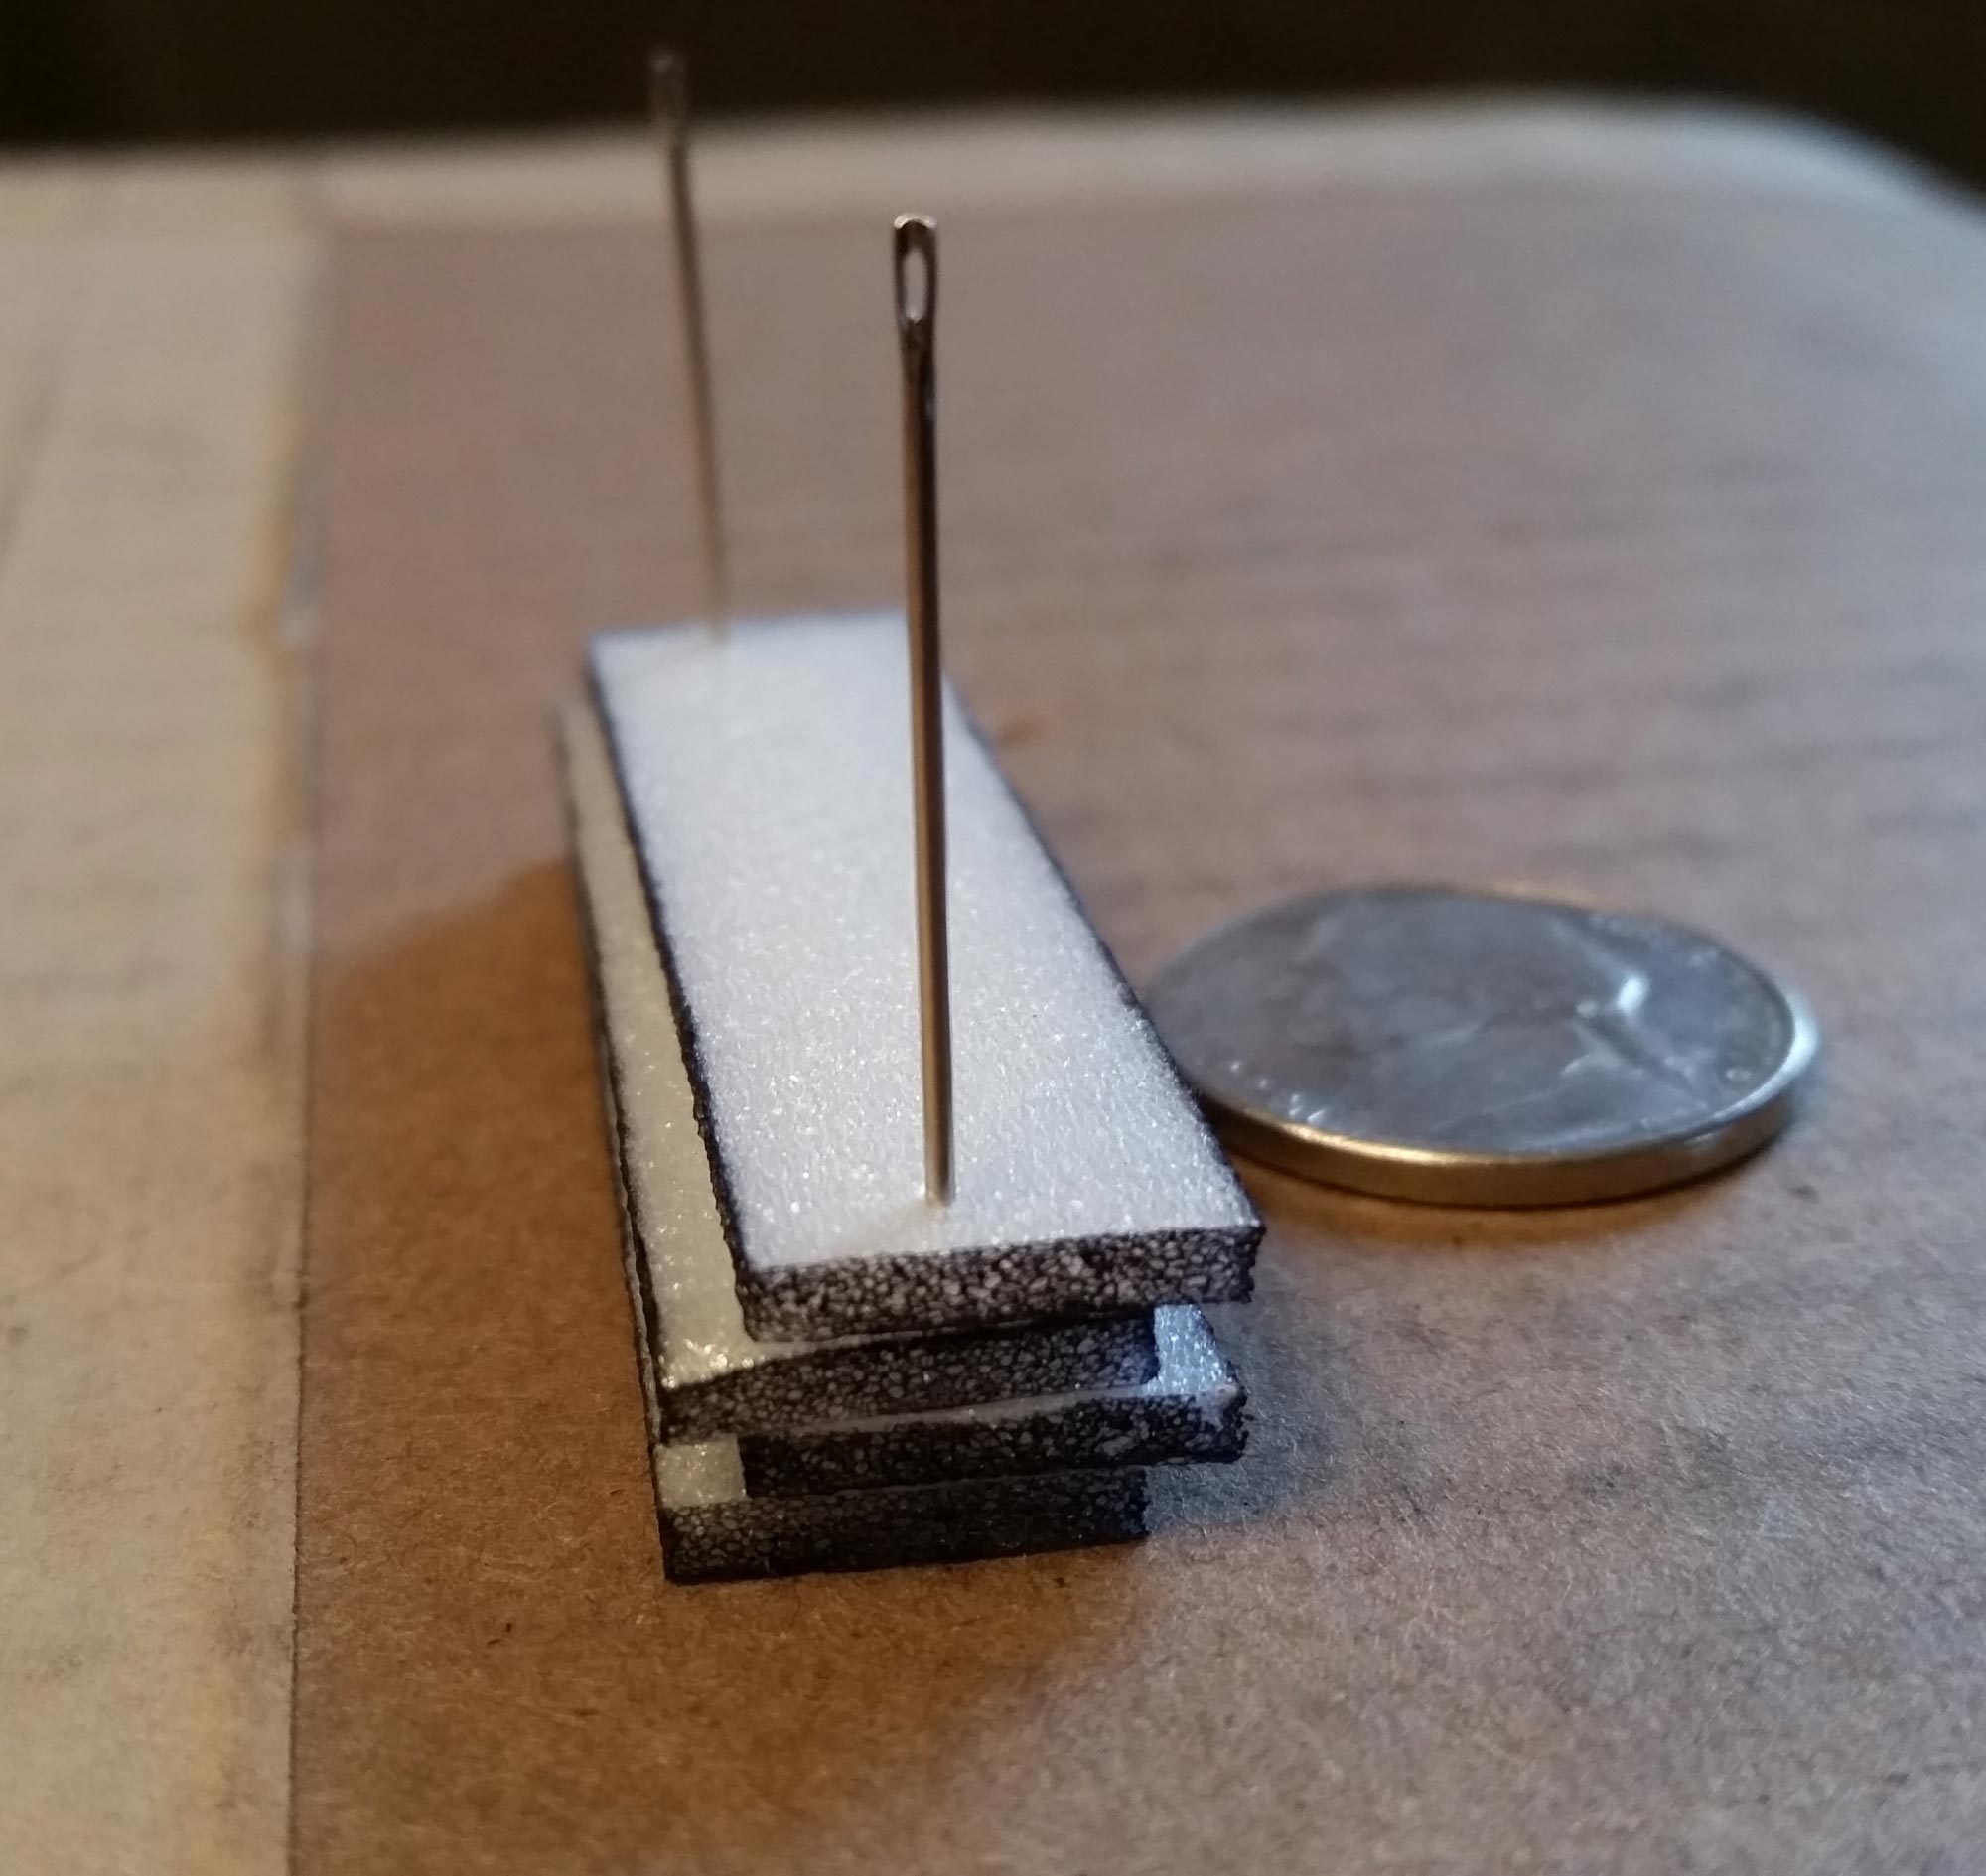
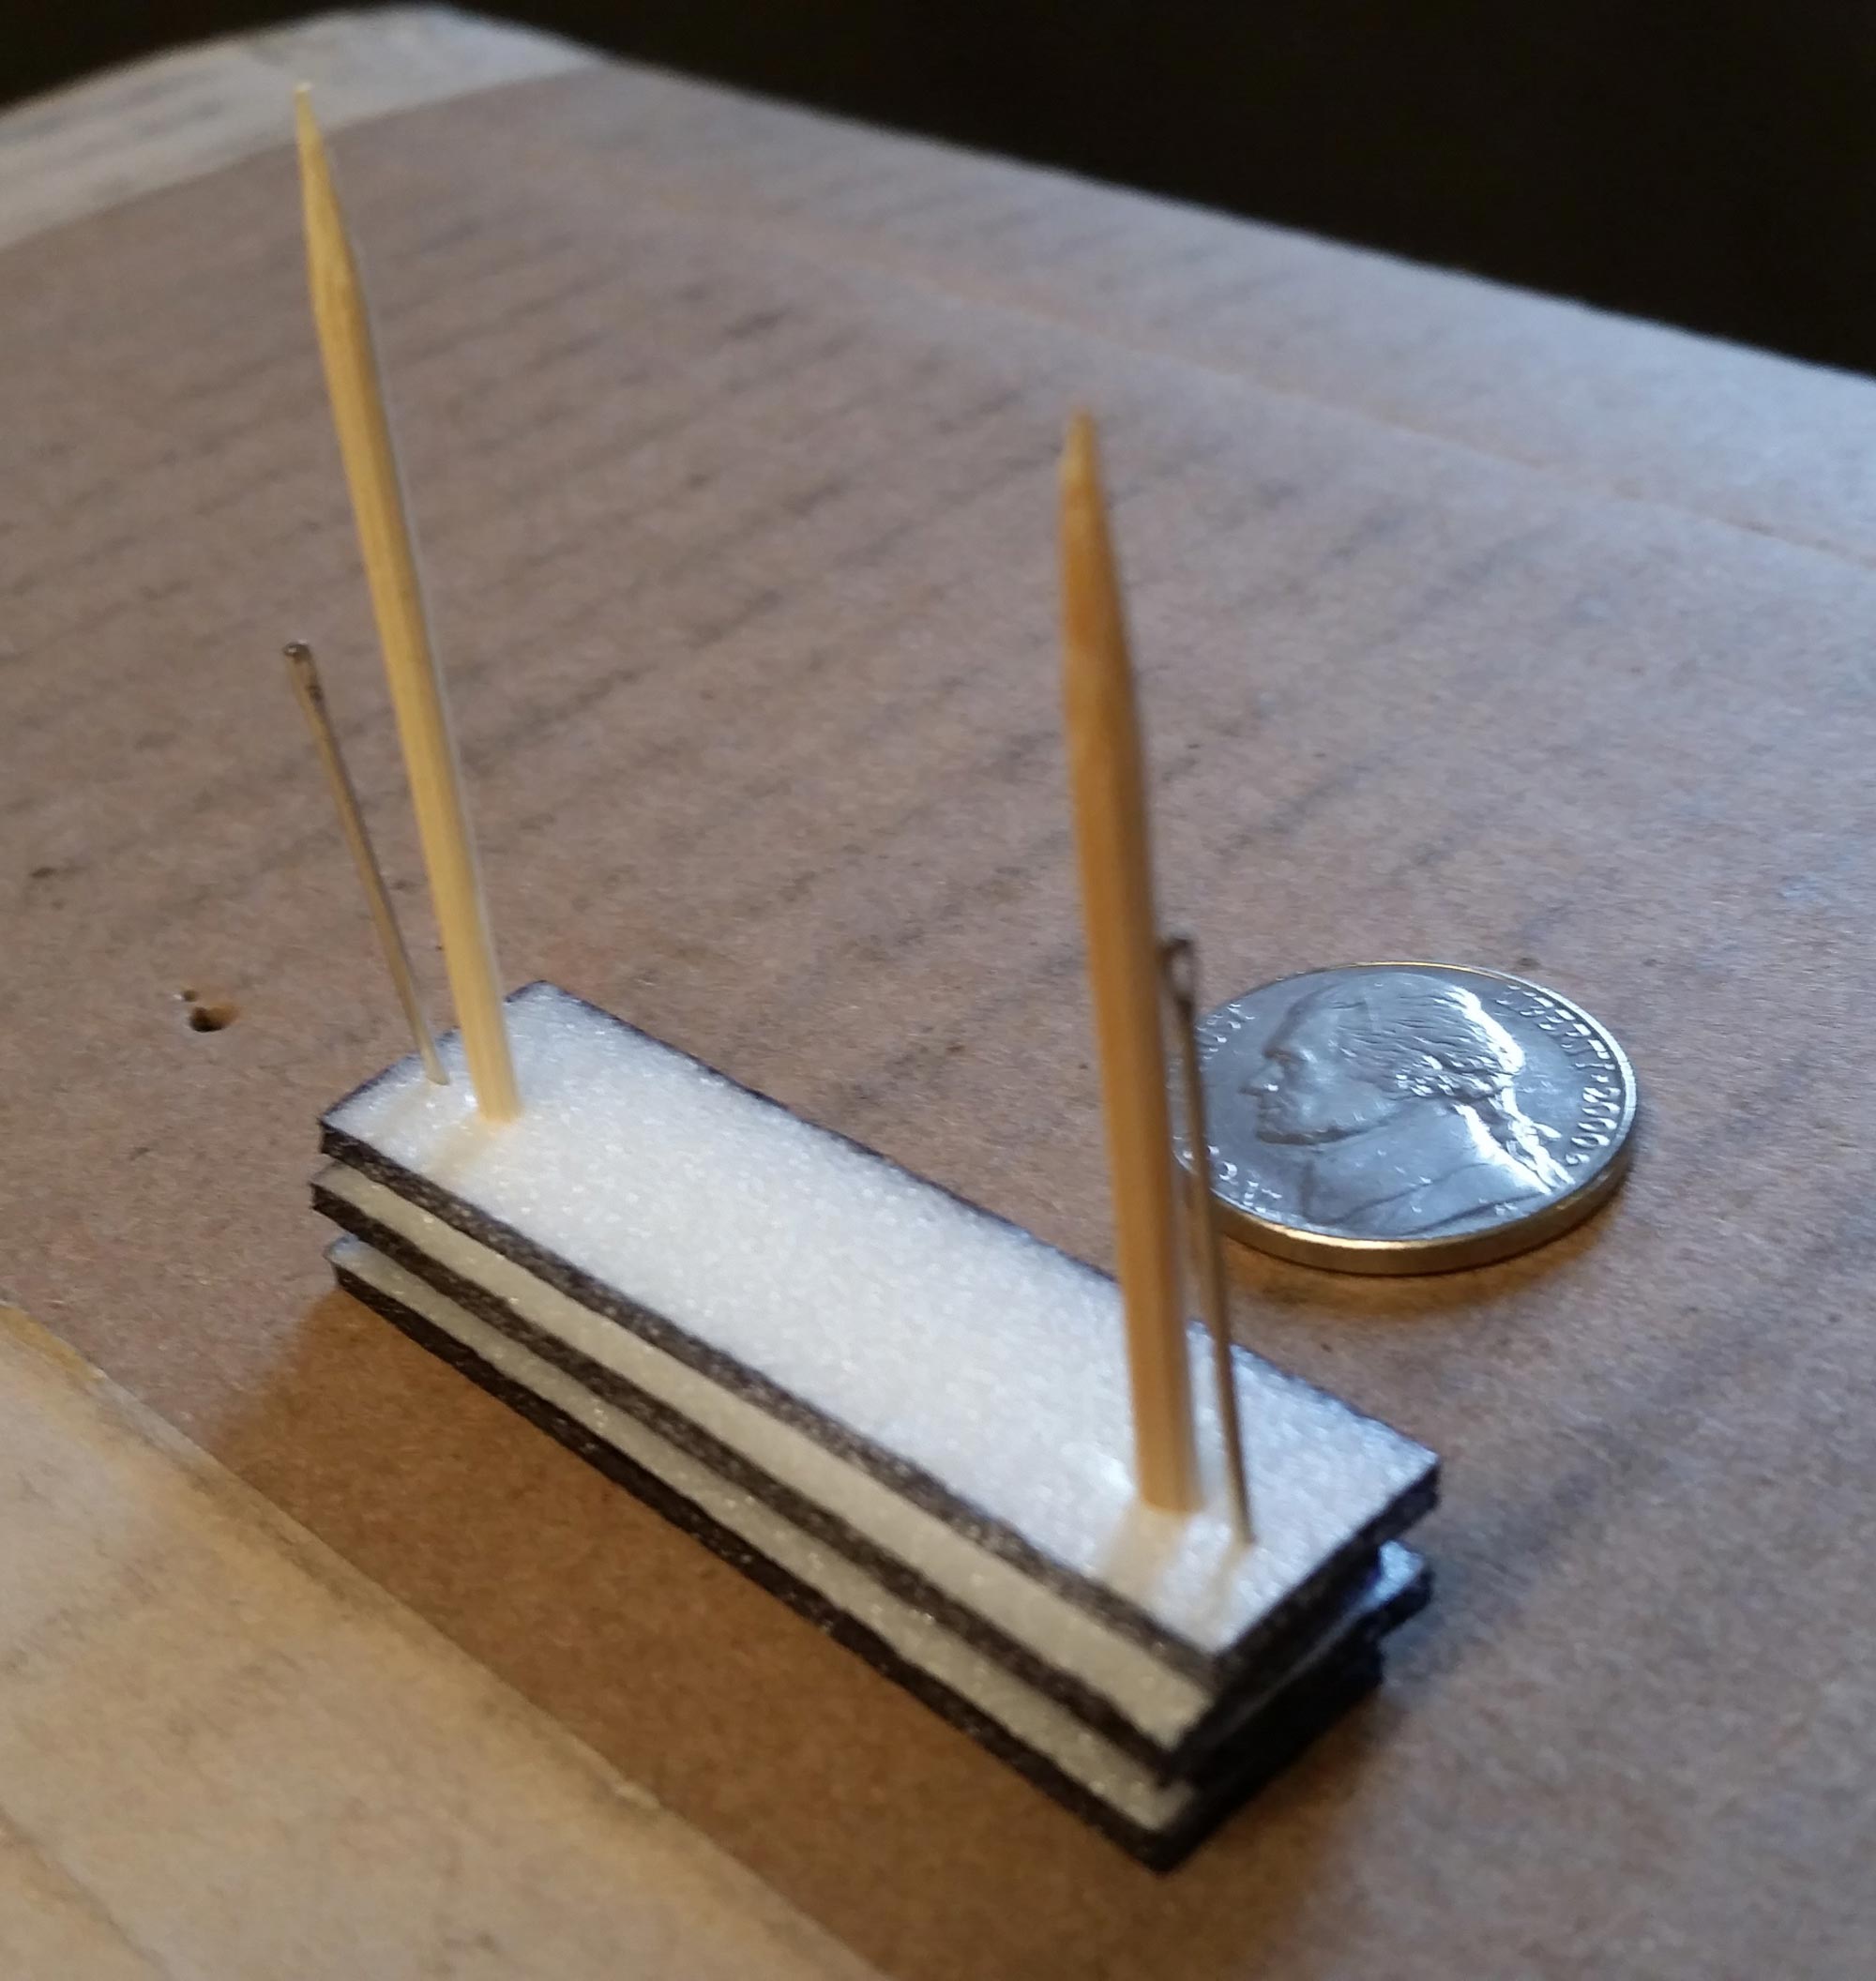
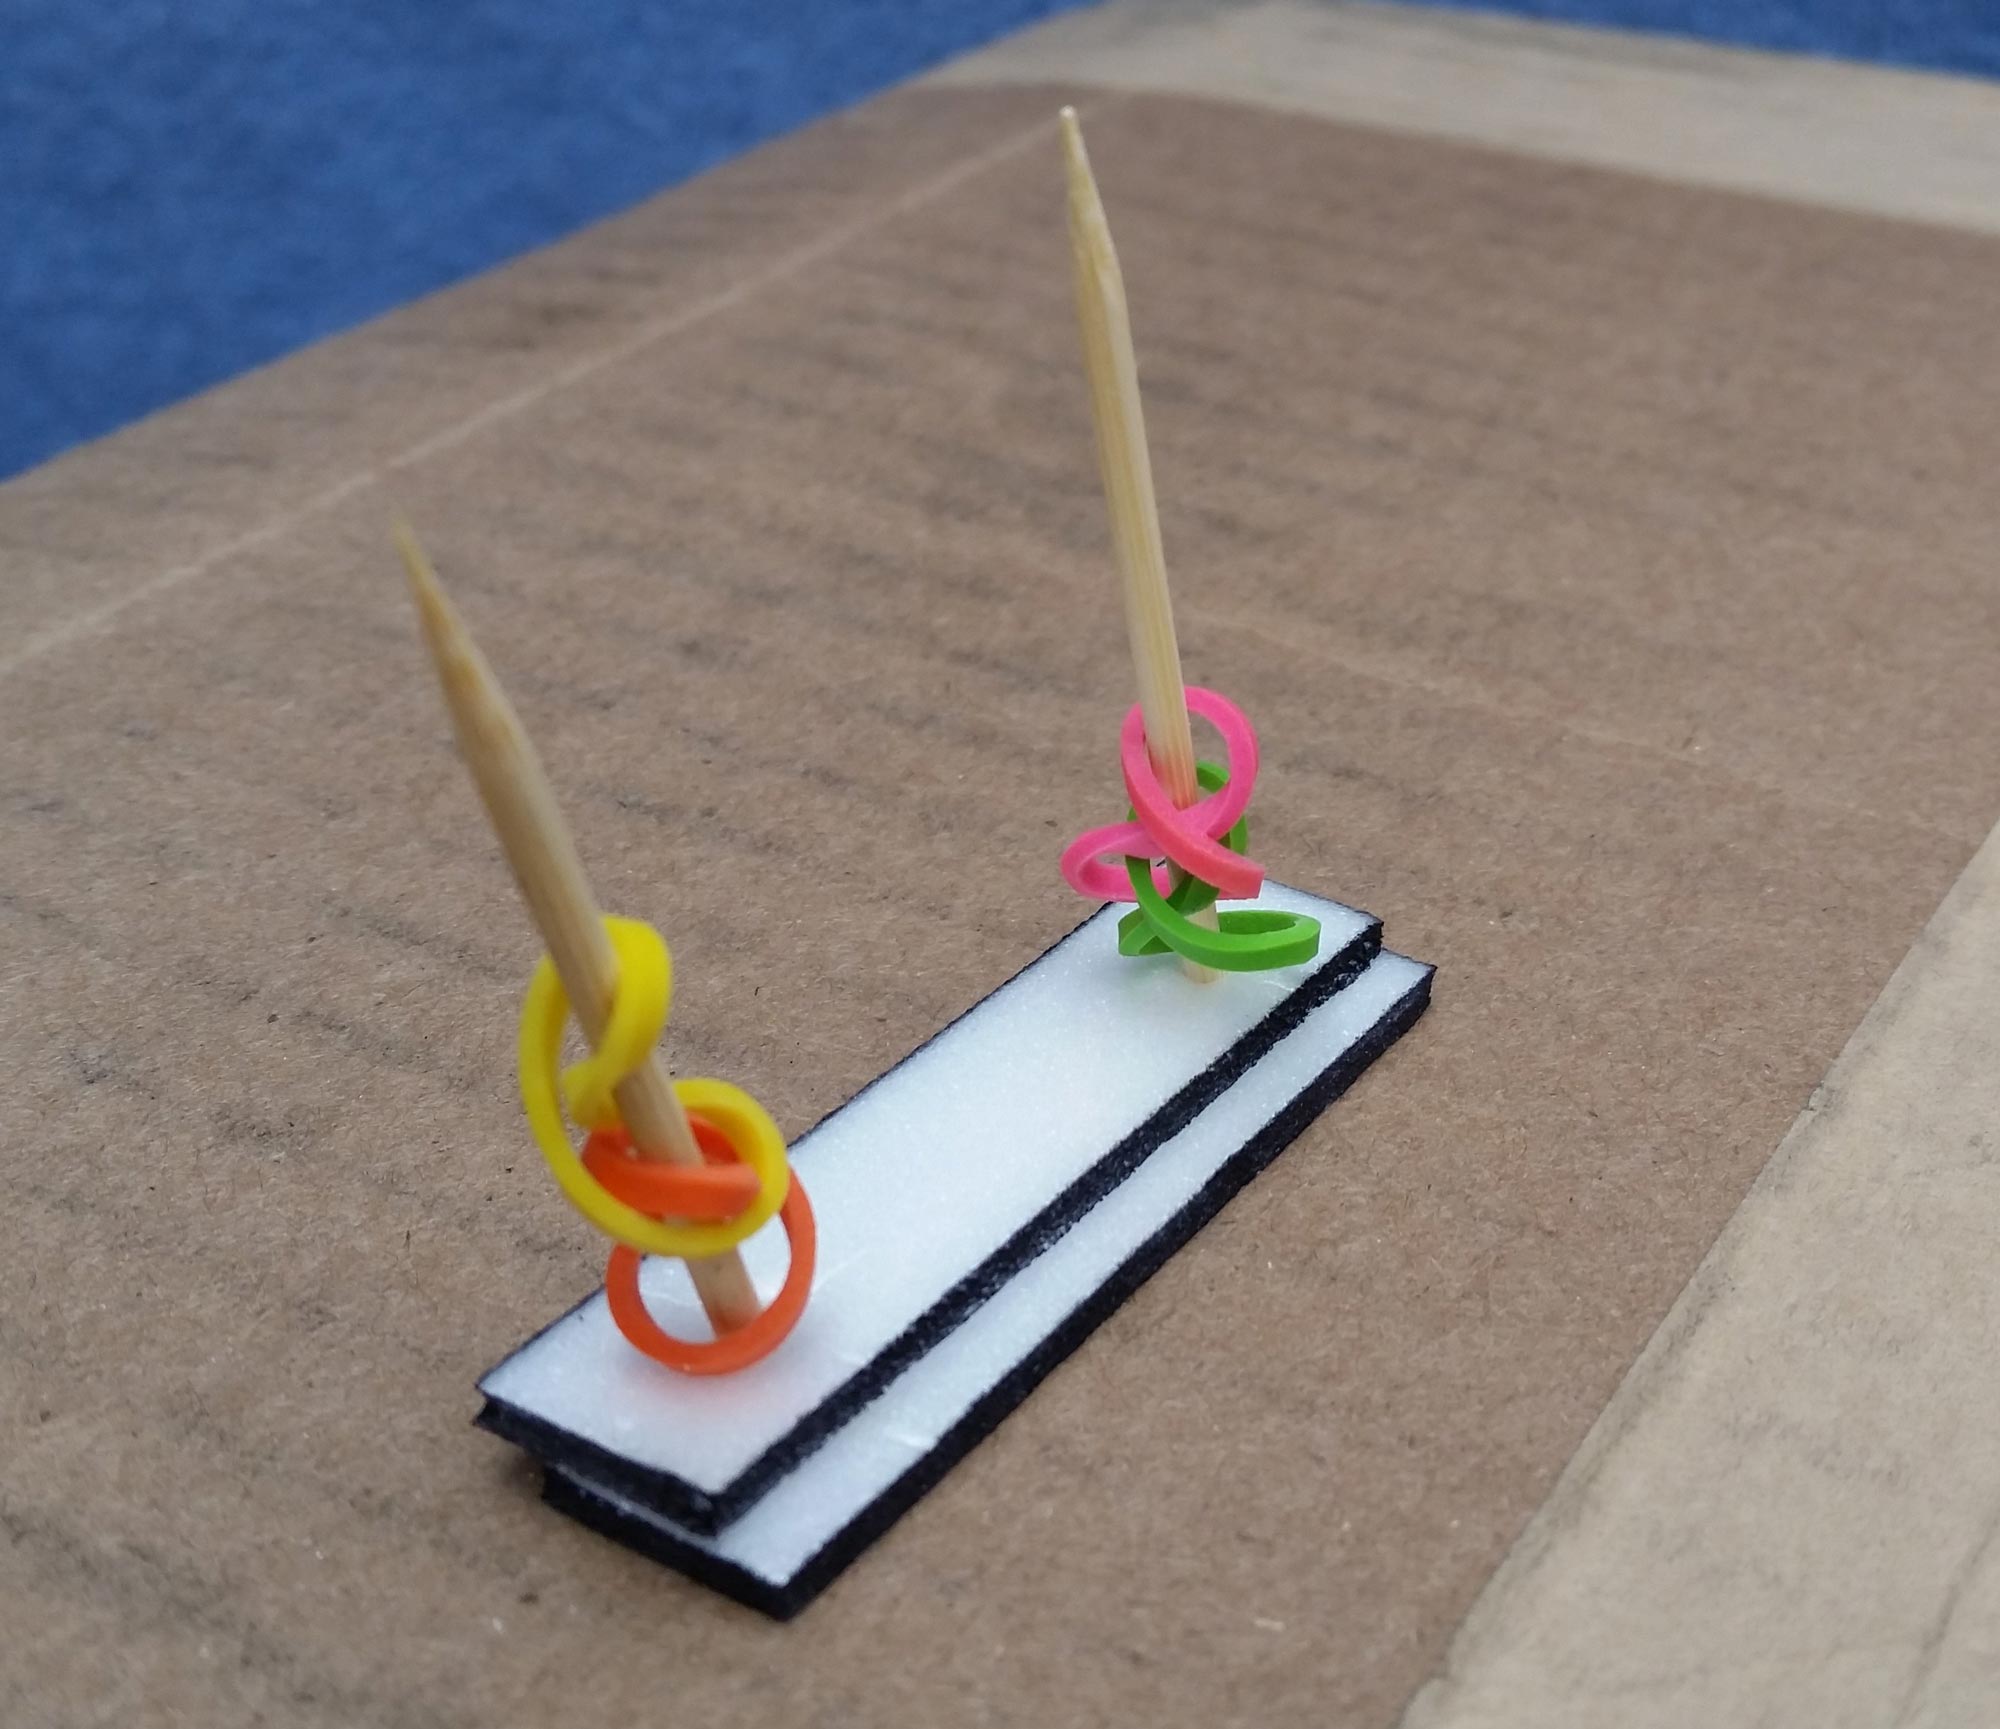
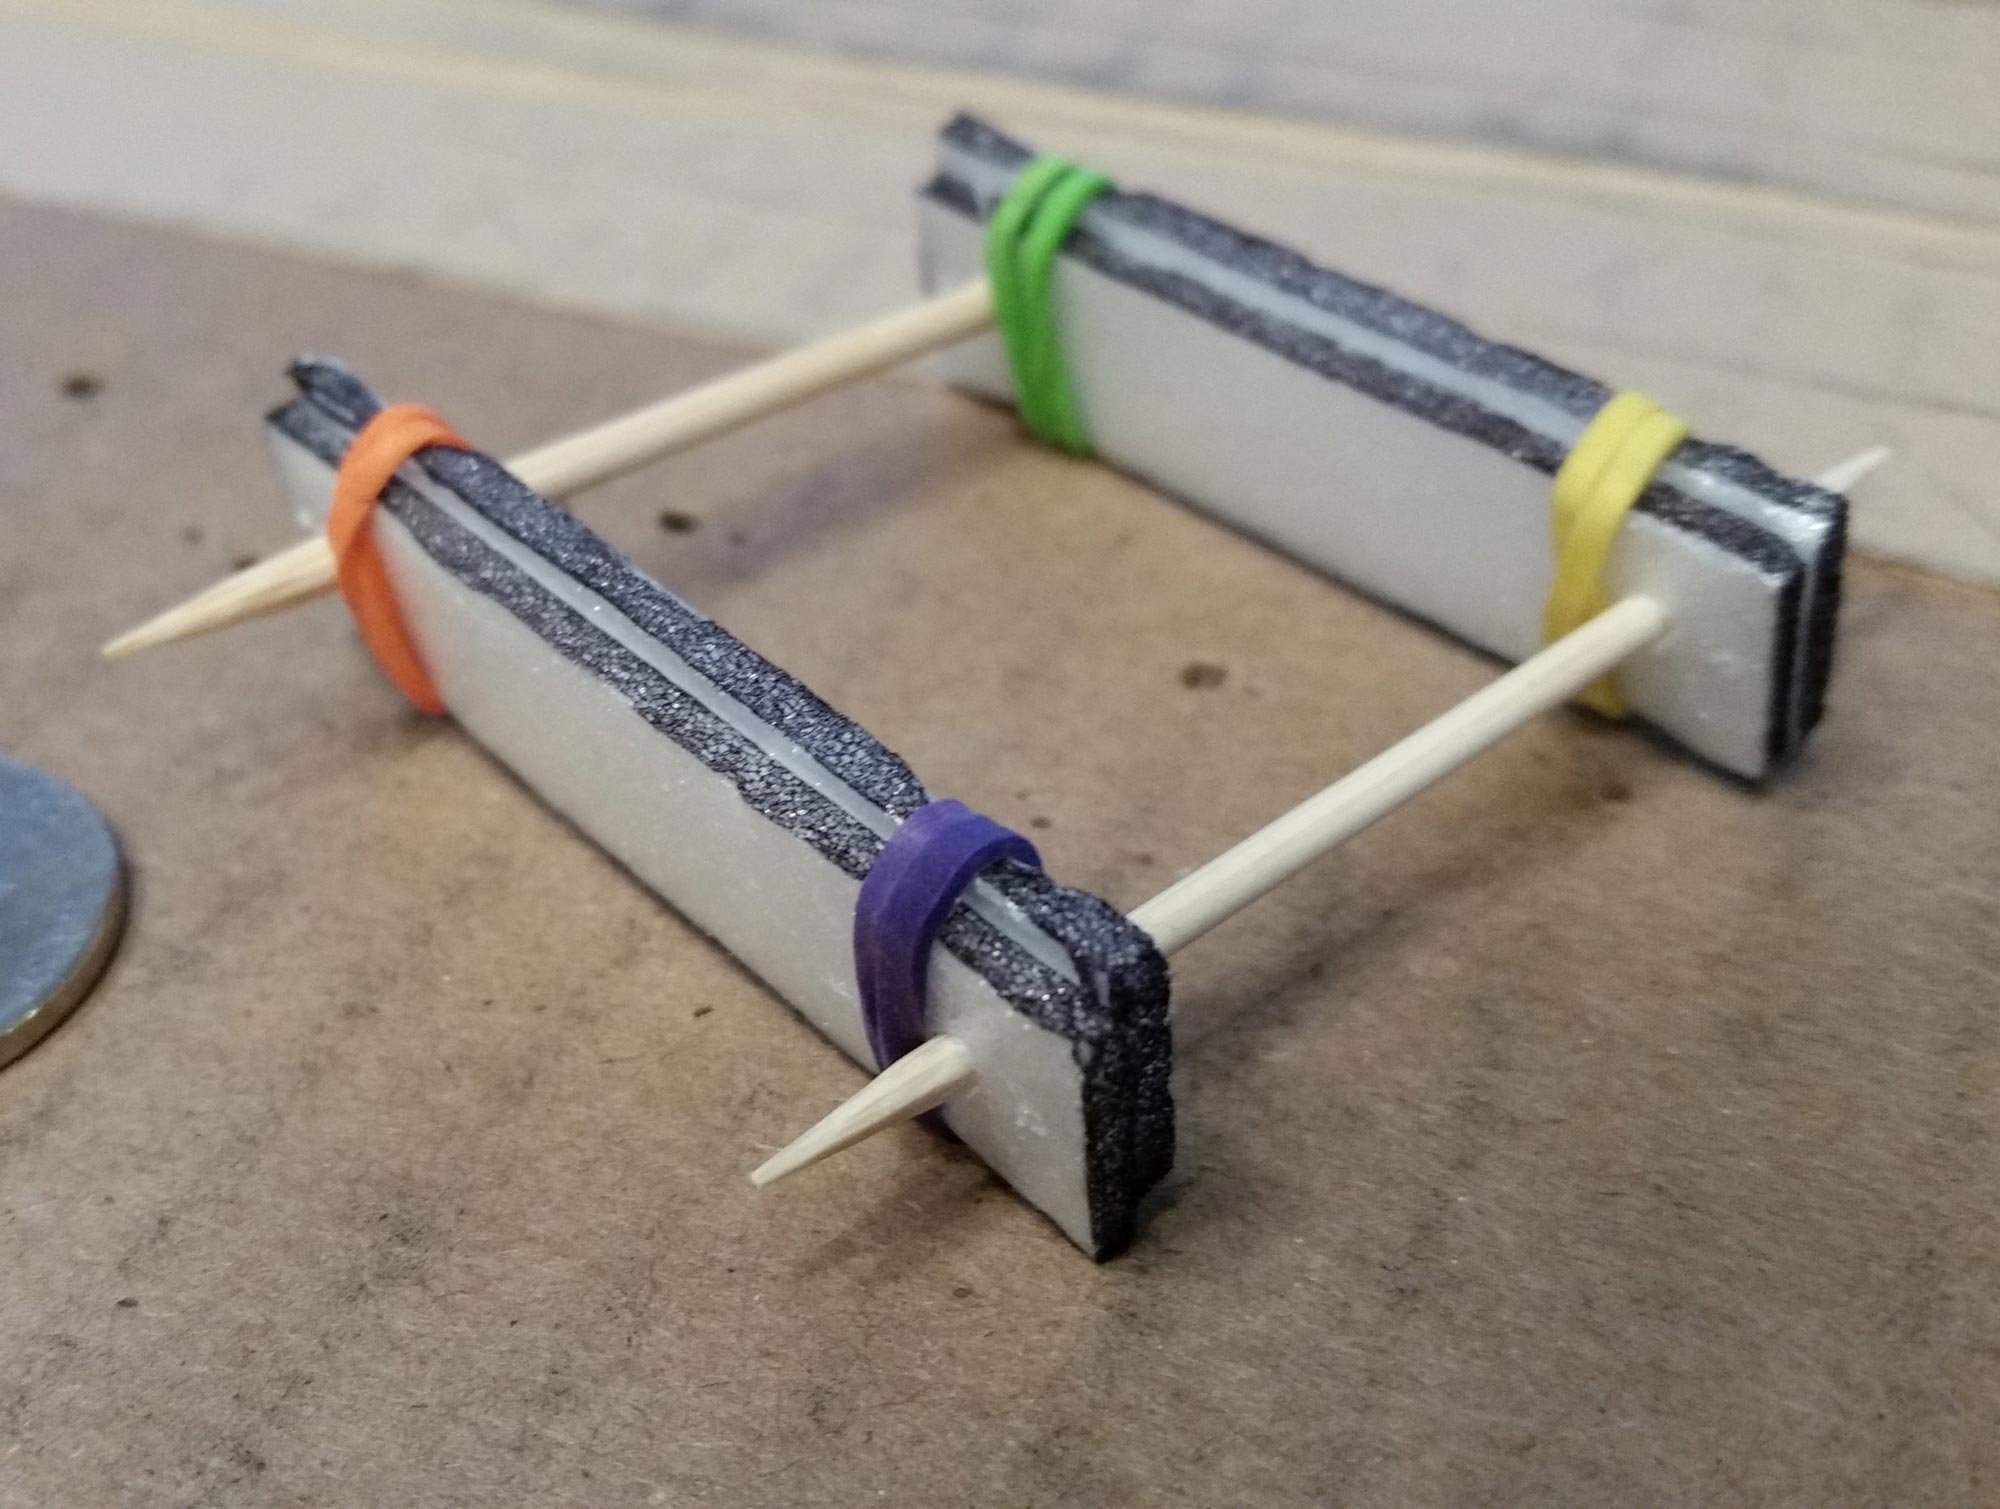
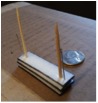
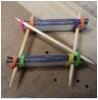
- Stack the foam strips. Stack four strips as shown in the photographs, staggering their edges. The blackened edges in the demonstration merely make the offset clearer. Pinning the strips in place helps.
- Add the toothpicks. Push the toothpicks straight through the strips. A cardboard box makes a useful work surface because the toothpicks can pass into it. A pilot hole made with a large needle makes this easier.
- Add the inside rubber bands. Pull off the top two strips while keeping track of their position. Put two rubber bands, twisted double, around each toothpick.
- Return the top strips. Replace the top two strips in their original position. Move the rubber bands onto the strips, just inside the toothpicks. The shearing force may move the strips slightly out of square; this can be corrected later.
- Add the outside bands. Put four more rubber bands on the strips, twisted double, just outside the toothpicks. Repeat the process to make the second fixture.
Square and brace the jig
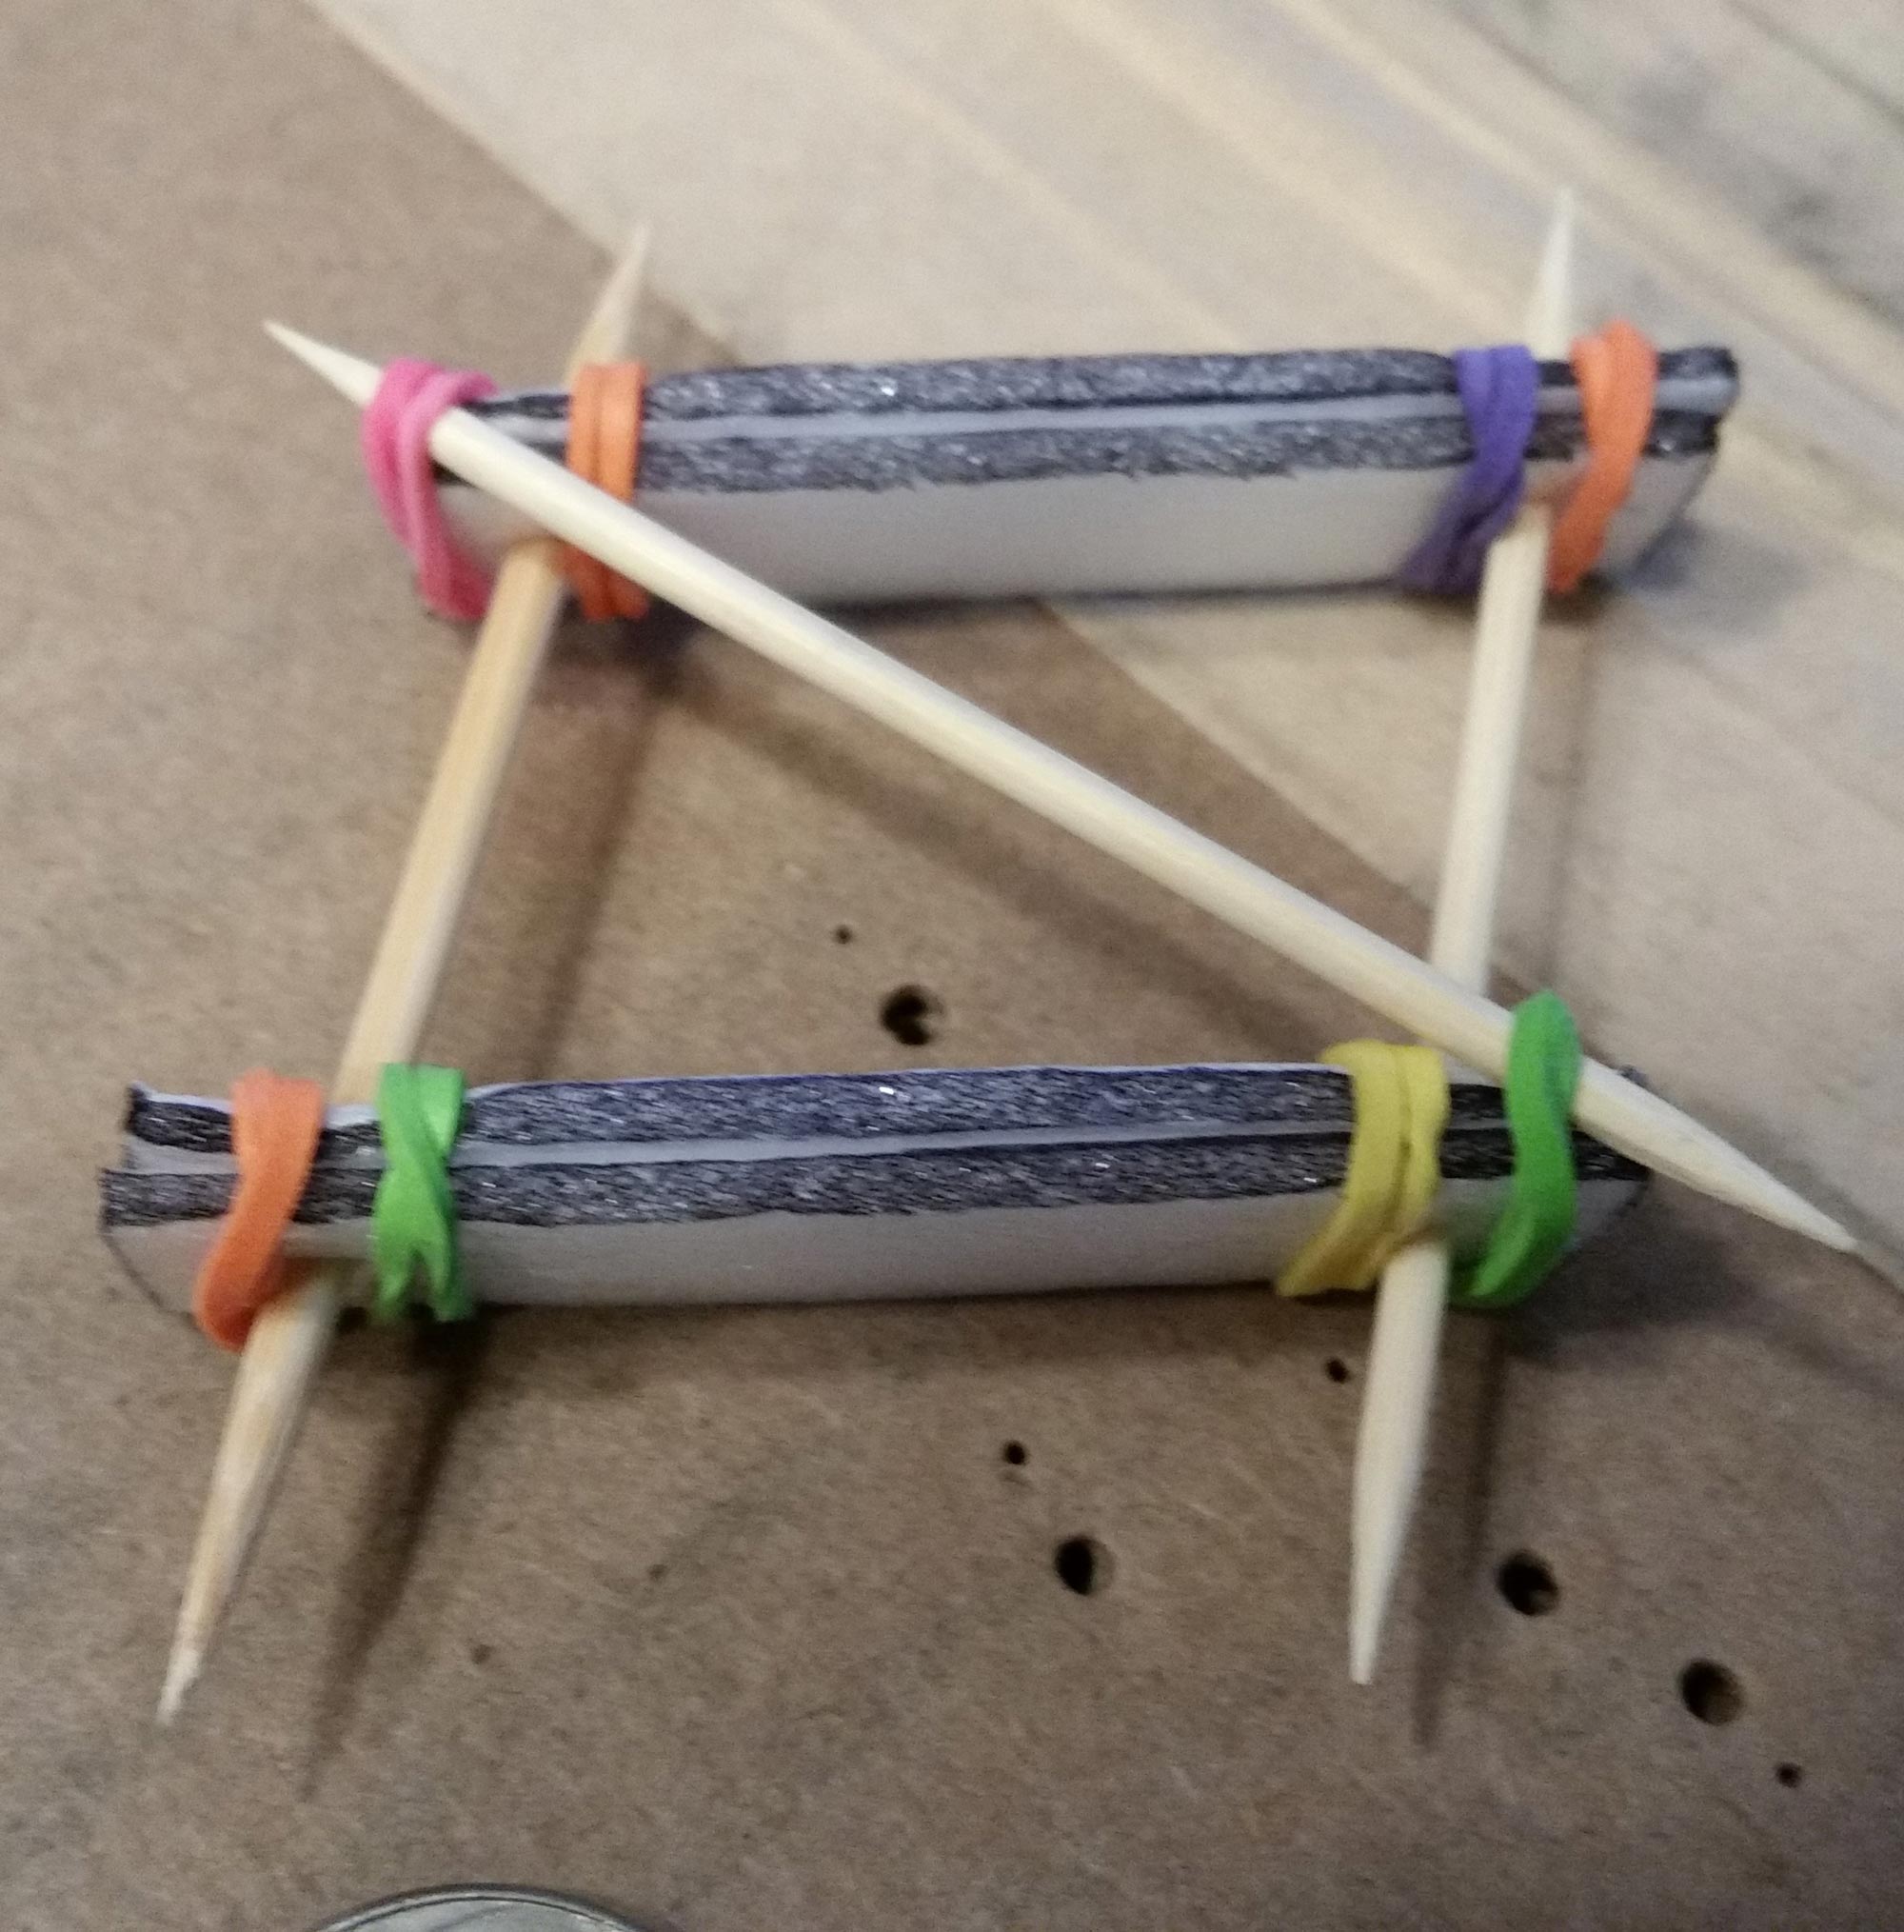
If one fixture is rotated front to back, the top wing can be used to pull the toothpicks back to square with the strips when the fixture is mounted on the biplane.
Put the cross-bracing toothpick under the rubber bands on the outside of the toothpicks. Move the rubber bands holding the brace toward each other until the angle between the toothpicks and strips resembles the angle between the model’s wings and struts. Close is good enough—the fixture provides plenty of adjustment.
Use the fixture
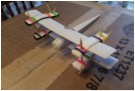
Put the bottom wing through the lower strips and the top wing through the upper strips. Adjust the fixture until the top wing is where you want it. Compare the model with a drawing and test-fit the struts.
When you are satisfied with the alignment, move the inside rubber bands close to the wing edges. Check everything once more to make sure the parts remain where you want them before gluing and rigging.
Jack Matthews
IPMS Seattle · Northwest Scale Modelers