The story behind the build
By John DeRosia
A Monster Bus for Swamp Creek
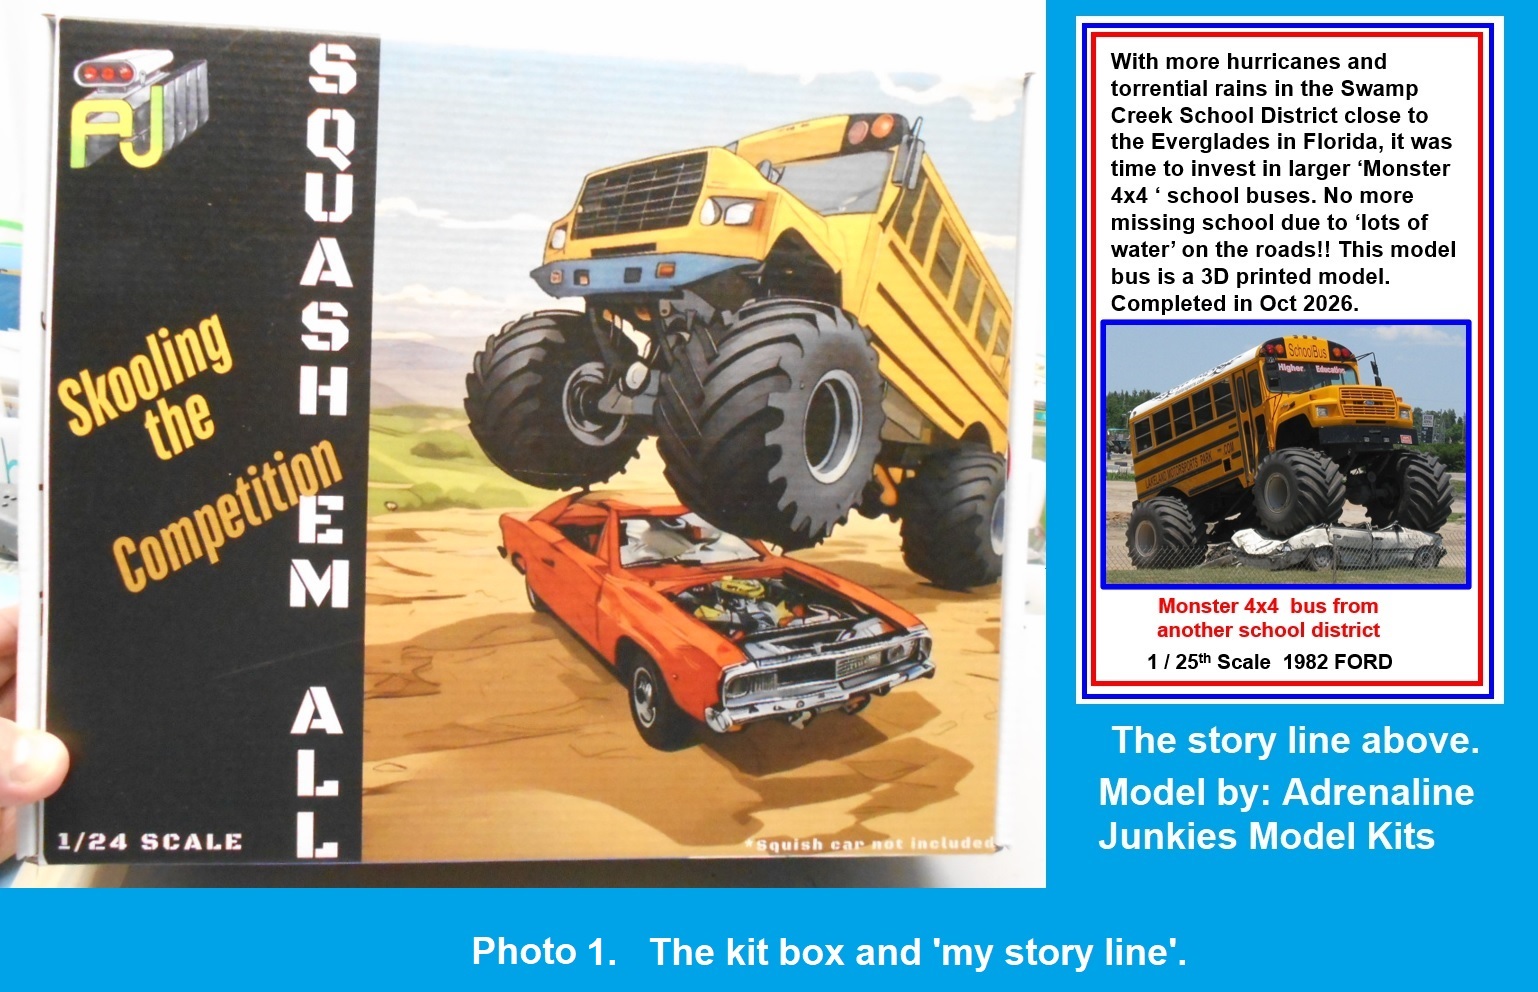
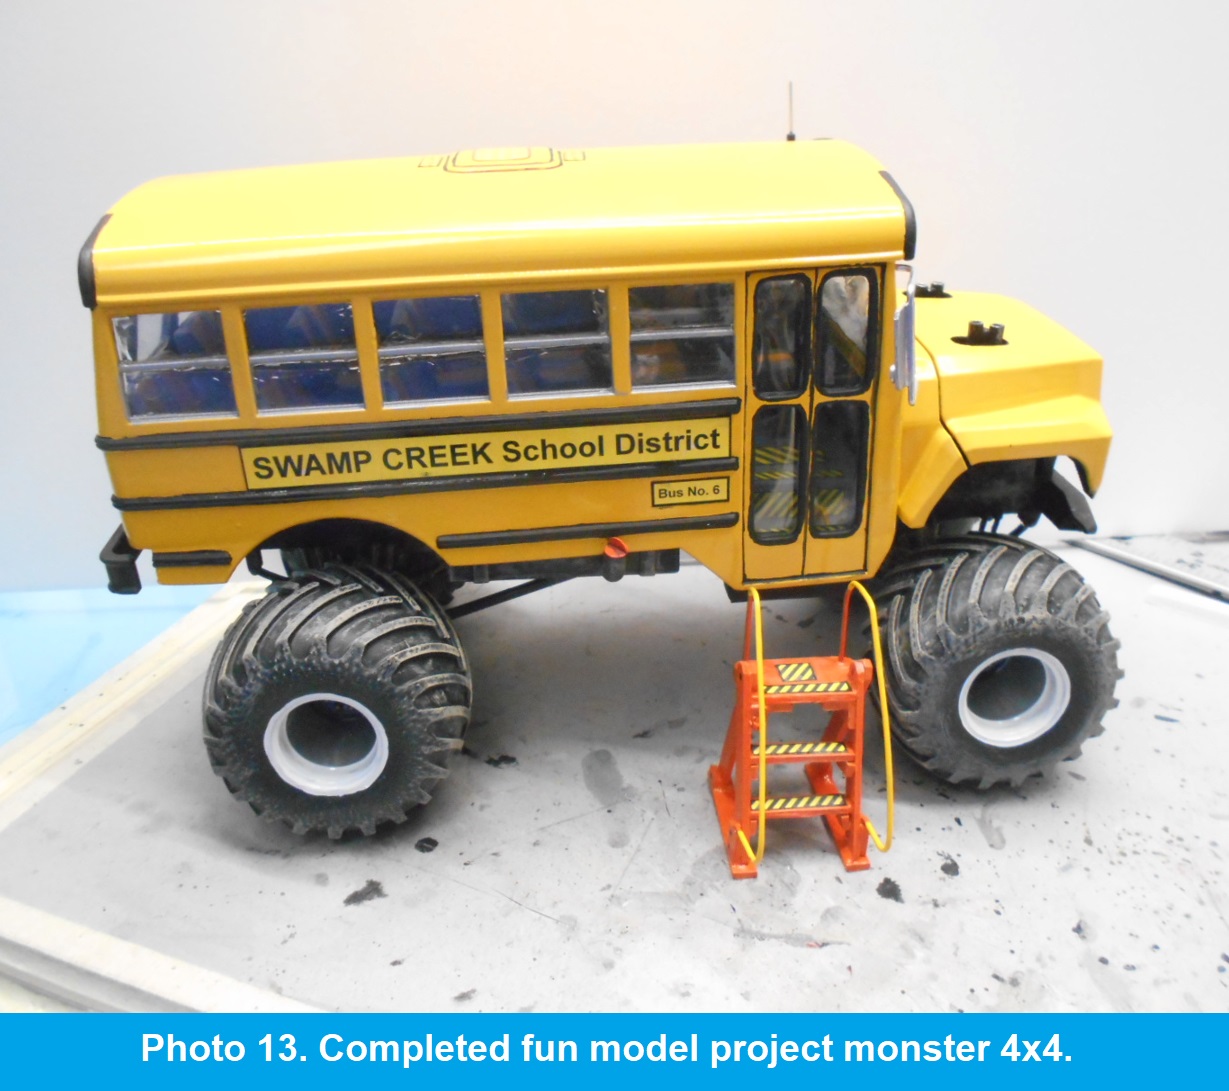
When hurricanes and torrential rain leave the roads around Florida's fictional Swamp Creek School District under water, an ordinary school bus will not do. My answer was a 3D-printed monster 4x4 SKOOL Bus—because a little flooding should not mean missing school.
The world of 3D-printed models has come to life in some of my builds. Why? Because there are some really cool subjects available as 3D prints that have never been offered as conventional styrene kits.
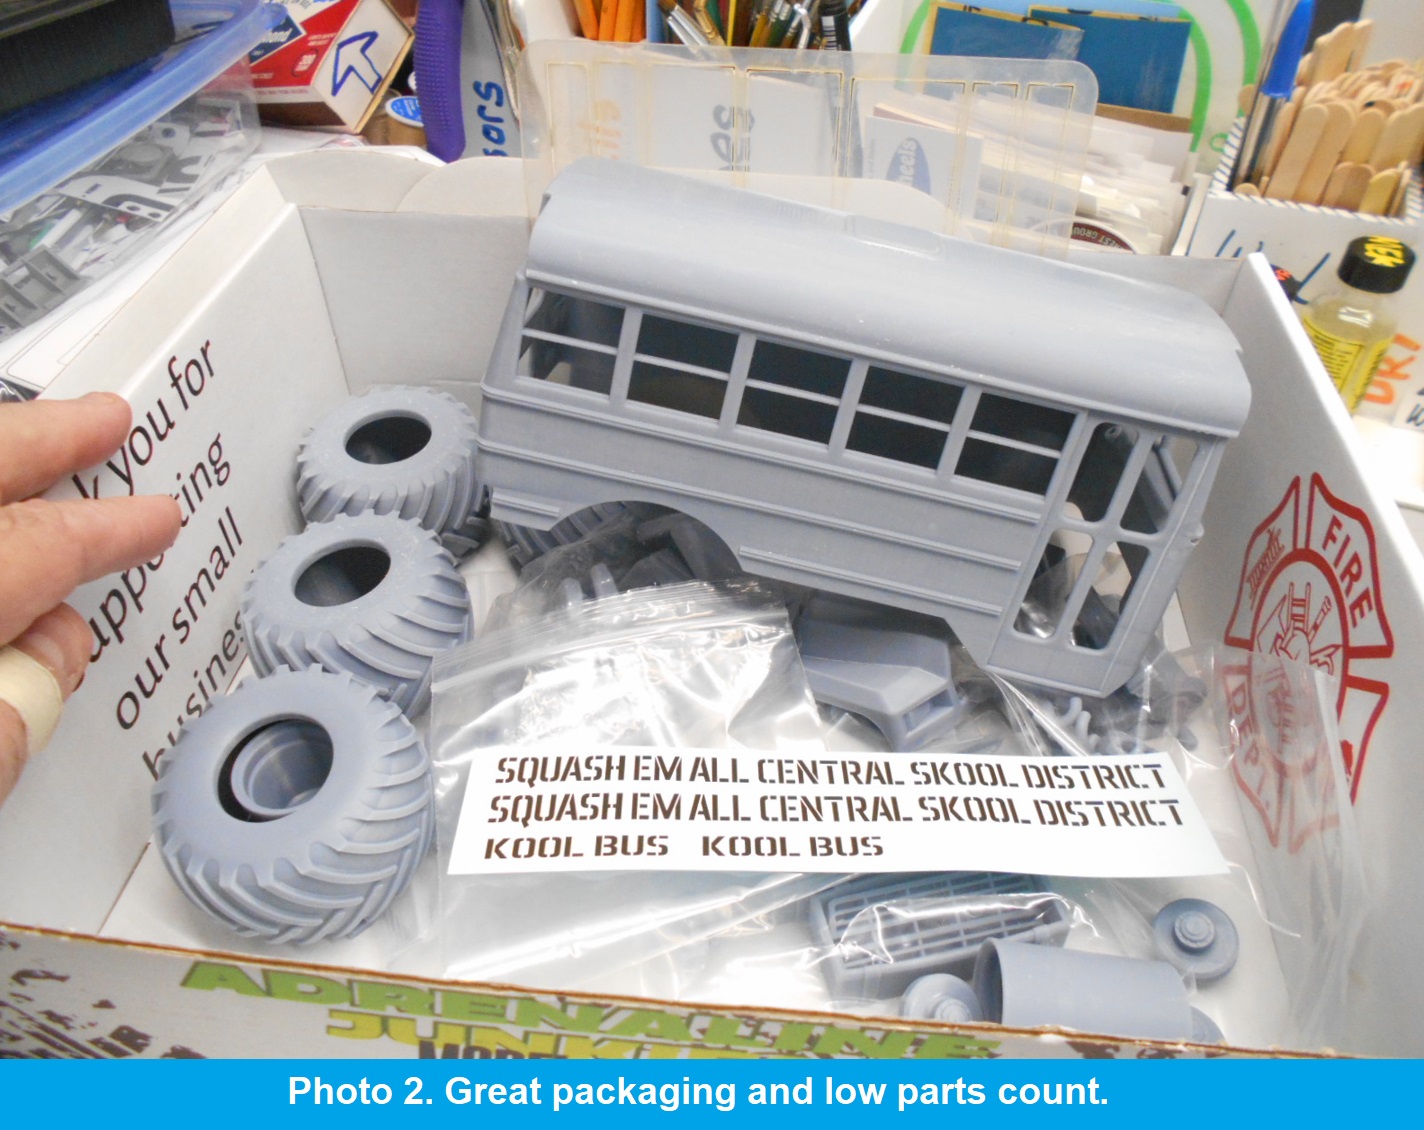
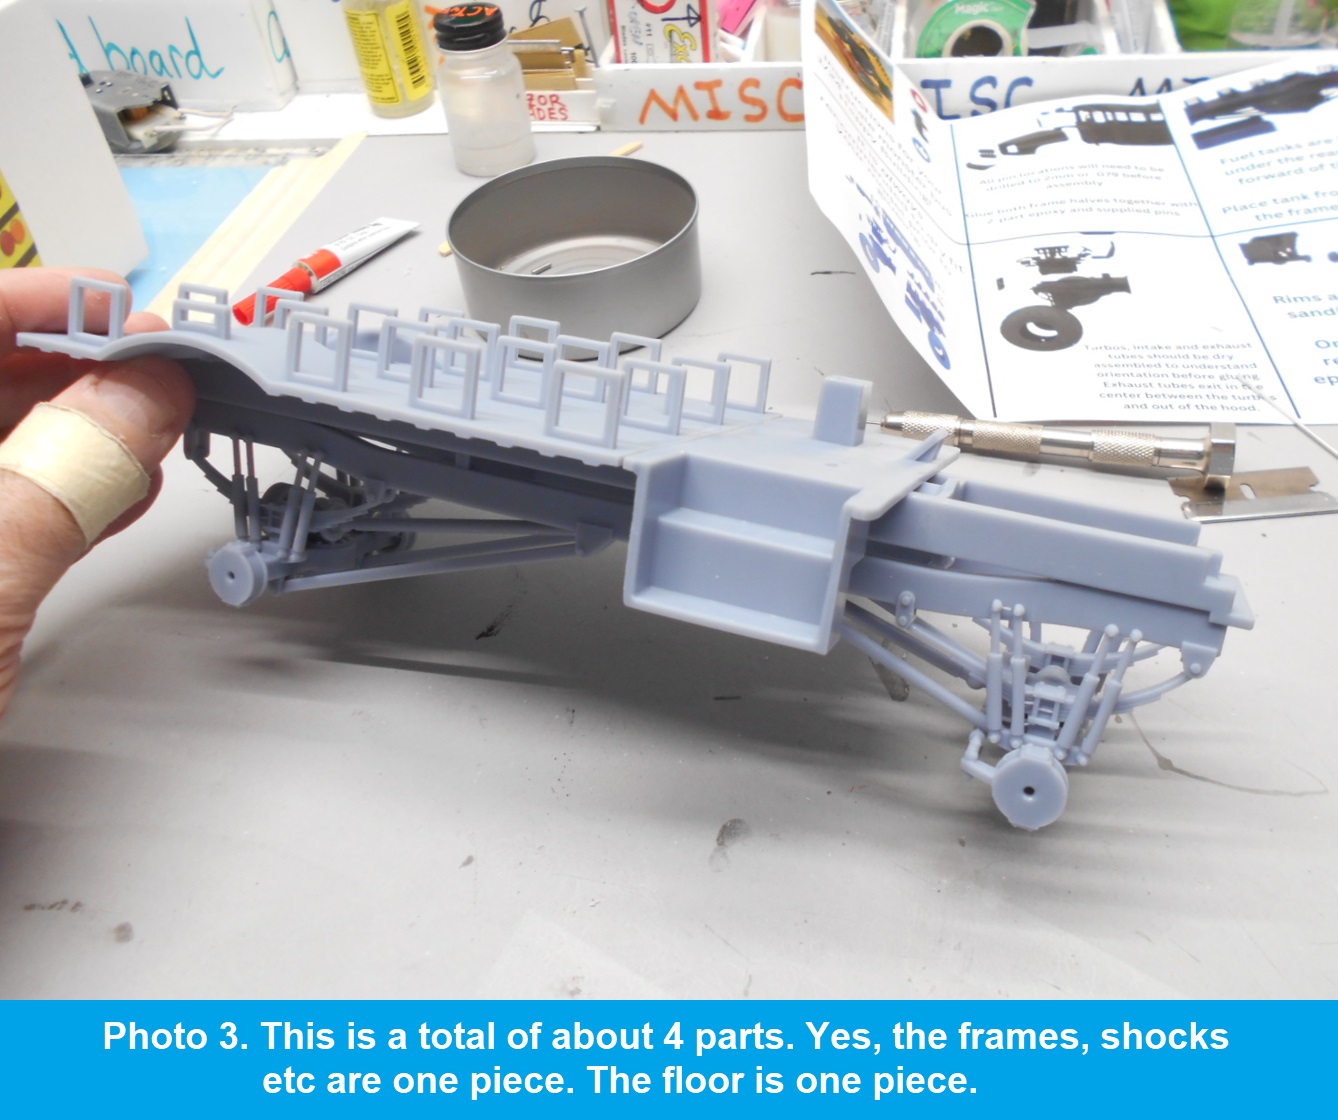
This monster 4x4 SKOOL Bus is my third complete resin vehicle. The model is made by Adrenaline Junkies Model Kits. Trust me: you learn something from every one of these kits. Some include simple interiors, wheels, a frame, and related parts; others arrive as little more than a shell. You may have to make, build, or scavenge whatever else is needed to complete the vehicle.
Preparing the Print
Depending on the printer and resin, a 3D-printed model may have layer lines that must be filled and sanded before paint. One model I built had the Grand Canyon of striations. Good primer and filler eventually smoothed it out, but this SKOOL Bus needed very little work by comparison. No big deal. Yeah!
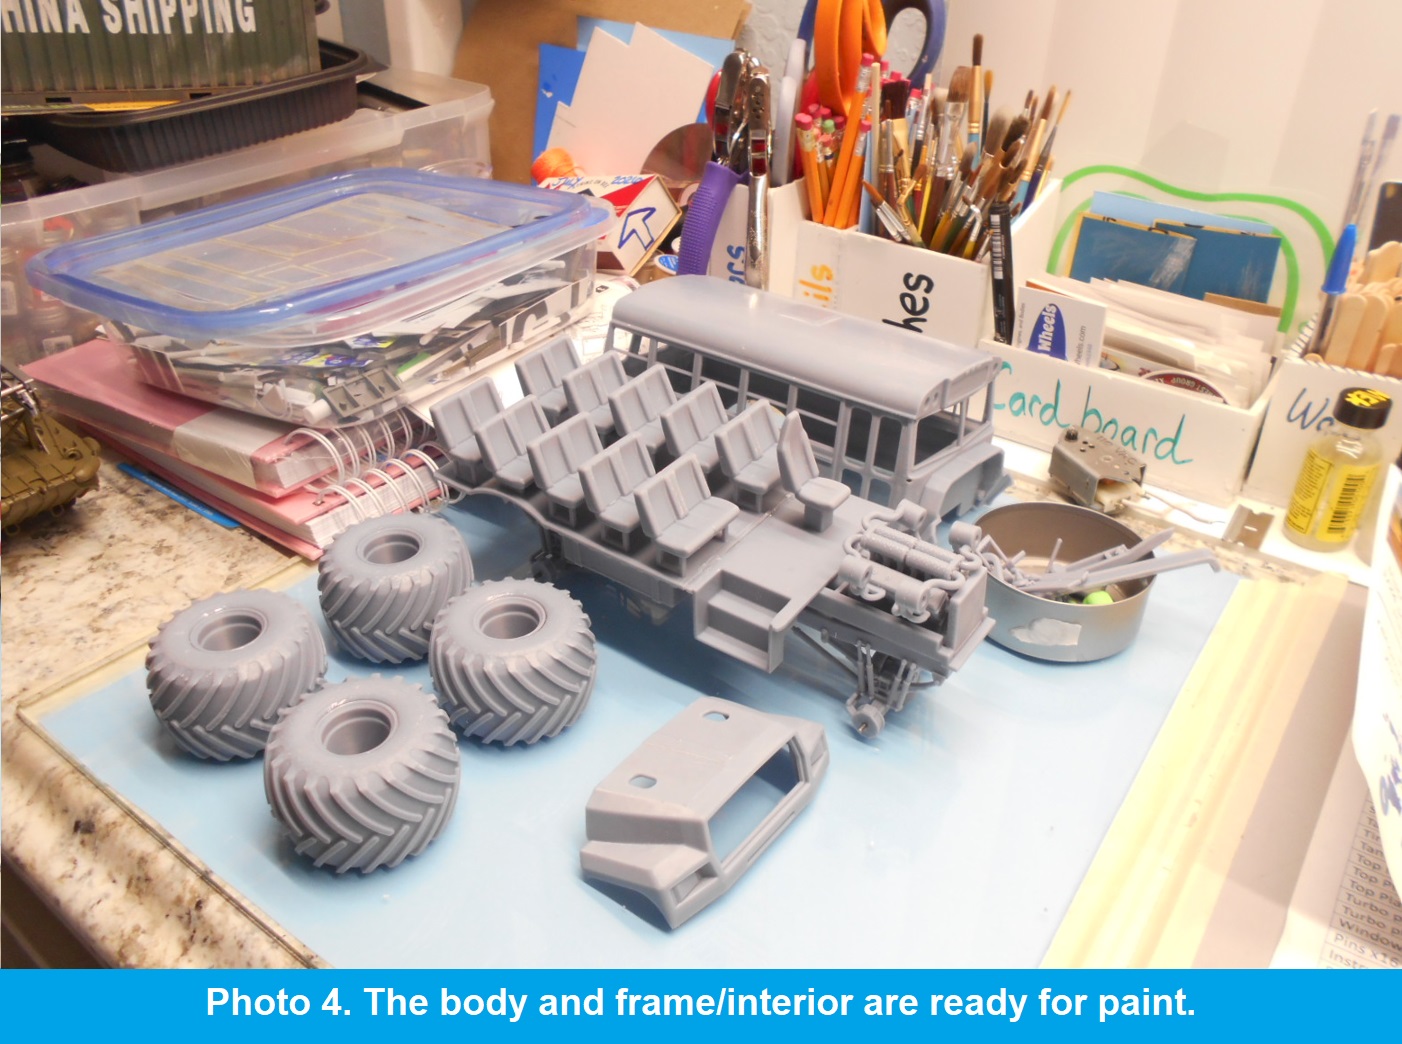
I had just finished another 3D-printed school bus, so this larger monster bus made a great companion. The build itself was fairly straightforward, and wow—this is a heavy model. The parts are thick-walled, including the enormous 4x4 tires. I filled the few lines on the roof and hood with primer and spot putty, then primed every part white because the final color would be yellow.
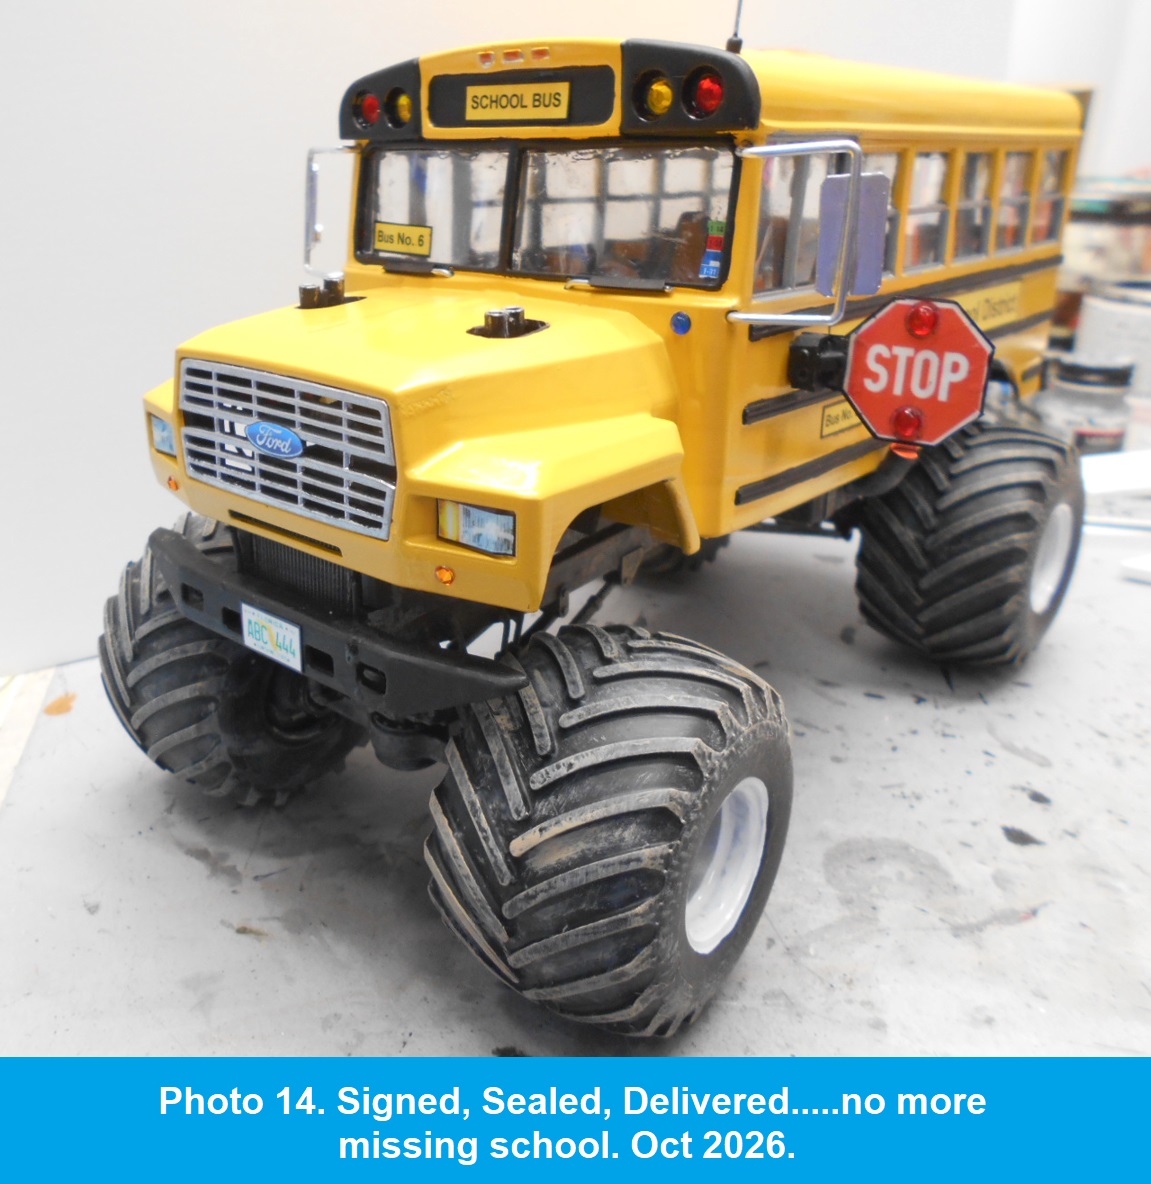
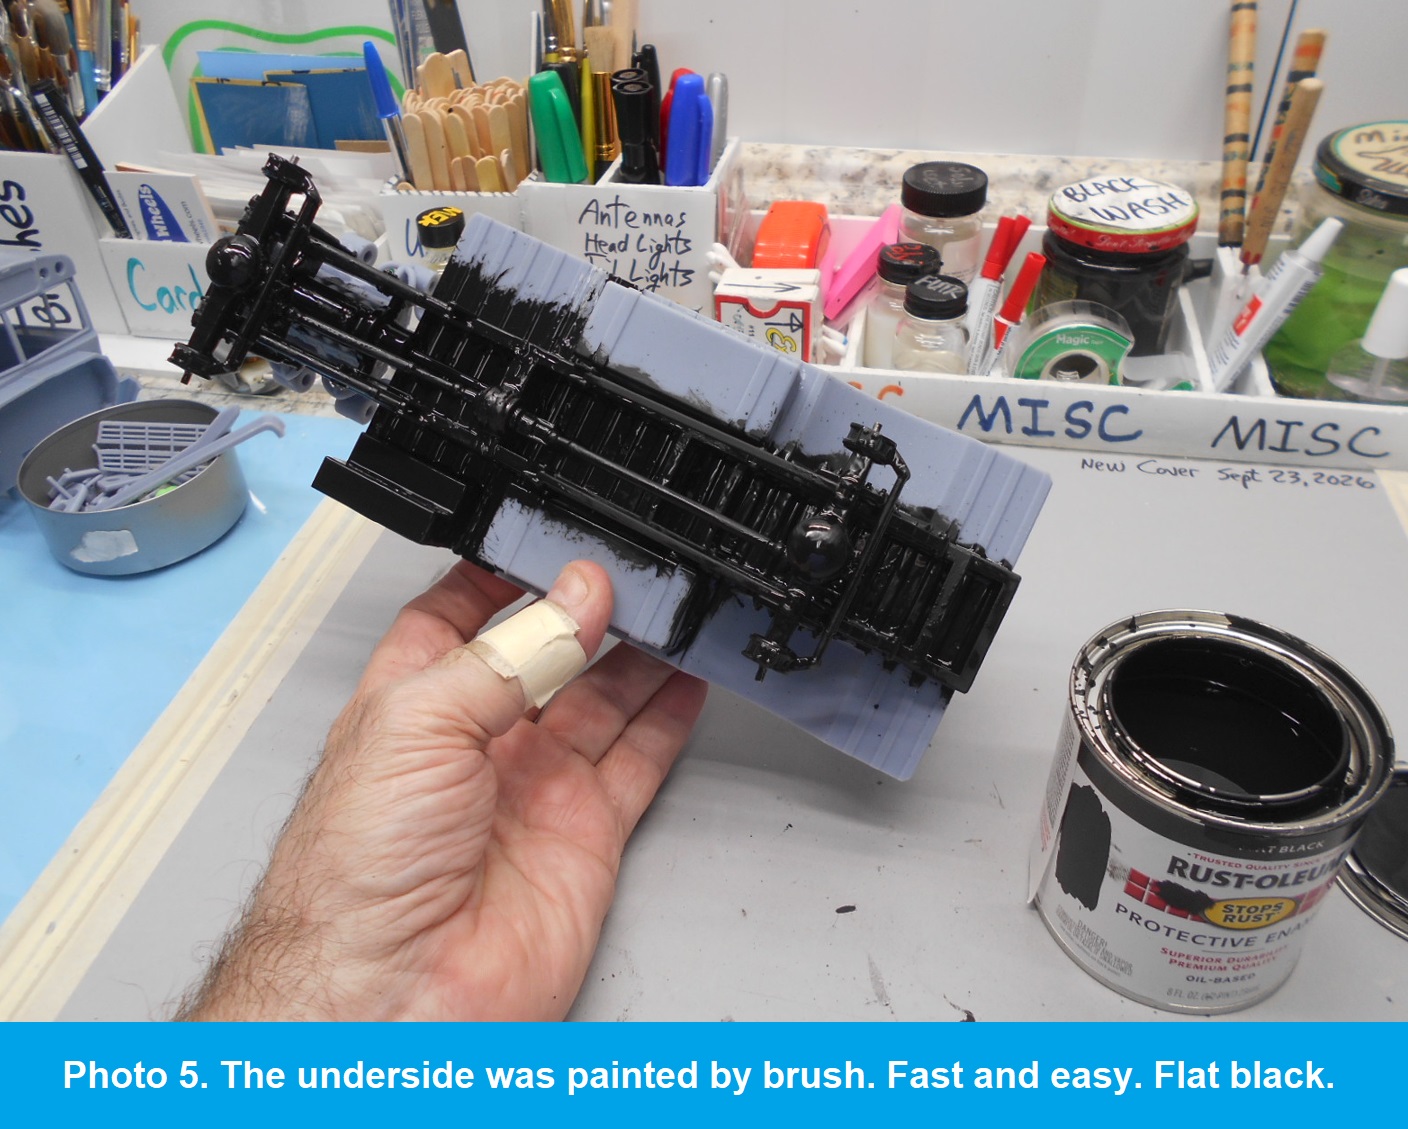
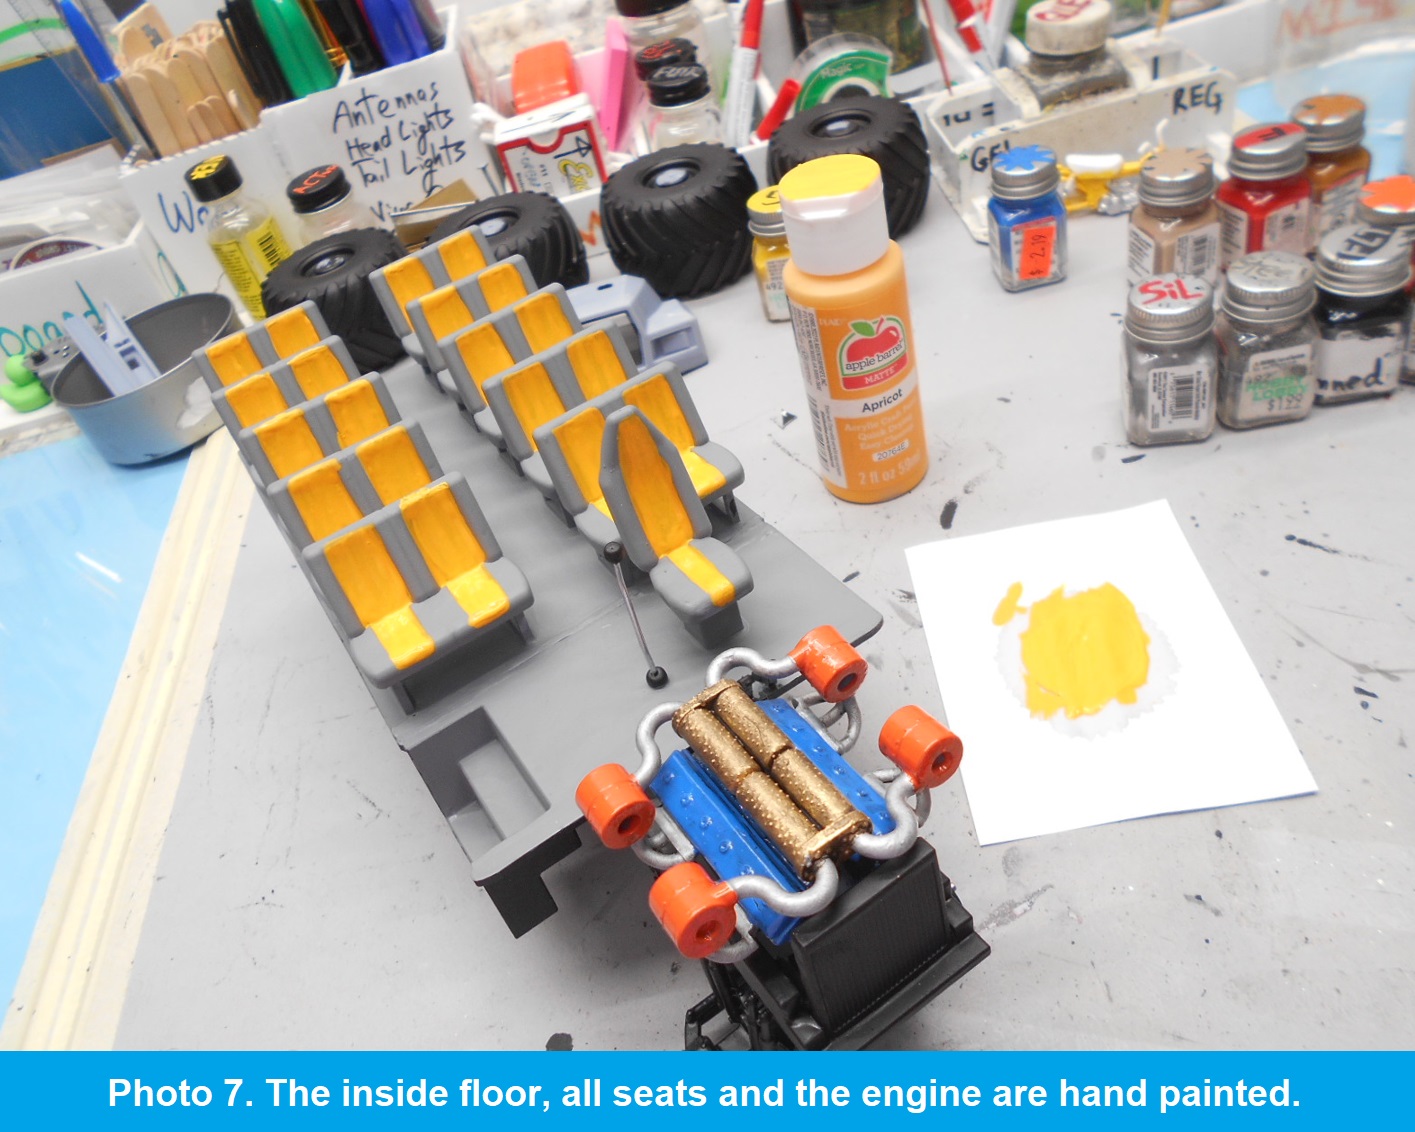
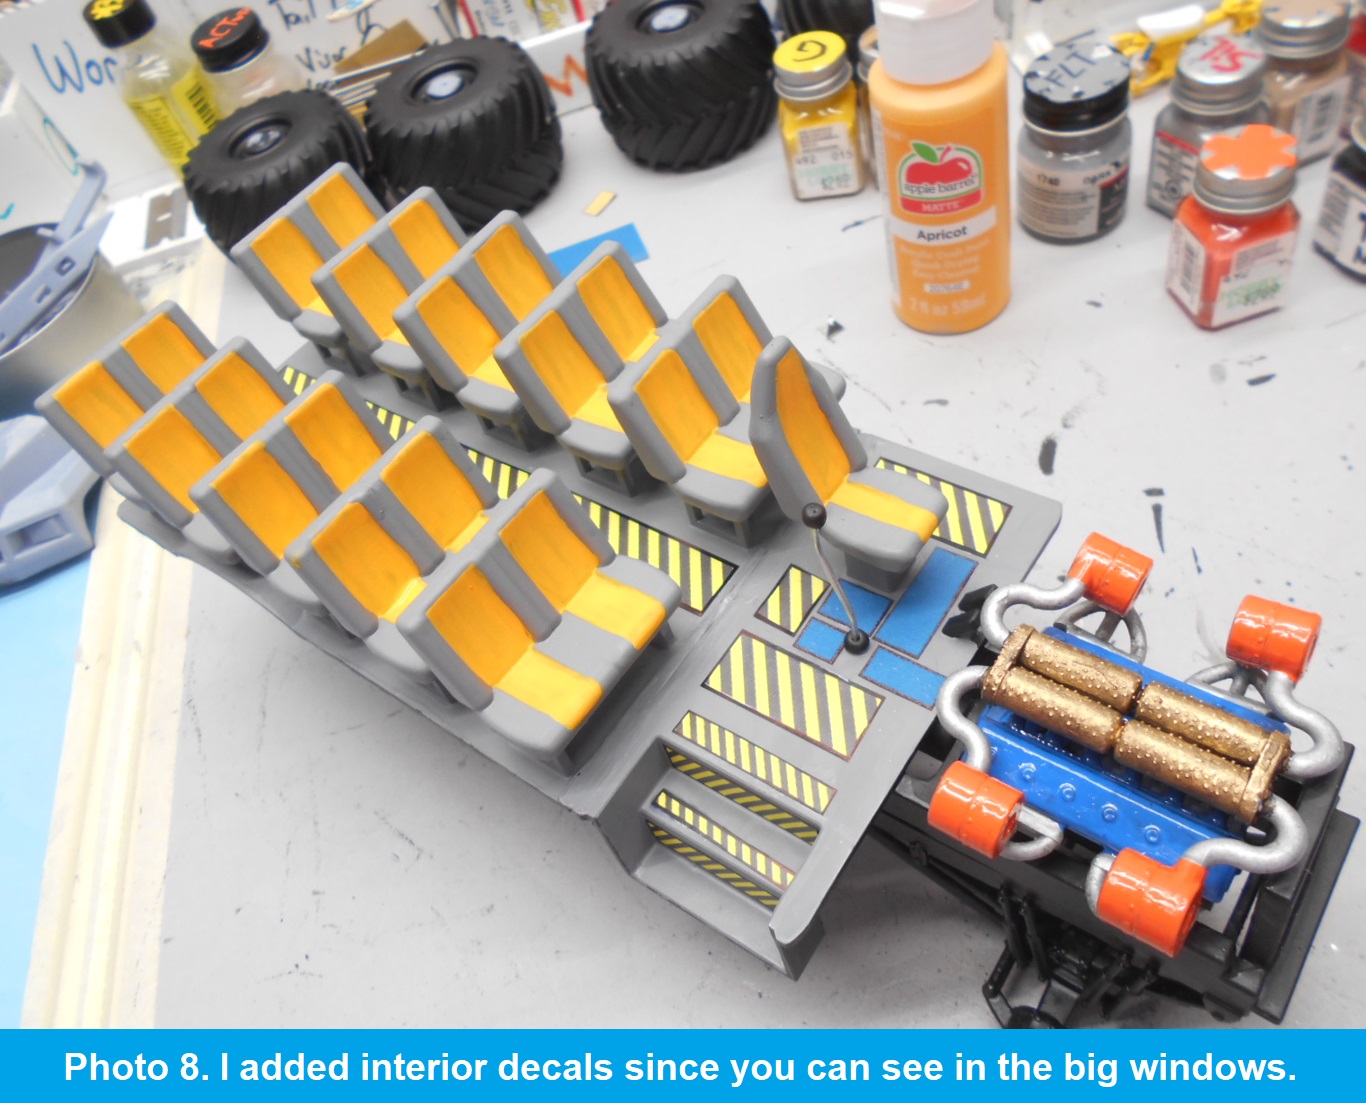
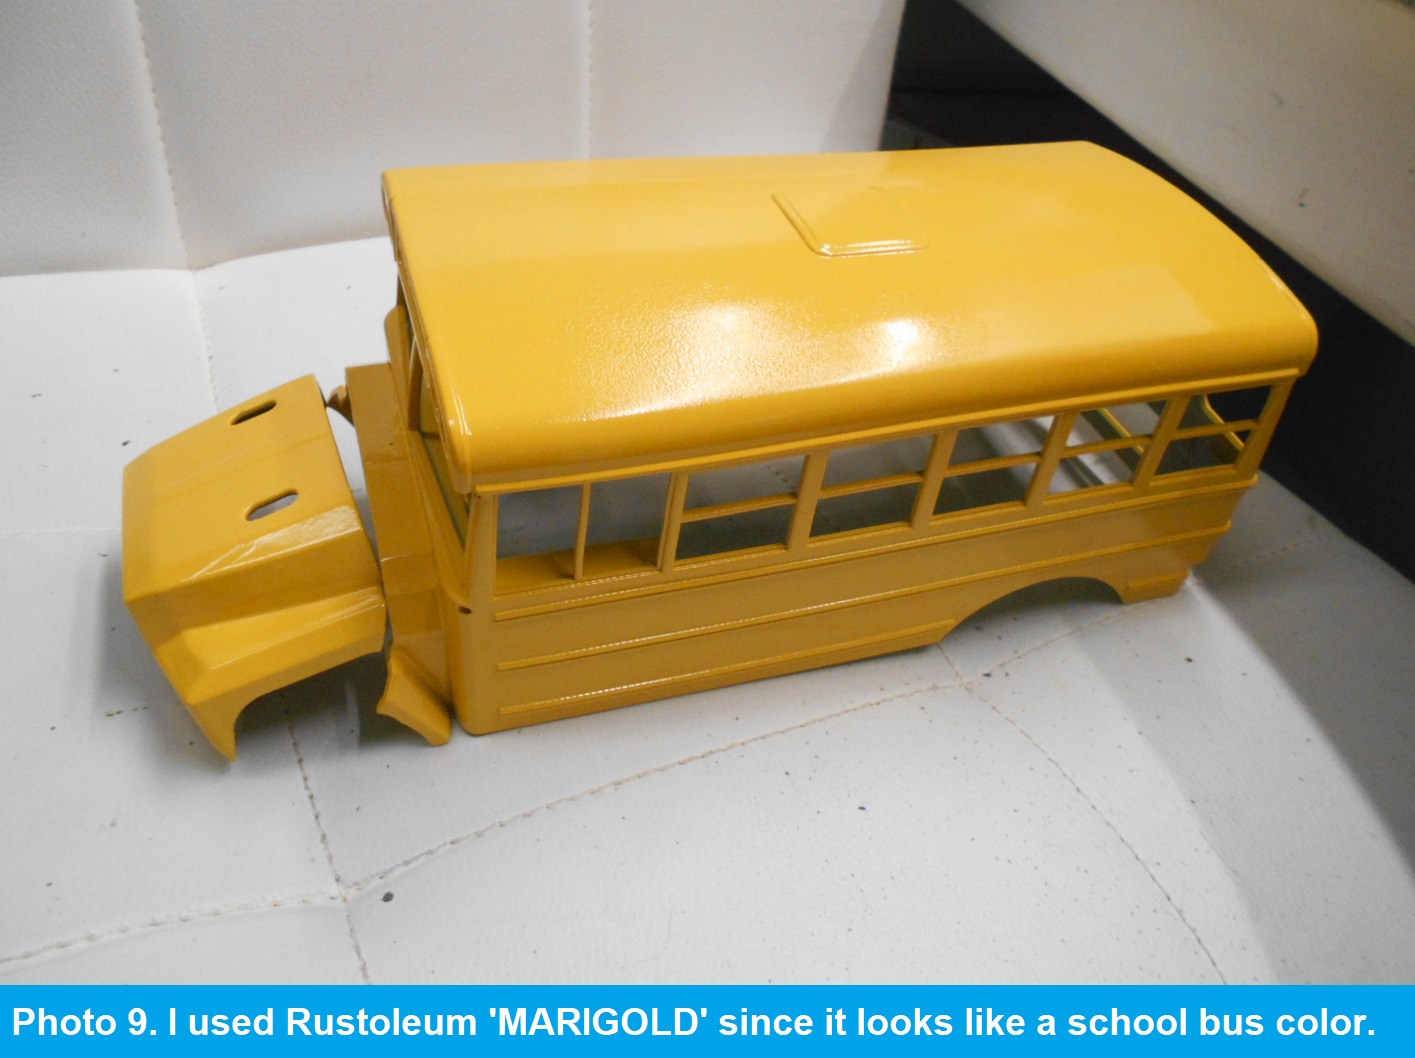
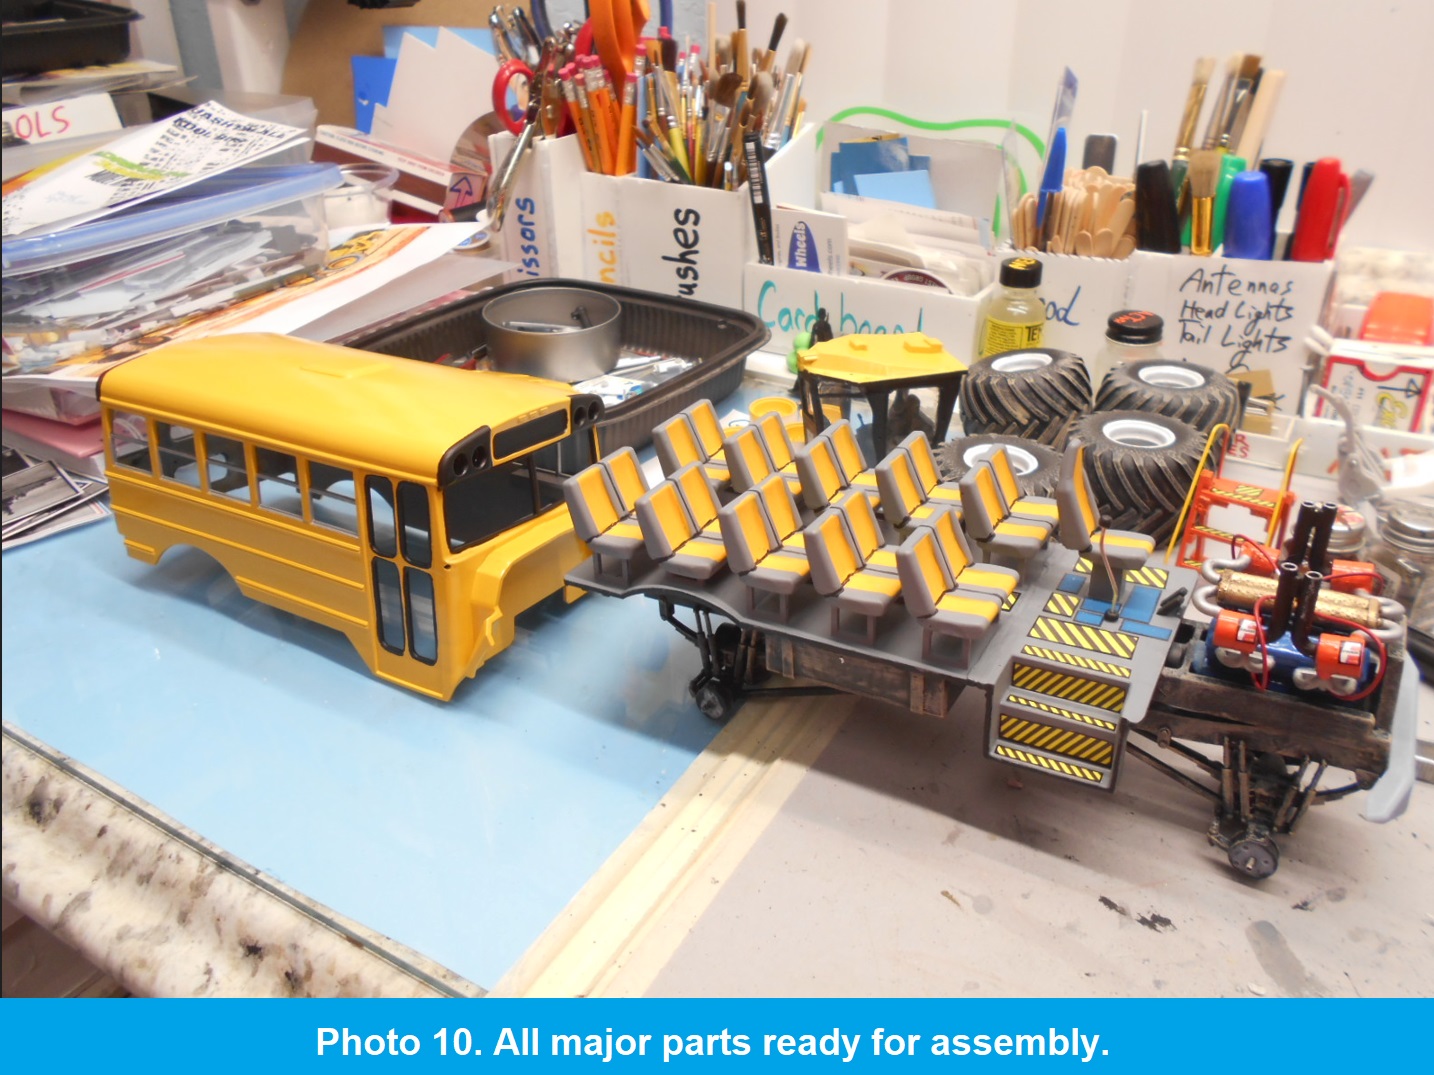
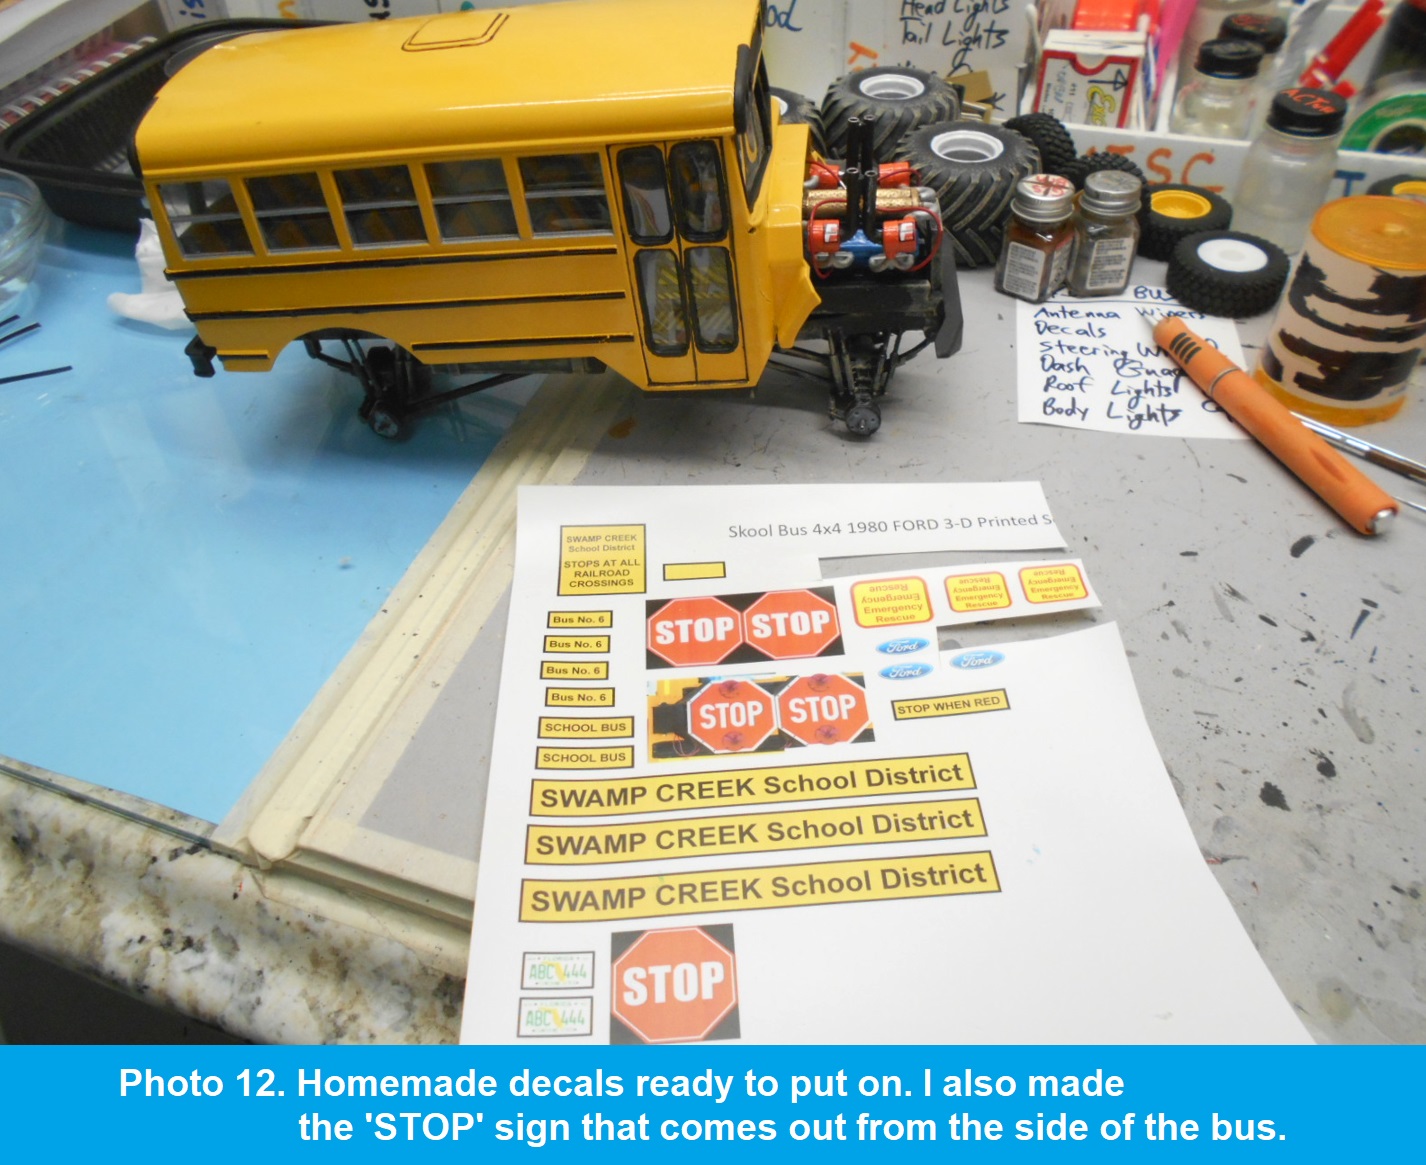
I brush-painted the underside flat black. The interior floor, seats, and engine were also hand-painted. Since the large windows expose so much of the cabin, I added homemade warning-stripe and floor decals to bring the interior to life. Rust-Oleum Marigold gave the body the school-bus color I wanted.
Homemade Details and Windows
I designed simple decals for both the inside and outside, and I made the mirrors, fuel-filler tubes, and the folding stop sign because the kit did not provide everything I wanted.
Most of my earlier 3D-printed models did not include windows. This one did, but its clear parts had an oxidized yellow appearance that I did not like. The best replacement material I have found is the clear plastic used for grocery-store donut and pastry containers. The treats were good—yum, yum—and afterward I washed the plastic, cut window patterns, and tacked them in place with a few drops of super glue. Once everything was aligned, I completed the joints with five-minute epoxy. So far, that method has worked well for me.
The Fragile Part
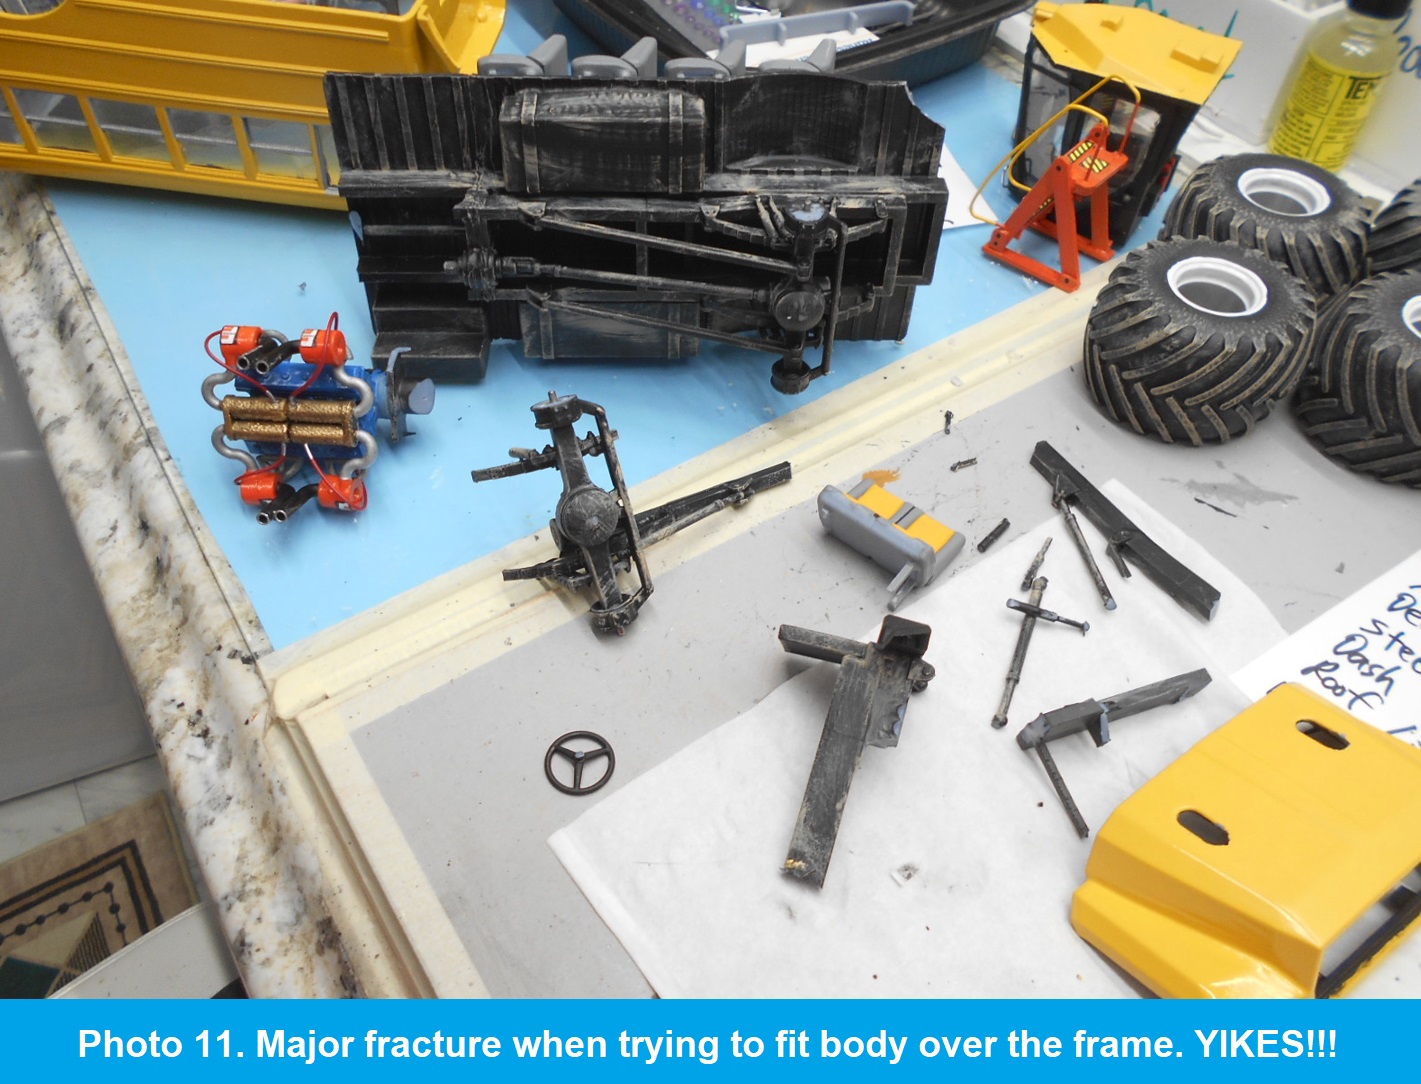
One critical lesson from every 3D-printed model I have built is that resin can be super-duper fragile. Unlike forgiving styrene, some resin parts seem ready to fracture into 1,001 pieces—give or take three—if you look at them the wrong way. Ask me how I know.
While fitting the body over the frame, I suffered a major fracture. Yikes! Careful repair work, super glue, and epoxy put everything back together. It all worked out in the end.
Back on the Road
The finished monster bus has the bold stance, detailed interior, and slightly outrageous personality I wanted for the Swamp Creek School District. The project was completed in October 2026.
We keep learning, and new technology keeps giving us new subjects to build. Have fun—because that is what this hobby is all about!